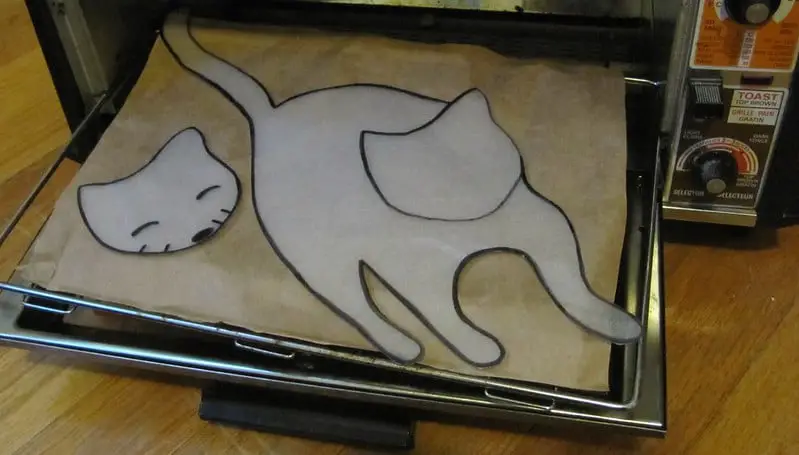
If you don’t have a standard oven at home, you don’t have to give up on making your Shrinky Dinks! You can use other appliances, but you need to ensure you’re only using the right ones. For example, you should never put your Shrinky Dink creations in the microwave.
So, can you bake Shrinky Dinks in a toaster oven? Yes, you can safely make your Shrinky Dinks in a microwave oven, as long as you take a few additional steps. You want to make sure they fit properly and that the toaster oven can safely reach the required temperatures.
Overall, a toaster oven will still shrink and cure your designs. This appliance works like a larger oven but on a much smaller scale. I’ll discuss exactly how to use them in this article, so let’s keep reading!
How To Bake Shrinky Dinks in a Toaster Oven
When baking your Shrinky Dinks in a toaster oven, you need to watch them. They’ll curl and shrink as the designs bake, then flatten down. You want to remove them a few seconds after they flatten fully. You must not take them out too early.
Start by drawing your designs and cutting them out. Then, place a piece of non-insulated cookie parchment or foil on a small, thin baking sheet that comes with your toaster oven. Set the oven to 350 degrees and bake the shrink plastic for two to three minutes. You don’t want to go much past that.

If the Shrinky Dinks don’t flatten during that time, you should still remove them from the oven. Then, place a sheet of parchment over them and press down with a spatula. They’ll become flat as long as you do this while the Shrinky Dinks are still hot.
You might need to do this because all toaster ovens heat up slightly differently. However, you can still expect great results.
Can You Make Shrinky Dinks Without an Oven?
You can make Shrinky Dinks without an oven in a few different ways. You can use a toaster oven or even a crockpot to heat the plastic and make it shrink. Start by preheating the CrocPot on the “high” setting, then place your plastic designs inside it.
They should start to curl right away. Don’t take them out until you see them uncurl and flatten out.
Check out my other article that talks all about Shrinky Dinks curling. It’s a must read if you are baking your Shrinky Dinks in a toaster oven or crockpot.
You can also make your Shrinky Dinks using a hairdryer or heat gun. Place your designs between a folded sheet of parchment paper. Turn on the hairdryer and heat the Shrinky Dinks through the parchment. You won’t need to run your heat gun as long because it should get hotter than a hairdryer.
In short, you don’t need to use a traditional oven to make your Shrinky Dink charms! If you have one of these other appliances, you can still do these crafts.
Why Did My Shrinky Dink Bubble?
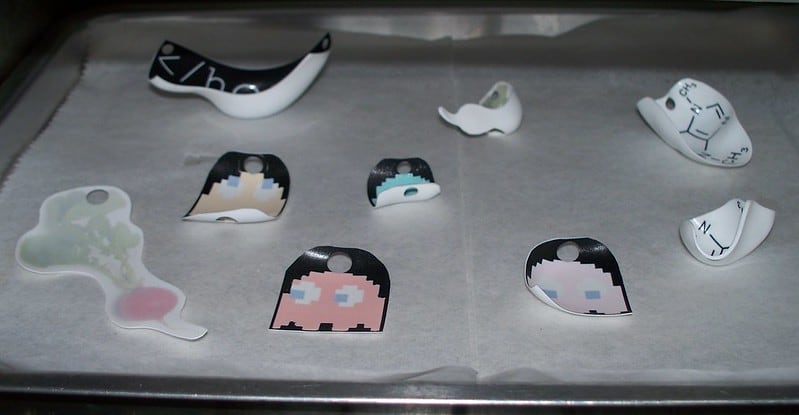
Shrinky Dinks tend to bubble when they’re left in the oven for too long and get too hot. While heating the shrink plastic for longer does make the design clearer, it’s also much more likely to form bubbles inside it.
However, you’ll have a much different problem if your oven doesn’t get hot enough. If it leaves the Shrinky Dinks too cold and you don’t bake them long enough, you’ll notice that they become warped.
You can also blame an uneven heat distribution for heat bubbling in the center of the design. If you catch the bubbling early enough, you can flip the Shrinky Dink over and let it bake for a few seconds on that other side. This process helps to smooth out the shrink plastic and flatten it out.
Are Shrinky Dinks Toxic?
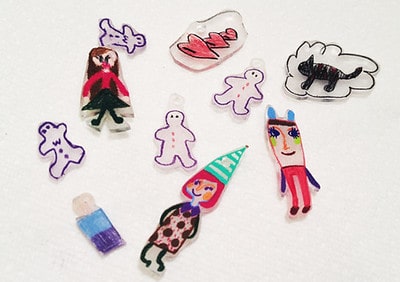
Shrinky Dinks are not toxic, so you don’t have to worry about making them in your oven at home. You can even prepare food in the oven right after without worry since the plastic doesn’t release toxic fumes into the space.
The Shrinky Dink company says that their shrink plastic products aren’t toxic or an environmental hazard. That way, you can continue making them at home without worry.
However, you’ll still want to make sure that you follow the instructions that come with the shrink plastic kit. Different kits have slightly different instructions, so you need to ensure you’re doing them correctly.
Overall, Shrinky Dinks don’t contain any toxic ingredients. You can read more about Shrinky Dinks being toxic here!
Can You Bake Shrinky Dinks on Parchment Paper?
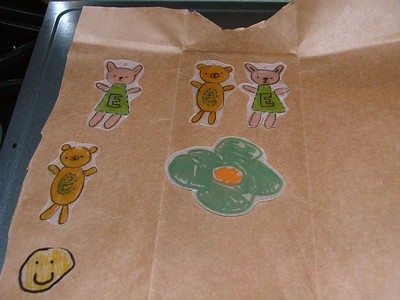
Yes, you can easily prepare your Shrinky Dinks on parchment paper. Using parchment paper is usually the preferred method for most people. It doesn’t damage the shrinking plastic, and the designs don’t stick to it when you remove them.
If you want to avoid curled Shrinky Dinks, parchment paper can help. Start by folding the paper in half, then put the Shrinky Dinks into the fold. Keeping them in the crease helps them to stay flat while they bake.
Parchment paper is an essential tool to have on hand if you make a lot of Shrinky Dinks! You’re sure to appreciate using it. Plus, you can find it fairly cheap in most stores today.
Do You Color on the Rough or Smooth Side of Shrinky Dinks?
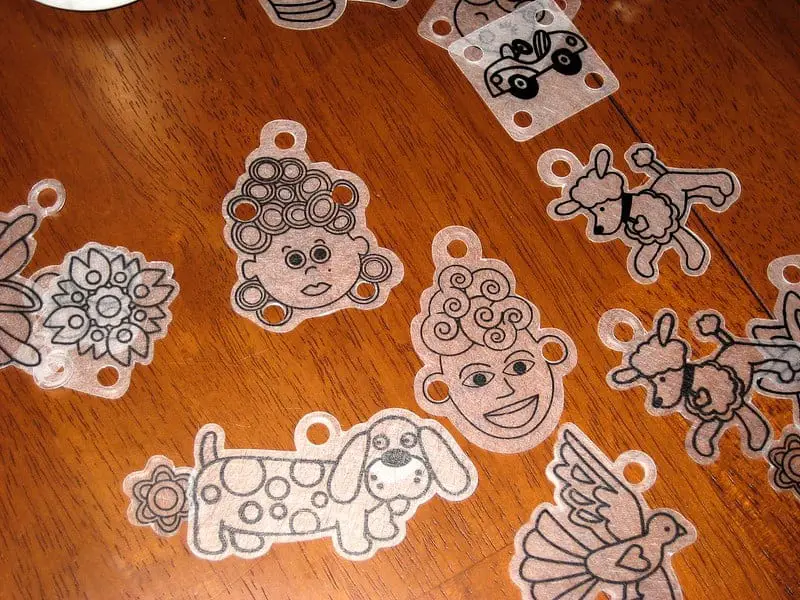
Whether you color on your shrink plastic’s rough or smooth side will depend on what type of art materials you use to design them. If you use a colored pencil, you’ll want to color on the rougher side of the sheet.
Using colored pencils on the rough side is better because the pencil lead can get a better “grip” on the textured surface. However, you’ll want to use a permanent marker on the smooth side. That way, it doesn’t make the rough texture of the other side so obvious. Your designs won’t look bumpy that way.
I highly recommend using Prismacolor Colored Pencils. This brand is an excellent choice to use on Shrinky Dinks, and it will leave professional results.

You can choose to draw on whichever side you want to, and the Shrinky Dinks will still form correctly. Although, you’ll have better results if you plan and draw on the side that works the best with your art materials.
How Do You Seal Shrinky Dinks?
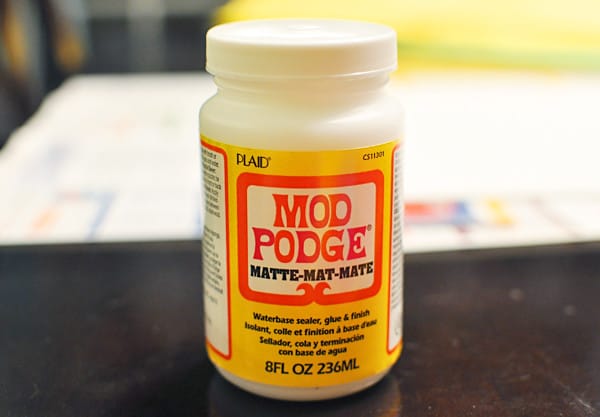
There are also multiple ways to easily seal your Shrinky Dinks. By sealing them, you give them another layer of protection.
One of the best sealing options would be Mod Podge Dimensional Magic. This Mod Podge formula can give your creations a clear dome shape over the Shrinky Dink. It’s glossy and adds a nice effect to the charm.
However, you can also use different Mod Podge formulas. Some formulas come with glitter in different colors if you want to add another fun design element to your Shrinky Dinks.
No matter what kind of seal you end up using, you’ll need to first make sure that you give your charms plenty of time to cool down. The seal won’t stick properly to the surface if they’re still warm.
Final Thoughts
You can easily bake your Shrinky Dinks in your toaster oven! Toaster ovens are very similar to standard ovens, even though they’re much smaller. You’ll want to make sure that your appliance can easily reach the temperature required for the shrink plastic to cure properly.
Overall, you have many different options for preparing your Shrinky Dink creations. You’re sure to have a safe method to shrink them at home!
Make sure to follow all my tips and recommended products to ensure your Shrink Dink project turns out great! Also, don’t forget to check out my other articles for all your painting Q&A’s. Happy painting!

