
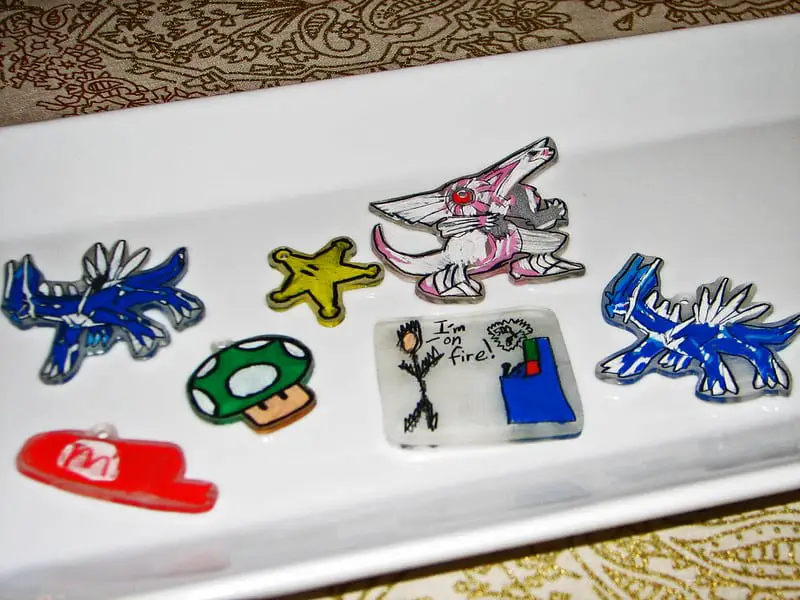
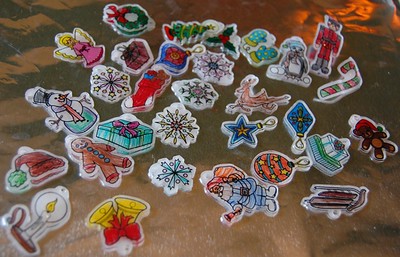
Shrinky Dinks are great for a variety of crafts. You can use them to make small charms, decorations, and jewelry. Although, if you’re going to put in a lot of work, it makes sense that you want your projects to last.
So, do Shrinky Dinks break easily? Shrinky Dinks are durable after baking them since the plastic shrinks and becomes nine times thicker. However, the plastic is thin and fragile before you heat it. You’ll want to cut your designs carefully, so you don’t rip the sheet.
There’s more to learn about how durable Shrinky Dinks are. Everything you’ll want to know about whether these projects break easily is below, so let’s keep reading!
What Are Shrinky Dinks?
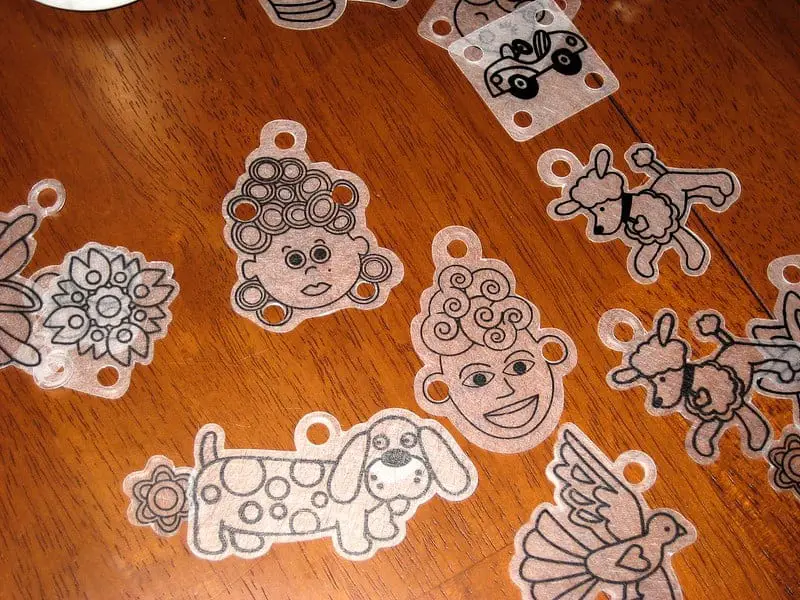
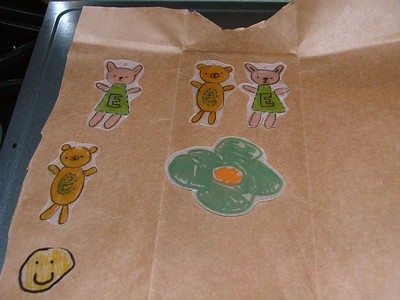
Shrinky Dinks are a craft kit that comes with sheets of polystyrene. You decorate the sheets, then cut out your designs. From there, you bake the designs in the oven, where they shrink to about two-thirds of their previous size.
This plastic project is a lot of fun for adults and kids alike! Plus, you can use the Shrinky Dinks in various other projects. For example, you can use them to make tiny charms for a resin shaker toy or make pieces to include in jewelry. The possibilities are endless because you can draw anything on polystyrene sheets.
Here is a great Shrinky Dink Kit to get started. It come with everything you need to get started!
After baking the Shrinky Dinks, the plastic becomes very thick, ensuring that your designs won’t break. It’s fairly strong, although it can chip or scratch if you drop it on concrete.
Overall, Shrinky Dinks are neat arts and crafts projects anyone can make. All you need are some markers, an oven, scissors, and your shrink plastic.
How Do You Keep Shrinky Dinks From Breaking?
You can take some additional steps to make your Shrinky Dinks more durable. First, you’ll want to ensure you bake them correctly, so they thicken. It’s also a good idea to use sharp scissors because dull blades can tear through your designs on the sheets.
Another method is to lay parchment paper over the Shrinky Dinks to keep them from curling and sticking together in the oven. You can press the parchment paper with a spatula to flatten them out.
Lastly, you may want to add a seal to your Shrinky Dinks. Mod Podge is the perfect option— it provides a strong seal, prevents color fade, and makes the Shrinky Dinks much more durable. There are also plenty of Mod Podge formula options so that you can give your designs a dome shape.
Check out my other article to learn all about baking Shrinky Dinks correctly, and what to do if they start to curl here!
Making the oven too hot or cool can cause issues during baking, leading to the designs breaking earlier. However, you shouldn’t have to worry because you’re sure to get great results if you follow the given instructions with your Shrinky Dinks.
Are Shrinky Dinks Durable?
Shrinky Dinks are extremely durable; they shouldn’t shatter or crack easily. However, they can still scratch without a seal, so you might want to make sure you add one.
Shrink plastic is durable after you bake it. It becomes nine times thicker, making it much more resistant to damage. It also resists the sun somewhat, so it won’t become brittle if you accidentally leave it out.
Over time, the color can fade slightly, especially if you handle or wear the Shrinky Dink a lot. You can prevent this by using a high-quality seal on your finished work. Plus, you can make your design more scratch resistant this way.
Finally, Shrinky Dinks are water-resistant, so you won’t have to worry about the designs bleeding color if they get wet after baking. You can make the Shrinky Dinks even more water-resistant by adding a seal, which is a good idea if you know they’ll be in the water at some point.
How To Bake Shrink Dinks
Baking Shrinky Dinks is a simple process. You can follow these instructions to get the best results:
- Decorate the rougher side of the plastic sheets.
- Cut out your designs with sharp scissors. Make sure to leave a hole if you want to make a keychain.
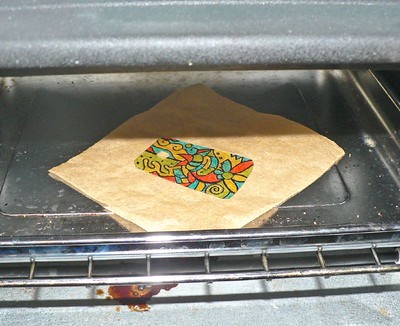
- Place the cutouts on a cookie sheet with the color sides up.
- Cover the cutouts in foil or parchment paper to prevent warping and folding.
- Bake in a toaster or microwave oven at 325°F (163°C) for one to three minutes.
- Watch the cutouts in the oven. Wait for 30 seconds after they flatten to remove them.
- Press the parchment paper or foil with a spatula to solidify the flat surface.
- Allow the designs to cool before touching them.
After letting the designs cool, you can add keychains, strings, and more. Or, you can leave them as simple charms. There are plenty of different options when it comes to Shrinky Dinks! They’re very easy to make, too, so you’re sure to master baking them quickly.
You can read my other article that guides you throughout the baking process, and helps you choose the correct paint for your Shirky Dinks project here.
Do You Need To Seal Shrinky Dinks?
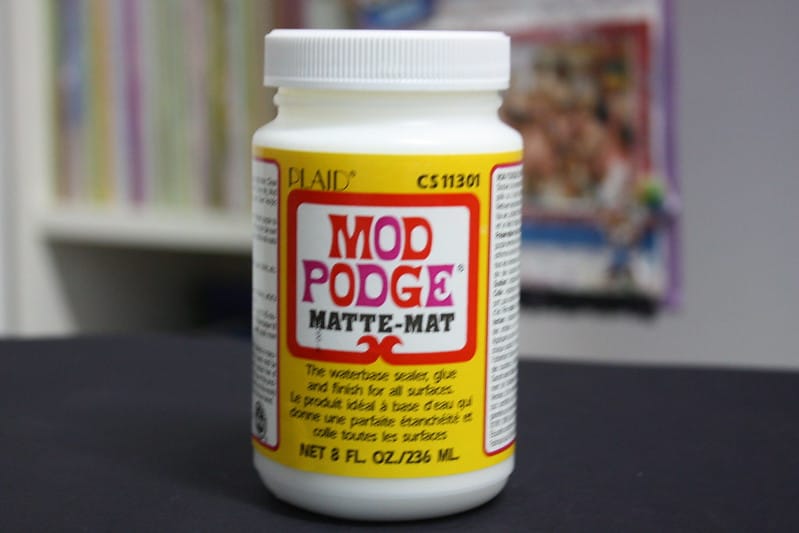
You technically don’t need to seal your Shrinky Dinks, although it can make them more durable. The best option is Mod Podge’s original acrylic sealant. It makes your Shrinky Dinks more glossy and looks great!
You must seal the Shrinky Dinks if you expect them to make contact with water. While they are mostly water-resistant, adding another layer of waterproof protection can go a long way. Seals also can make them scratch and fade resistant.
So, while you don’t need to seal them, many people do. It’s a good practice when you put a lot of work into your Shrinky Dinks and want to make your artwork last as long as possible.
What Happens if You Bake Shrinky Dinks Too Long?
If you bake your Shrinky Dinks for too long, they can start to melt or curl. You’ll also notice bubbling in the plastic. It’s best only to bake them for one to three minutes while keeping an eye on them. You want to catch them when they flatten so you can time them for another 30 seconds.
When your Shrinky Dinks curl every time you heat them, you need to start taking them out earlier or turn down the heat. Everyone’s oven is different, so the instructions might not be precisely correct for yours. I recommend always making one test Shrinky Dink to see how it reacts to the directions on the packaging.
You can tweak the steps as needed to ensure you don’t bake your designs for too long. Shrinky Dinks are simple to make, so you’re certain to have perfected the process after making one or test designs.
Overall, you’ll know that you’re baking your Shrinky Dinks for too long if they always come out deformed. It’s normal for Shrinky Dinks to curl and unfurl in the oven, but they can stay curled if the oven’s too hot. Over baking can also lead to issues with bubbling in the plastic.
Final Thoughts
To summarize, Shrinky Dinks do not break easily! You can make them into various projects, even ones you’ll always wear. They’re durable, so you shouldn’t worry about them cracking or bleeding color.
However, you can still add a sealant to the outside of your final designs. Doing so ensures that your Shrinky Dink creations can last as long as possible. You’ll want to choose a sealing agent that’s strong and scratch-resistant— Mod Podge Gloss is an excellent option!
Make sure to follow all my tips and recommended products to ensure your painted project turns out great! Also, don’t forget to check out my other articles for all your painting Q&A’s. Happy painting!
