

Many people use other heat sources to shrink their plastic creations and get good results. So, will an air fryer shrink plastic cutouts when you don’t have a standard oven?
Don’t make Shrinky Dinks in an air fryer since it can be dangerous. Air fryers work by blowing hot air in a small space. It would shrink your designs, but they’d blow around and fold. Since air fryers get very hot quickly, they might also melt the plastic.
As long as you have a safe source of heat, you can make Shrinky Dinks. All the important points about shrinking your plastic creations are below, so let’s keep reading!
What Are Shrinky Dinks?
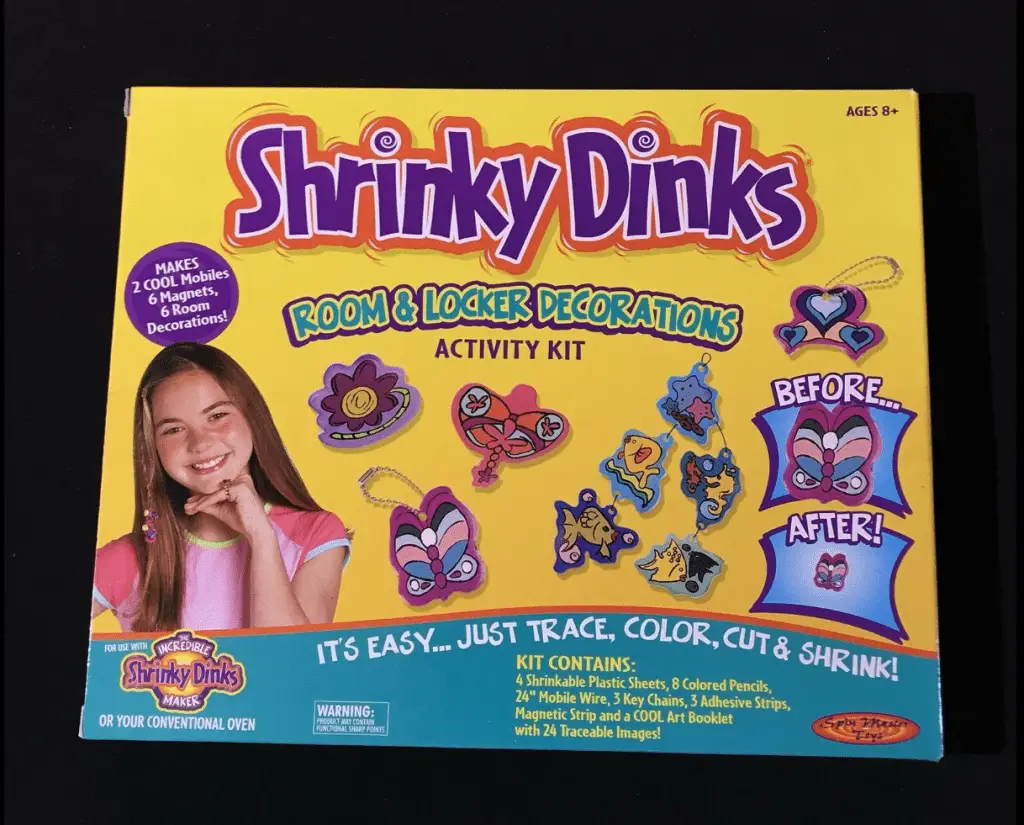
Shrinky Dinks, sometimes called Shrinkles, are a craft you can easily make at home. The kit includes shrink-plastic sheets, sometimes with premade designs. Once you’ve made your design, you cut them out, then bake them.
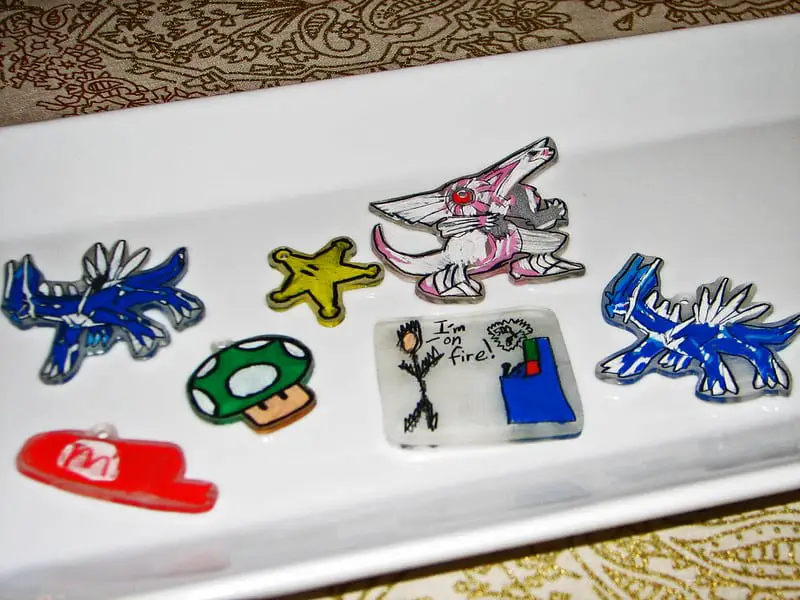
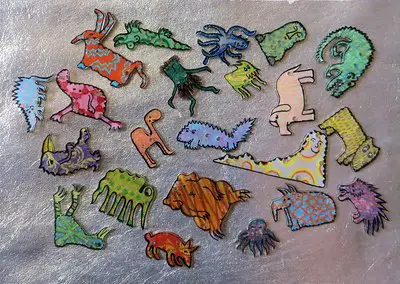
Shrinky Dinks fold and shrink to a fraction of their original size after they get hot. Many people use shrink-plastic to create unique charms and jewelry. The result is a hard piece of plastic made from your hand-drawn art.
Making these plastic charms is a popular craft for kids, although adults can make them too! You can create anything you want, so they’re a lot of fun.

These plastic sheets consist of polystyrene, giving them unique properties. They shrink and harden, turning into small plastic charms with plenty of uses. You’re sure to enjoy all the steps of making them.
Can Shrinky Dinks Go in an Air Fryer?
You’ll need to devise another way to bake your creations without an oven. Since they only need to reach 325°F (163°C), you have plenty of options. However, using an air fryer isn’t one of them!
While an air fryer would reach the appropriate temperature, the heating system uses a powerful fan, unlike a standard oven. The fan would blow your designs around, causing them to fold over on themselves and harden. It would ruin your art, and the plastic could blow onto the fan and become stuck, which could be a fire hazard.
It’s safer not to put your Shrinky Dinks into an air fryer, and find another heat source to use instead.
Can You Do Shrinky Dinks Without an Oven?
Luckily, if you don’t have a traditional oven handy, you can still make Shrinky Dinks. There are a few different options that work well.
First, many suggest making Shrinky Dinks in a slow cooker or crockpot. Set it to the appropriate temperature, then arrange your cutouts. You should be able to see them shrinking after a few minutes. It may take a bit longer than using an oven.
Next, you can also try using a hairdryer or heat gun. With this method, you’ll need to avoid blowing the sheets away. Covering the designs in parchment paper is usually enough to keep them trapped without blowing away. Then, let the device blow hot air over the Shrinky Dinks and continue until they shrink wholly.
I wrote another article that talks about baking Shrinky Dinks in a small toaster oven. It’s a must read if you don’t plan on using a regular oven.
In short, there are plenty of ways to make Shrinky Dinks without using an oven. You’ll want to research any method you come up with online first to ensure that it’s safe and will give you the results you want.
Can You Make Shrinky Dinks With Hair Dryers?

As mentioned above, Shrinky Dinks work with hair dryers. The air that it blows out gets hot enough to shrink the plastic, but you will need to spend more time heating it. Here’s what you can do:
- Set your Shrinky Dinks on a baking sheet.
- Place a piece of parchment paper over your cutouts.
- Weigh down the edges of the paper, so it doesn’t come up.
- Get your hair dryer, plug it in, and set it to “High.”
- Blow hot air over the Shrinky Dinks.
- Keep the blow dryer moving, so they heat evenly.
- After the designs shrink, keep running hot air over them for another minute.
- Allow your Shrinky Dinks a few minutes to cool down before handling them.
If you don’t have parchment paper, crafters online recommend that you hold the Shrinky Dinks in place using a pair of tweezers. However, you’ll probably only be able to heat one at a time.
So, yes, you can use a hair dryer to make your Shrinky Dinks! It’s an easy process and works well when you don’t have an oven. Although, a traditional oven will give you better results.
Check out this cool Shrinky Dink set that comes with 100 pieces! It’s great for kids, or even adults!

How To Shrink Shrinky Dinks
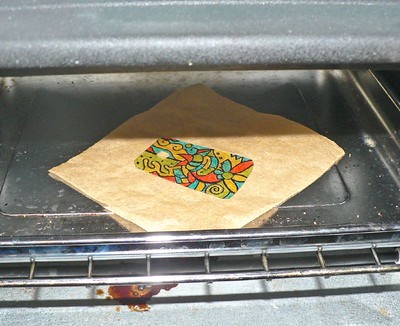
Shrinking your plastic cutouts is simple— all you need to do is heat them at 325°F (163°C) for a few minutes. Most people recommend that you do that in your oven, although you can use a few other tools, including a hair dryer.
Here’s a quick breakdown of the steps to shrinking your Shrinky Dinks at home:
- Set your oven (or another heat source) to 325°F (163°C).
- Line a baking sheet with parchment paper or aluminum foil.
- Set your Shrinky Dinks on the tray without them touching. They should each have plenty of space to prevent sticking.
- Place the tray inside.
- Wait for them to heat.
- The Shrinky Dinks will curl and then flatten as they bake.
- After they spread out, you should wait 30 more seconds.
- Remove the tray and give the Shrinky Dinks some time to cool.
If your designs fold, you can reheat them and unfold them using a spatula or tweezers. So, if you see your Shrinky Dinks behaving strangely, don’t panic. You can always correct it.
Final Thoughts
So, combining air fryers with this craft project is not a good idea. The plastic sheets are very lightweight and won’t stay in place, which can lead to many issues. If they blow onto the fan or heating element, the Shrinky Dinks would be a fire hazard.
Various tools can shrink your Shrinky Dinks, including toaster ovens or hair dryers. You’re sure to have one of those at home, making this an easy project for anyone.
Make sure to follow all my tips and recommended products to ensure your Shrinky dink project turns out great! Also, don’t forget to check out my other articles for all your painting Q&A’s. Happy painting!