
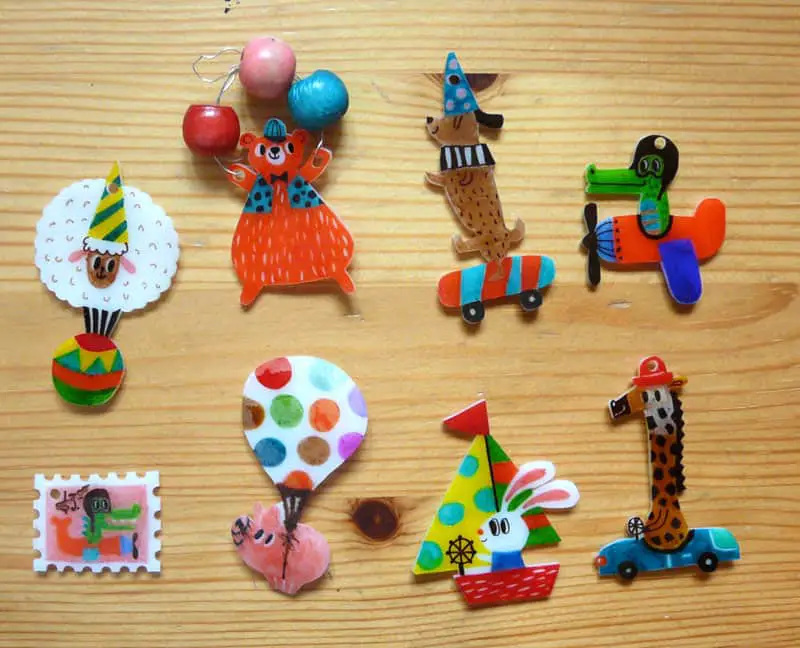
Although Shrinky Dinks were most popular in the 1980s, they are still loved by many people. Shrinky Dinks remain a relatively popular craft today, and often people will color them with vibrant permanent markers. But how else can you decorate them? What if you want to add more than just color to your Shrinky Dinks?
So, can you put glitter on Shrinky Dinks? Yes! You can put glitter on Shrinky Dinks, but only after they’ve been in the oven and cooled down. You should not try to bake Shrinky Dinks with glitter already on them. Although it is possible to get heat resistant glitter, which would technically be safe to bake in the oven, it will often cause the glue to bubble and potentially ruin your design.
In this article, we will be going into more detail about putting glitter on Shrinky Dinks. As well as this, we will be offering up other materials that you can add to your Shrinky Dink creation.
How to Put Glitter on Shrinky Dinks

As briefly stated above, glitter is best used on Shrinky Dinks that have already been baked and shrunk in the oven. Once they have been left to cool, you will then apply glitter glue.
With this being said, you can buy heat resistant glitter if you really do want to apply it before shrinking it. Just be aware that glitter glue has a tendency to cause permanent bubbles when baked, meaning you run the risk of spoiling the Shrinky Dink. Nonetheless, there are no safety issues involved.
Below is how to apply glitter to post-baked Shrinky Dinks;
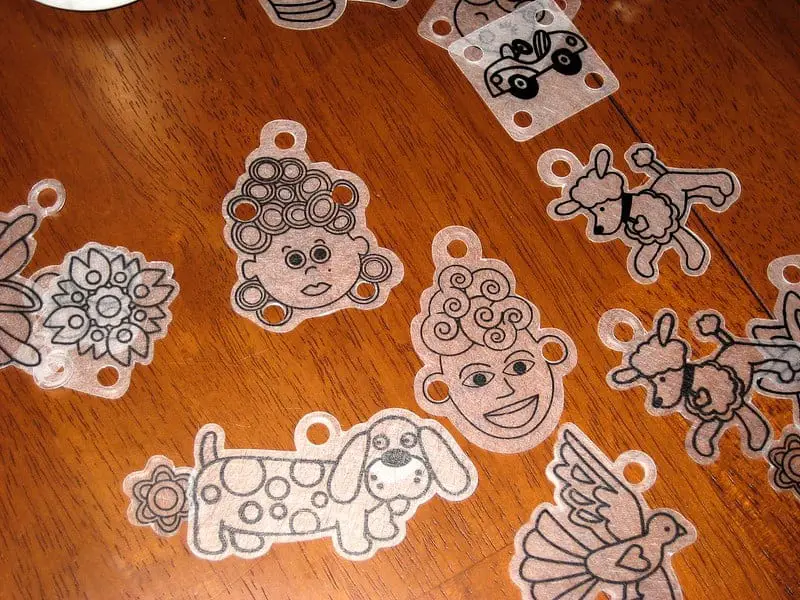
Step 1 – Draw the outline of your design on the Shrink Dink plastic sheets. Do this with a marker. Generally, you would want to use a dark color so that you don’t lose track of the outlines, however, you don’t have to.
Step 2 – Color in your design. For this, the most popular choice is permanent markers, although you can also use other pigments (as discussed below).
Step 3 – Cut out the shape. You can use general household scissors for this and it will work perfectly fine, however, if your design has lots of small fiddly edges then nail trimming scissors are particularly useful.
Step 4 – Heat your Shrink Dinks on a baking tray in the oven for 3 minutes. The oven should be pre-heated to 160 degrees celsius. You will know when they are ready as they will stop curling and lie flat on the paper instead.
Step 5 – Leave the Shrinky Dinks to cool.
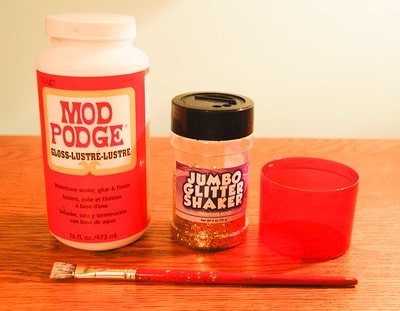
Step 6 – Once cooled, you can add any finishing touches such as rhinestones or glitter. The easiest way to apply glitter is by using pre-mixed glitter glue, however, you could technically brush on a thin layer of PVA glue or Modge Podge, then sprinkle glitter over the top.
Dry glitter is normally easier if you want to cover the entire Shrink Dink, whereas glitter glue is better for small areas. For example, if you only want the jacket of your Shrinky Dink person to have glitter, then you should use glitter glue.
What Materials Can You Use on Shrinky Dinks?
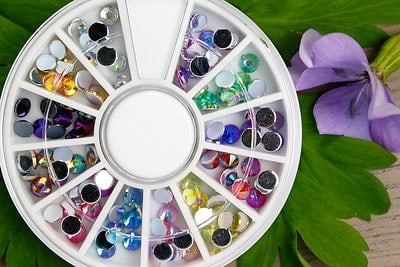
Another common material that is used to decorate Shrinky Dinks is rhinestones. Although rhinestones are often applied by heating them under a household iron, in this case, you’d glue them. Much like the glitter, you should apply rhinestones after you have baked and shrunk your Shrinky Dink designs.
Applying them with glue can be quite fiddly. However, there is no guarantee that they will set to pre-heated Shrinky Dinks. Unfortunately, putting them in place and hoping they’ll stick as the Shrinky Dinks heat just isn’t reliable, therefore, glue is the best option.

To make this job easier, we’d recommend using tweezers to apply them, since your designs will likely be quite small. Use the glue sparingly so that it doesn’t spill around the edges of the rhinestone and show up in your final creation.
As well as rhinestones, you could potentially apply googly eyes, felt, gemstones, ribbon, or even sand to your Shrinky Dinks. (All of the previous should be applied after baking).
What Is the Best Thing to Color Shrinky Dinks With?
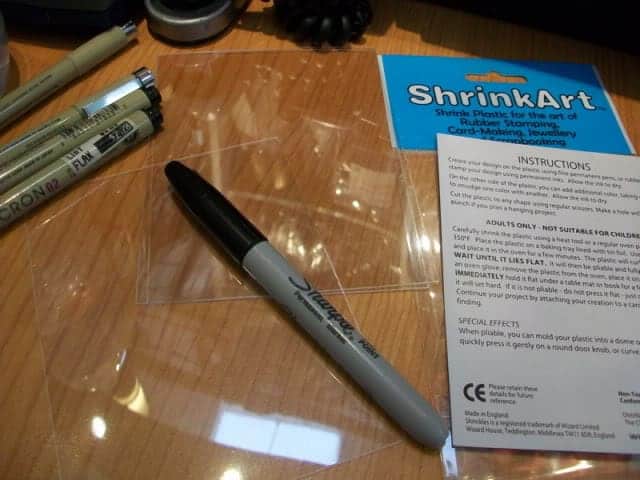
If you are using a glossy plastic style Shrinky Dink, then it’d be best to use a permanent marker such as Sharpie. If you can find non-oil based and non-water based markers, then these will offer the best results. Water-based markers will not heat-set. Because of this, they will never dry and continue to smudge even after cooling.
Although you can also use crayons or pencils, they won’t work so well on glossy plastics as the colors will just run or smudge. There is also a high risk that they won’t retain any vibrancy after being heated.


However, a lot of crafters do prefer the way the crayon or pencil texture looks. So if this includes you, then you can buy more porous Shrinky Dinks, similar to sandpaper, which will help other pigments such as these to adhere. You could also use watercolour pencils or paint.
What Kind of Paint Do You Use on Shrinky Dinks?
The best type of paint to use is gloss acrylic craft paint. You should always make sure the paint is glossy. If you try to apply non-gloss paint, then it will just peel and chip off.
Further to this, you should only use ink-based paint on Shrinky Dinks. Ink-based acrylics are extremely fine pigments, almost mimicking the state of an emulsion of water. They are actually the thinnest pigment available, which makes them ideal for shrinking.
Unlike markers, you can also use water-based paint on Shrinky Dinks for vibrant colors.
How Do You Seal Shrinky Dinks?
There are several different ways that you can seal your Shrinky Dinks. Here, we will talk about the 3 most common ways, all of which are relatively simple.
Embossing powder – For this, you will cover your finished Shrinky Dink with embossing powder on a baking tray. By ‘finished’, this means that you will already have heated, shrunk, and cooled the Shrinky Dink before applying the powder.
Then, you will put the powder-covered Shrinky Dink back into the oven until the powder has melted. You will likely have excess, which you can just clear away with a paintbrush.
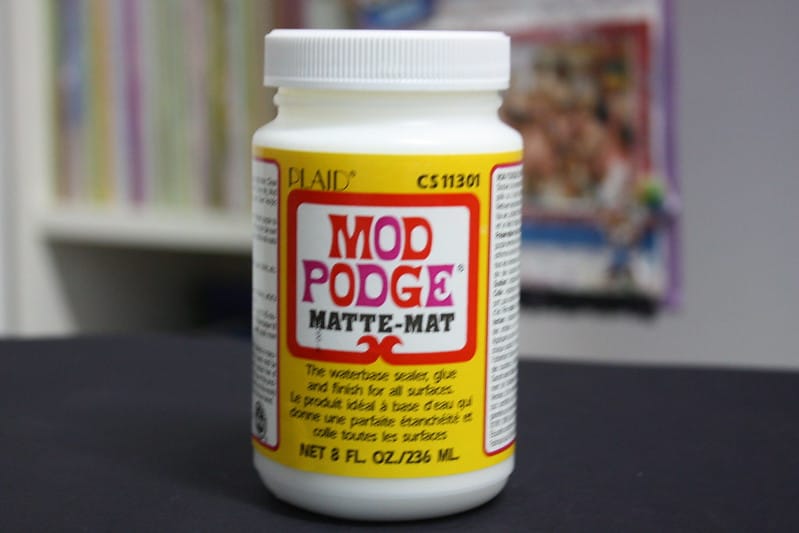
Modge Podge – Modge Podge is used for sealing loads of different crafts, so it’s no surprise that it can be used on Shrinky Dinks as well.
Apply a thin layer on Mod Podge over your finished Shrinky Dink and leave it to set for at least 24 hours. During this time, make sure the Shrinky Dinks will not be exposed to any water or intense heat.
Acrylic sealing spray – Again, the spray is applied to the finished product. Try to make sure you don’t use too much, and leave the Shrinky Dink to dry on a flat surface to avoid smudges. This sealant is best used with markers, as pencils or crayons are more likely to run.
Final Thoughts
In short, glitter can be applied to finished Shrink Dinks after they have been heated in the oven. Glitter, along with other materials such as rhinestones, can make for a lovely addition to your creation and help it stand out from the crowd.
Make sure to follow all my tips and recommended products to ensure your Shrinky Dink painted project turns out great! Also, don’t forget to check out my other articles for all your painting Q&A’s. Happy painting!
