
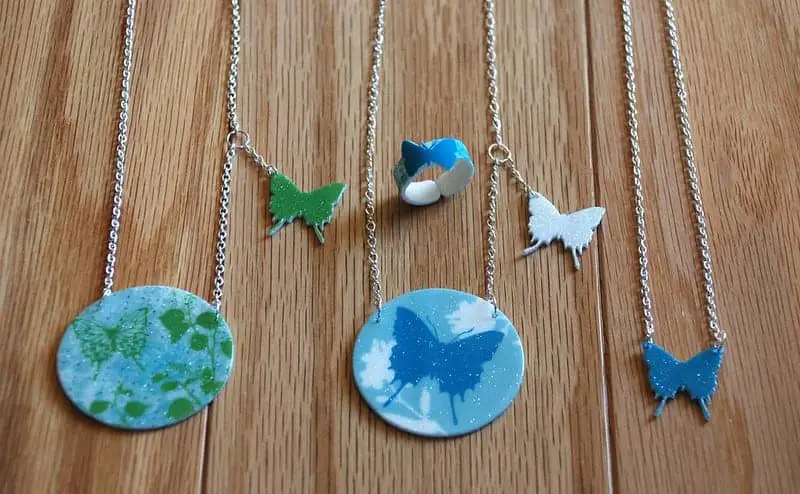
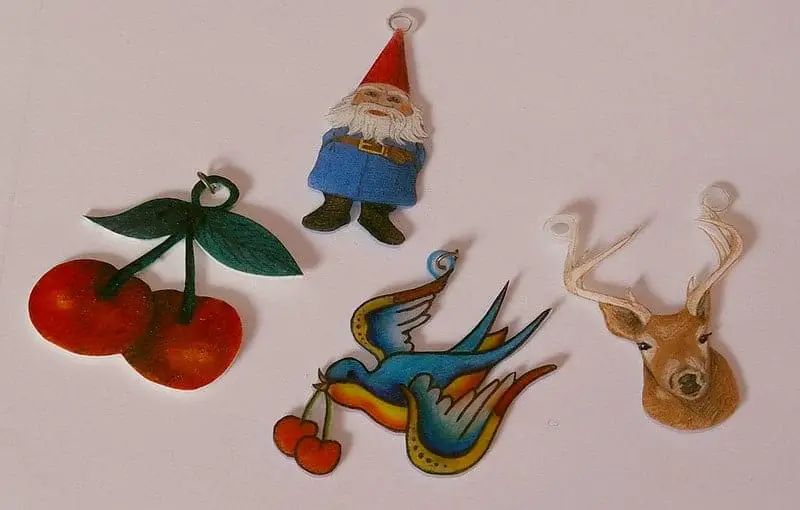
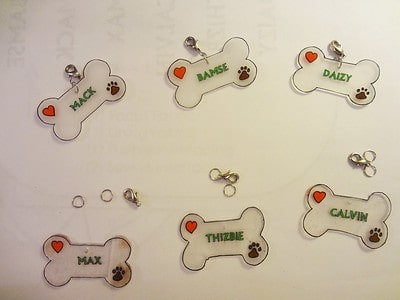
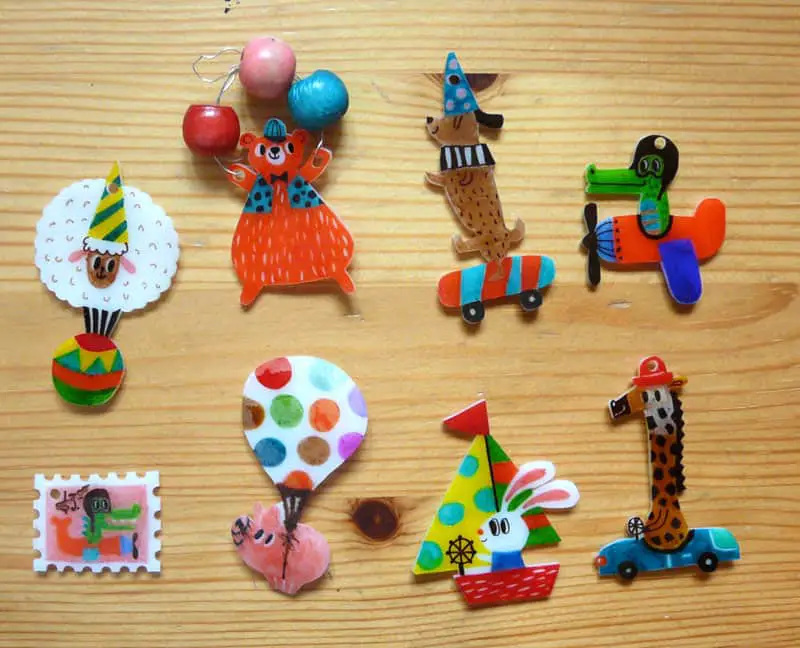
Shrinky Dinks are a creative and fun way to make small charms and designs. Traditionally, you make them in the oven. Although, many people wonder if there are faster ways to make their Shrinky Dinks.
So, can Shrinky Dinks go in the microwave? You don’t want to put your Shrinky Dink creations in the microwave. The plastic won’t shrink properly. Instead, it may just warp and melt. You should always follow the shrink plastic instructions for the kit for your designs to turn out.
Shrinky Dinks don’t work in the microwave because these appliances heat items differently than a standard oven. The plastic won’t shrink, so you shouldn’t try it. Still, there’s more to learn about different ways to heat your Shrinky Dinks! Let’s keep reading.
What Are Shrinky Dinks?
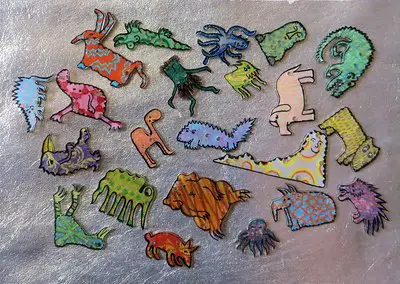
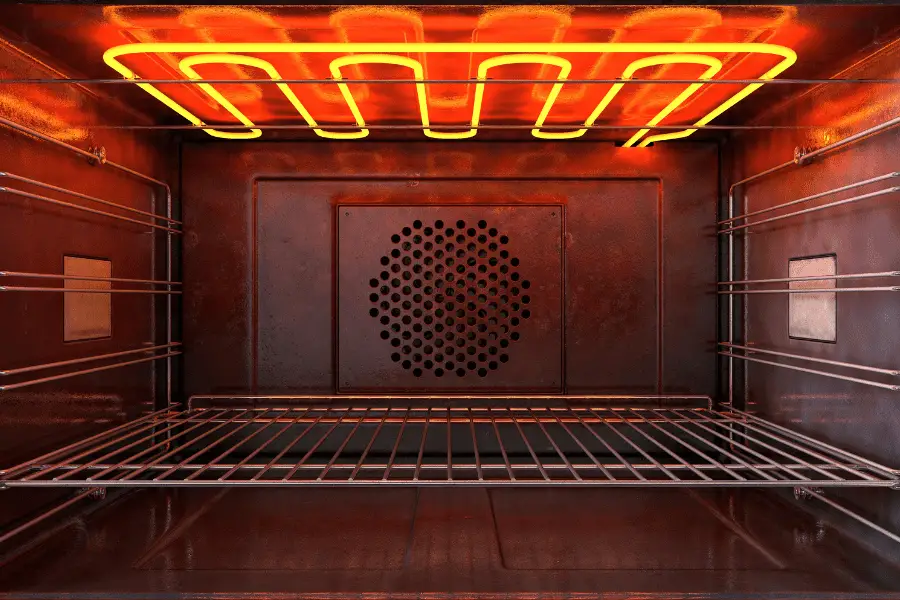
Shrinky Dinks, sometimes also called Shrinkles, are a DIY kit with polystyrene sheets. You draw on the sheets, color them in, cut out your designs, and heat them in an oven. The oven’s heat causes the plastic to shrink down.
According to the Shrinky Dink brand, you make them by placing them on a tray covered with foil. Start by heating your oven to 325°F (163°C), let the Shrinky Dinks bake for one to three minutes, then they’ll shrink!

The polystyrene shrinks when heated because of a chemical reaction. The components in the plastic become smaller and denser. This feature makes it great for artists because it has plenty of uses!
Overall, Shrinky Dinks are a craft that’s fun for all ages. You’ll enjoy making them, even if you’ve never worked with Shrinky Dinks before.
Can I Put Shrink Plastic in the Microwave?
You shouldn’t put shrink plastic in a microwave. The plastic won’t react the same as if you were to use a traditional oven. Since microwaves don’t heat food the same way as a convection oven, the plastic doesn’t shrink in a microwave.
Microwaves use small waves that we can’t see to cook food from the inside out. On the other hand, ovens use heat for cooking food from the outside. These fundamental differences change how Shrinky Dinks react to them.

Since the Shrinky Dinks company doesn’t intend their product for use in microwaves, the plastic can also warp and become strange-looking. If you want your designs to turn out, you should follow the instructions for the Shrinky Dink packaging.
In short, you should never put plastic shrink paper in the microwave. Even if you don’t have an oven, there are alternative methods that you can use to bake the plastic. You’ll still want to avoid putting them in the microwave because you’ll ruin them!
Can You Make Shrinky Dinks Without an Oven?
You don’t need an oven to make your Shrinky Dinks. You can use a CrockPot, hairdryer, heat gun, and similar heating methods. Although, using the CrockPot is the easiest method and will give you even results, much like an oven.
Start by heating the CrockPot to high. Then, set the Shrinky Dinks inside on a piece of flat foil. You’ll want to watch the Shrinky Dinks through the lid so you don’t over-bake them. You can take them out when they appear to stop shrinking.
It will take the Shrinky Dinks a little longer to set in a CrockPot than they would in an oven, but not by that much. You should keep an eye on them because these appliances heat at different rates.
However, not everyone has a CrockPot at home. If you don’t, you’re still not out of options yet!
Can You Do Shrinky Dinks With a Hair Dryer?
Many people are surprised that you can easily use a blow dryer to shrink your plastic! Start by placing your designs down on foil or parchment paper. Hold the plastic in place with tweezers and hit it with hot air. You’ll need to keep pushing the tweezers down into areas that rise, so it doesn’t warp.
Shake the hairdryer gently to distribute the heat evenly over the design. You’ll notice it starts shrinking after a minute. You’ll need to try your best to make the plastic shrink down evenly, so it might be a good idea to make a test Shrinky Dink first.

That way, you can get a feel for it without ruining the design that you want to make. After making a few Shrinky Dinks using a hairdryer, it’ll be easier for you. It won’t take long to finish them by using this method either.
If you have a heat gun, you can also use one of those in place of the hairdryer. You’ll get the same results- just make sure not to make it too hot! You’re more likely to warp or melt the Shrinky Dinks than with a heat gun, so take your time.
Can You Put Shrinky Dinks in an Air Fryer?
You shouldn’t put Shrinky Dinks in an air fryer. These appliances work by blowing hot air around a chamber. Since the plastic is very lightweight, they’d probably blow around inside the fryer- possibly sticking to the fans and making a mess.
You have plenty of other options for making Shrinky Dinks, so you’ll want to choose those instead of an air fryer. While these machines do get hot enough to make the plastic shrink, the fans inside are what cause the problem.
Overall, you should avoid putting your Shrinky Dinks in the air fryer! There are many other more straightforward methods that you can use instead.
Final Thoughts
To summarize, there are many different methods that you can use to make Shrinky Dinks if you don’t have an oven available. However, you shouldn’t use a microwave because it won’t have the effect that you want on the shrink plastic.
Instead, you can try using a CrockPot, hairdryer, or a heat gun. These methods work great as long as you set them up correctly. You’ll also want to avoid using an air fryer for baking your designs. Overall, you have many options, so you won’t have to use a microwave anyway.
Make sure to follow all my tips and recommended products to ensure your Shrinky Dink project turns out great! Also, don’t forget to check out my other articles for all your painting Q&A’s. Happy painting!