There are a couple of reasons why you might want to paint your mailbox. First, it looks run down and is in need of a touch up. Second, it doesn’t match your house paint, and you want it to. Third, you want to stand out with a really cool hand-painted design on your mailbox.
Mailboxes are made with different materials, but most come in plastic, steel, or aluminum. So, can you use acrylic paint on a mailbox? Yes, you can definitely paint your mailbox with acrylic paints. Acrylics dry quickly, they’re water-resistant, and really durable, making them the best choice for painting a mailbox.
Painting your mailbox, whether it be for personalization or a make-over, is a fairly easy process. This is because acrylic paint is easy to use and dries quickly. You can have the whole process completed in less than one day. In this article we go over everything you need to know to successfully paint your mailbox with acrylic paint. Let’s get to it!
How Do You Paint Decorative Mailboxes?
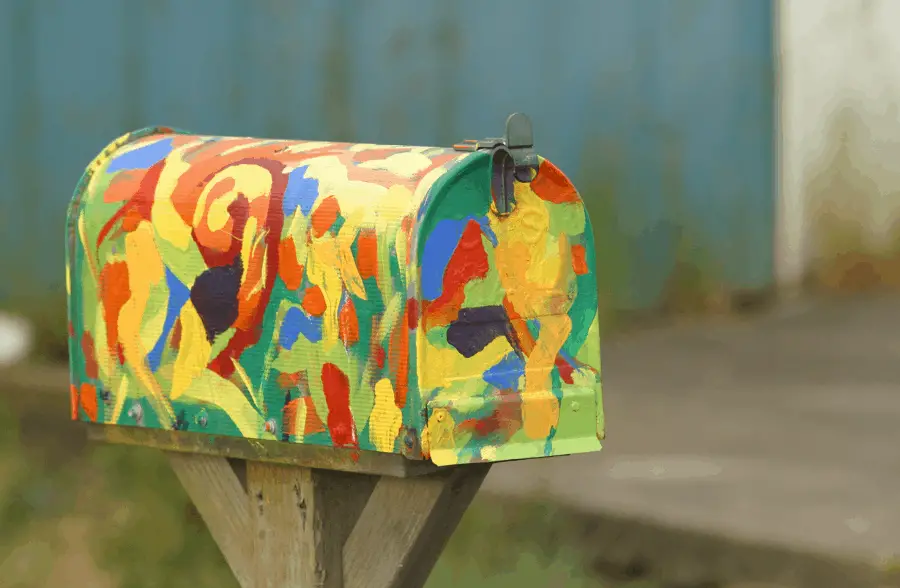
Decorating your mailbox is a great way to add some individuality to the front of your home. You can paint your mailbox with acrylic paints, which you can change at any time when you have a new idea. You are going to need a sanding block, primer, paint, sealant, a dry erase marker, and stencils if you aren’t planning to freehand.
My favorite and top pick is always Arteza Acrylic Paints. They have so many different colors, and the quality is amazing! I usually use Arteza Paints for all my projects.

The first thing you will do is get your mailbox and determine what type of material it is made out of. If it is metal, you will need to get a metal primer. If it is plastic, you will need a plastic primer. Before adding the primer, you will need to sand the surface of your mailbox.
I recommend getting Liquitex Primer to prime your mailbox before you paint it. It works on many surfaces, and has minimal odor.
You can sand a mailbox that has already been outside and needs redone, or you can sand a new mailbox to roughen up the surface. If you are dealing with a mailbox that is older, sand off as much as the previous paint as you can.
After you get the paint sanded down, spray or brush on your primer over the areas that you sanded down. Let the primer dry completely. Next, you will need to paint your mailbox with the base color. It is important to use acrylic paint, especially if painting on metal, because it is water-resistant and can protect from rust.
Allow the base paint to dry completely. After a couple of hours, your mailbox will be ready for the design to be painted on. If you are going to freehand your design, you can sketch it out first with the dry erase marker. If you are using a stencil as your guide, you won’t need to sketch first.
This Stencil Kit is a super cute way to add some shapes, phrases and numbers to your mailbox.

Once you have your design, or if you are going to free-hand, starting painting your mailbox. You can wipe away any mistakes with a cloth as you go. When you are finished, allow the design to completely dry before you add a waterproof sealant to protect your design and the mailbox. Later on in this article I go over how to weatherproof and seal your acrylic painted mailbox.
Can Mailboxes Be Painted Any Color?

The postal service is pretty flexible when it comes to the color of your mailbox, but there are still a few things to keep in mind. If you know the requirements before you start painting, you can avoid any problems with having to repaint your mailbox in the near future.
When it comes to the color of the mailbox, it can be any color. You can choose to paint a color like white, brown, or black. You can also choose a color that will stand out a little better such as green, blue, or red. The post office doesn’t have restrictions on the color of the box.
There are restrictions on what color the flag on your mailbox can be. The requirements of the United States Postal Service say that your flag can be painted any color except white, yellow, brown, blue, or green. This is because these colors are least visible to couriers, and they can easily miss a raised flag.
It is also required that the flag and the mailbox colors contrast with each other. For example, you can’t have a black mailbox and a dark gray or dark purple carrier flag. This makes the flag more visible to the courier, so they won’t miss a raised flag.
While the postal service doesn’t require your mailbox to be a certain color, you might have rules about it if you live in an HOA community. If you want to paint your mailbox, make sure you read over the rules of your HOA to avoid any fines.
How Do You Prepare a Metal Mailbox for Painting?
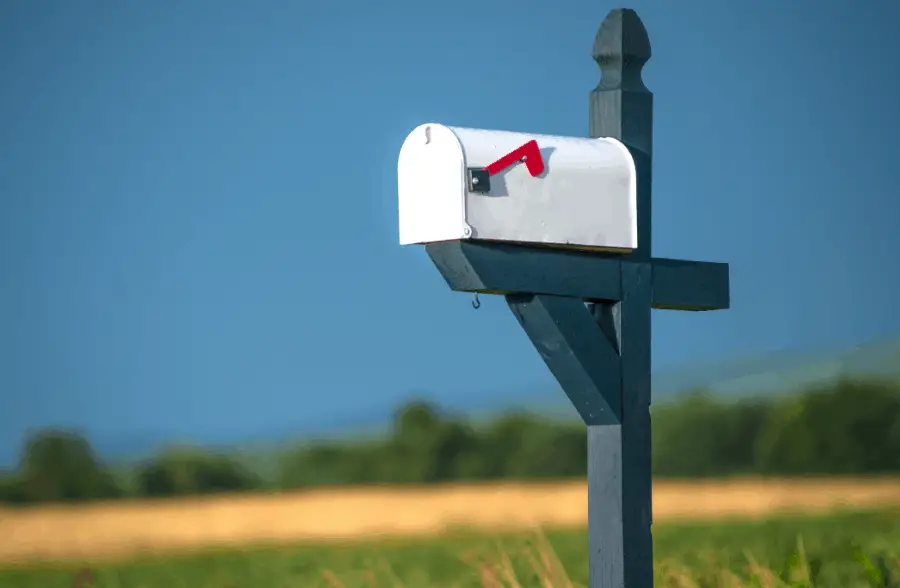
If you can, remove the metal mailbox from the post. It should just be screwed on, so you will just need to take the screws out and keep them in a safe place for when you reattach the mailbox. If you can’t remove the mailbox from the post, cover the post to protect it from any paint.
Remove the flag, numbers, hook, and latch from the mailbox. If you can’t remove them, cover them with tape. I use this Painter’s Tape for my acrylic paint projects, and it works great. Clean the surface with an all-purpose cleaner to remove any dust and dirt. Rinse the mailbox with just water and let it dry. Sand it down to remove old paint, rust, or mold.
Working outside, you can apply the metal primer to the mailbox. It doesn’t matter what color you use, because it will be covered up with your base coat. Apply the primer as evenly as possible and overlap your strokes to prevent any gaps.
You will want to paint the entire outside of the mailbox first, then open the flap to paint the rim. Wait for the primer to dry before closing the flap, or the mailbox can be glued shut. It is recommended to do two coats of primer for maximum protection.
How Do You Weatherproof a Metal Mailbox?
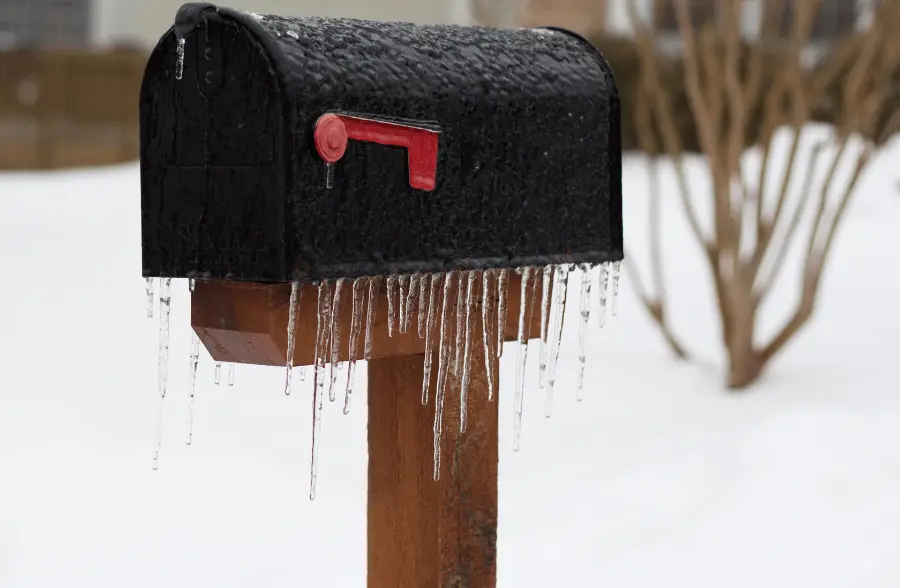
Your mailbox is exposed to all kinds of weather when it is outside. Sunshine, rain, wind, even snow if you live in the north. Weatherproofing a metal mailbox is an important part of making sure it stays free from rust and mold.
Using an acrylic paint is a great way to start weatherproofing your mailbox. Acrylic paint is water-resistant, so it will play a part in making your mailbox weatherproof. You can protect the inside of your mailbox by adding a thin weather stripping to the inside. This will protect your mail from water damage.
You will also want to seal your mailbox with a waterproof sealant. This will not only protect the paint from coming off the mailbox, but it will also protect the surface of the mailbox from getting wet and forming rust or mold underneath.
I highly recommend using Mod Podge Spray Sealer to seal your acrylic painted surfaces. This spray is waterproof so you don’t have to worry about your acrylic paint flaking or washing off. I definitely use this spray when I need to protect my paints from water, humidity and harsh weather.

How Do You Paint a Rusty Mailbox?
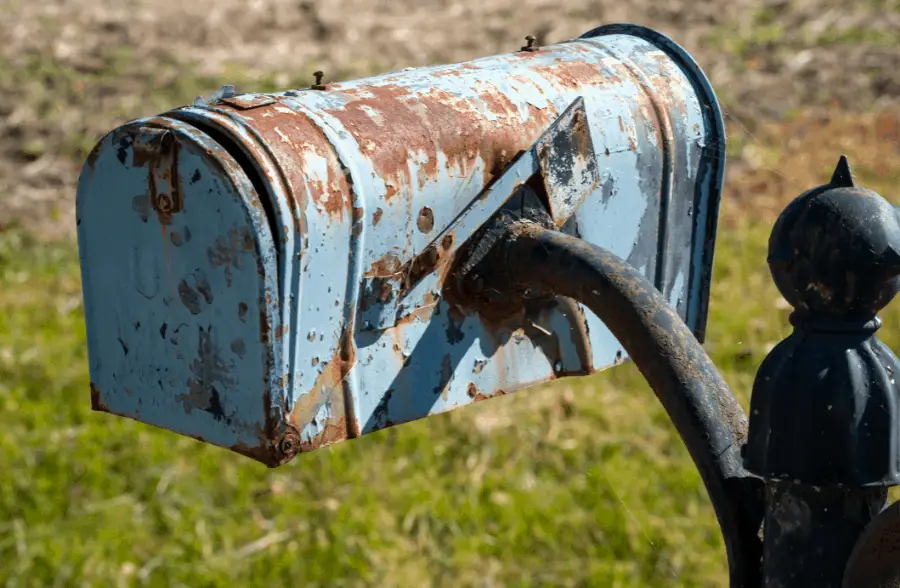
If your current mailbox is rusty, you can still paint it. You will want to get some warm water and add in soap. Scrub the entire surface with an abrasive sponge to get rid of any dirt and rust. Next, you will need to scrub the mailbox with a wire brush. Focus on the parts that have the most rust.
Add a rust remover to the mailbox with the help of a paintbrush. Let the remover sit on the mailbox for about five minutes, or the time indicated on the label. When the time has passed, scrub the mailbox with the wire brush again to remove the rust that has loosened. I recommend using this Rust Bullet Metal Rust Remover Spray.
Wash the mailbox with soap and warm water again and let it dry. After the surface has completely dried, you can add the primer of your choice. Let the primer dry completely before you start to paint the mailbox as described above, starting with the base color.
How to Seal an Acrylic Painted Mailbox
When you’re finished with painting your mailbox, you are going to need to seal it. This will protect both your painting and your mailbox from the elements. It is best to use a waterproof sealant that also has the ability to prevent rust from forming. We talked about Mod Podge Spray above, but you can also use Krylon Acrylic Spray Sealer, to seal your paints.

Shake the can of sealant to thoroughly mix up the contents of the sealant. These sealants usually come in spray cans and should be kept away from any type of flame. When you spray, keep the can 12 to 14 inches away from the surface.
Spray the sealant in even strokes, making sure they slightly overlap to prevent any gaps. You should apply three coats for maximum protection. Wait a few minutes between layers to allow each previous layer to slightly dry before adding the next.
Final Thoughts
Painting your mailbox is a great way to fix it up or add individuality to the front of your home. If you want to paint your mailbox, the best paint to use will be acrylic. This is because it dries quickly and is water-resistant. You can paint metal or plastic mailboxes with acrylic paint.
Painting a mailbox is a very easy process. You just need to prepare your mailbox, check the regulations of your HOA if you have one, choose the color you want to paint, add the primer, paint your design, and add a sealant. The whole process should be able to be completed in less than one day. Make sure to follow my steps and recommend products to ensure your mailbox project turns out amazing!
Don’t forget to check out my other articles for all your paining Q&A’s. Happy painting!

