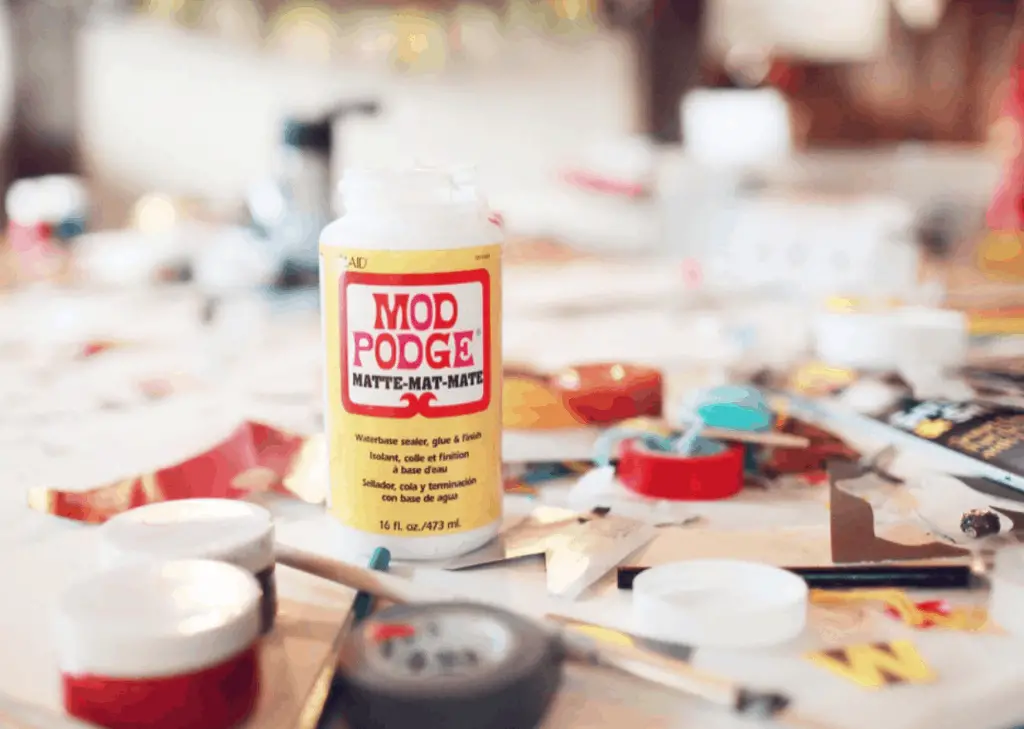
When you are trying to decoupage some pictures, it can be tricky to do it properly. Since Mod Podge is a water-based product, you might notice that the ink on your pictures is smearing. This can not only be frustrating, but it can also ruin your picture and make it unusable.
So, does Mod Podge smear ink? While Mod Podge will smudge ink, there are some ways that you can protect the picture from any smearing or running. You can solve this problem by adding a water-resistant barrier between the picture and the Mod Podge. This will work as a fixative, binding the ink to the paper and preventing smearing.
There are several different methods you can use to prevent ink from smearing when you are trying to decoupage some pictures. These solutions range from spray fixatives to freezing your picture to set the ink. Let’s read on to learn more!
How Do You Prevent Mod Podge from Smearing Ink?
The main reason why ink smudges is because it is water-based. Since Mod Podge is also water-based, the two will react together and cause the ink to smear. To prevent this, you need to create a layer between the ink and the Mod Podge. You can do this a couple of different ways.
First, you can use a spray called acrylic fixative. This will work as an additional sealant between the Mod Podge and the ink. It is recommended to spray one thin layer of the fixative, let it dry, then spray another thin layer. A spray fixative is going to be moisture resistant, non-yellowing, and permanent.
Polyurethane is another product you can use as a barrier between ink and Mod Podge. Using a foam brush, apply a couple of layers of polyurethane on top of the ink. Give each layer plenty of time to dry before you try applying the next layer.

If you are in a pinch, you can use hairspray or nail polish as a barrier between ink and Mod Podge. While these are quick solutions, they both run the risk of turning yellow over time and can ruin the look of your project.
Finally, you can try to put the sheet with ink in the freezer. After you print, take your sheets and put them right in the freezer. Leave them there between six and twelve hours to give the ink plenty of time to seal into the paper.
After using any of these methods, you can apply Mod Podge to the surface without having to worry about the ink smudging and smearing. You can then finish your project and be able to enjoy it how you intended.
Can You Mod Podge Inkjet Prints?
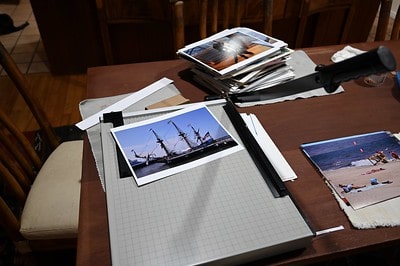
You can use Mod Podge on inkjet prints, but only if you use a barrier between the ink and the Mod Podge. First, you need to print your pictures and let them sit a while to fully dry. It is highly recommended that you leave it to dry for 24 hours before you continue.
After 24 hours has passed, you can use one of the methods above to prevent the ink from smearing when you apply the Mod Podge. This step is essential because passing on it can ruin your project and you will have to start over again. After using the method of your choice, wait a few hours before applying the Mod Podge to ensure the barrier layer is dry.
When you apply the Mod Podge, do so in thin, even layers. You should apply a minimum of two layers of Mod Podge, but you can add a third if you feel like your project needs it. It is important to remember that you need to wait for each layer to fully dry before adding the next.
Will Mod Podge Ruin Printed Pictures?
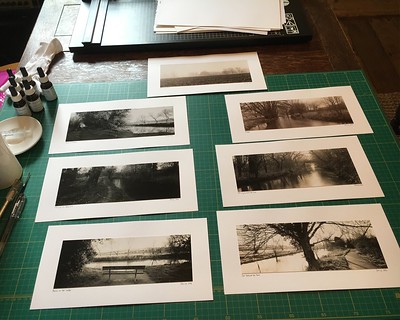
It is not a good idea to use Mod Podge on pictures printed on photo paper. The photo paper is thick and incredibly sensitive to moisture. Since Mod Podge is water-based, it has a high chance of ruining original pictures on photo paper.
It is highly recommended that you make a photocopy of the picture you want to Mod Podge instead of using the original. The copy will print with either inkjet ink or laser ink, so you will just need to make sure you know what type of ink was used. This will help you prepare properly for the Mod Podge.
Can You Mod Podge Laser Prints?
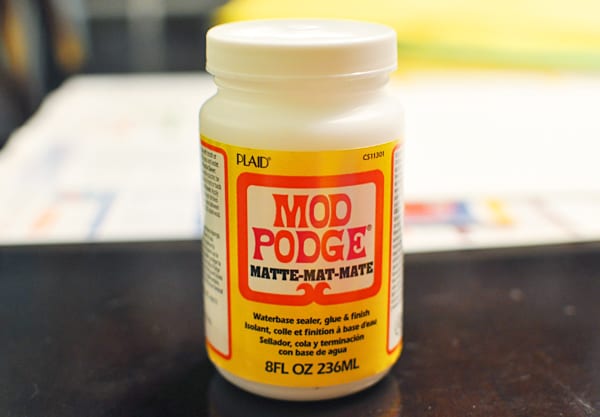
Laser ink is not water-based like inkjet ink. This means that you don’t have to worry about putting a barrier between the ink and the Mod Podge. You can apply the Mod Podge easily to the surface of the print and the ink won’t smudge or run as long as you wait for it to be dry first.
When you apply the Mod Podge, you can use a foam brush or a flat, wide paint brush. Apply the Mod Podge just like you would on any other project. Use very thin layers and give plenty of time for drying between layers. You should only need two layers of Mod Podge, but you can add another if you need.
Can You Mod Podge Photos on Canvas?
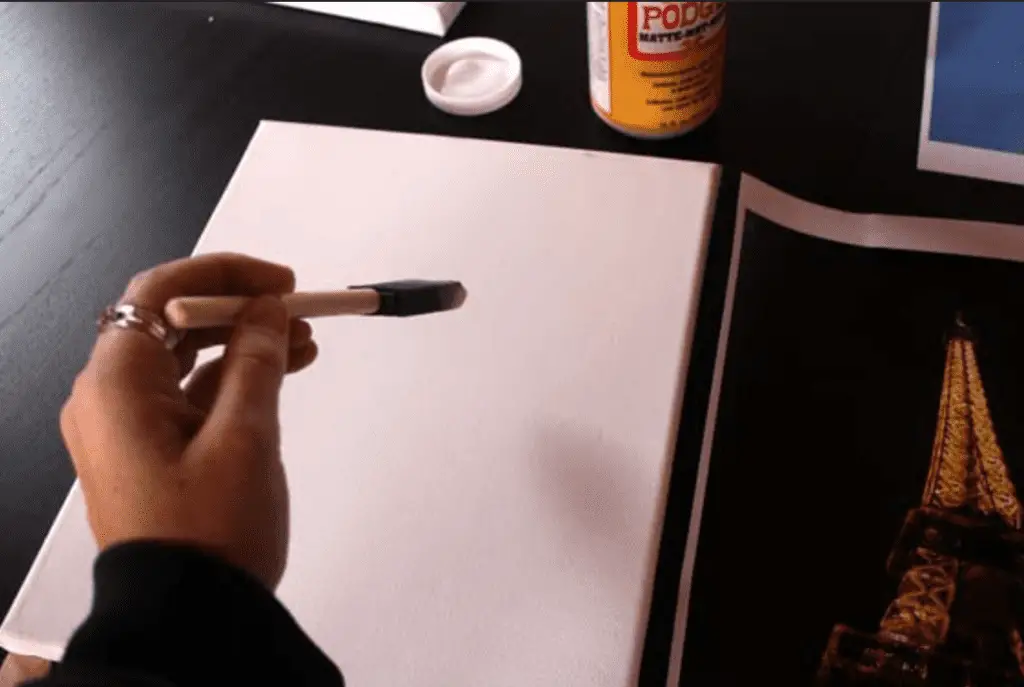
You can use Mod Podge to stick photos onto canvas. You will want to use a copy of the picture and not the real picture to avoid any damage to the original. If using an inkjet printer, you will need to make sure you protect it with a fixative first.
First, you will apply a thin layer of Mod Podge onto the canvas. Since the product dries quickly, you will need to work quickly. Apply another thin layer to the back of the pictures you want to apply.
I highly recommend using this Mod Podge Photo Transfer Kit. It has everything you need to get started, and it even comes with a brush applicator.

Lay the pictures on the surface of the canvas and smooth them out. Press firmly but be careful to avoid ripping the pictures. Make sure you remove all the air bubble and wrinkles to get the smoothest surface possible.
Let the Mod Podge dry for a few hours. When you are certain the Mod Podge is dry, apply another thin coat over the entire surface of the photos on the canvas. It is extra important to make sure there aren’t any clumps or drips because they can peel and crack later on.
When you have applied all the coats you want, you will need to let the canvas dry for 24 hours before you try to move it or hang it up. This will prevent any accidental fingerprints or dents in the surface.
Final Thoughts
If you are wanting to use Mod Podge on a surface that you have printed, you might have some issues with the ink smearing. Luckily, there are ways around this, and you can enjoy your project without having any smudges on the pictures. Inkjet ink is the most likely to smear because it is water-based while laser ink is less likely to smear.
On inkjet pictures, you can create a barrier between the ink and the Mod Podge to prevent any smudging or smearing from occurring.
There are several different processes that you can use to create this barrier and protect your pictures. It is worth it to ensure that your project turns out exactly how you were expecting it to.
Make sure to follow all my tips and recommended products to ensure your Mod Podge painted project turns out great! Also, don’t forget to check out my other articles for all your painting Q&A’s. Happy painting!

