Shrinky Dinks are an incredibly popular craft to do for all ages. They are safe, non-toxic and fun for the whole family! You have many options for decorating your Shrinky Dinks before curing them, which includes paint, markers, and even glitter.
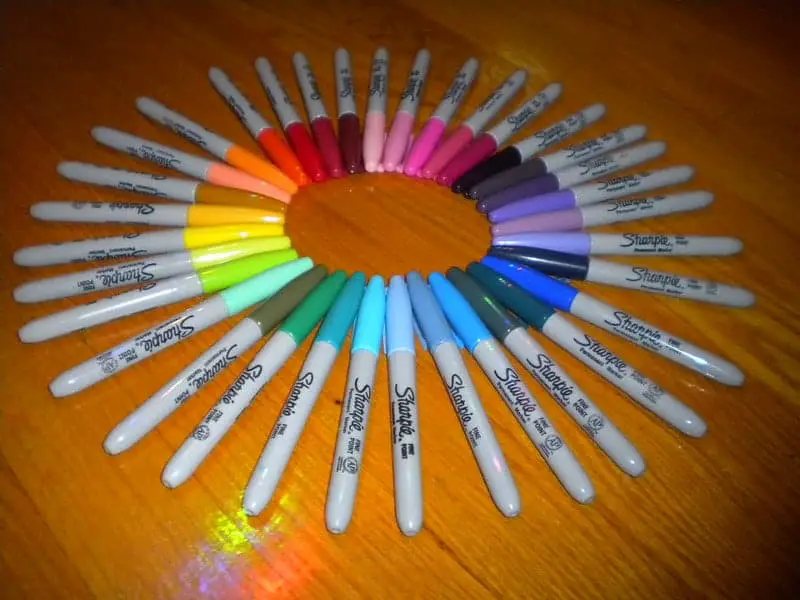
So, can you use Sharpies on Shrinky Dinks? Yes! Sharpies, or any other type of permanent market, are suitable to use on Shrinky Dinks. In fact, they are recommended as their ink is very effective at adhering to plastic surfaces. Sharpies are a particularly good choice of pigment as they come in over 30 different colours, which gives you a lot of freedom with your designs.
A great way to test whether your permanent marker will work on Shrinky Dinks is to first try it on a plastic bag or label. If it adheres and doesn’t smudge, then you will be able to use it for Shrinky Dinks. However, if you’re using colored markers, bear in mind that when the plastic shrinks, the colour will darken and become denser.
This article will be answering all of your common questions regarding using Sharpie markers on Shrinky Dinks. To avoid any doubt, we have also included a ‘how to’ guide giving you step by step instructions on using Sharpie on Shrink Dinks.
What Are Shrinky Dinks?
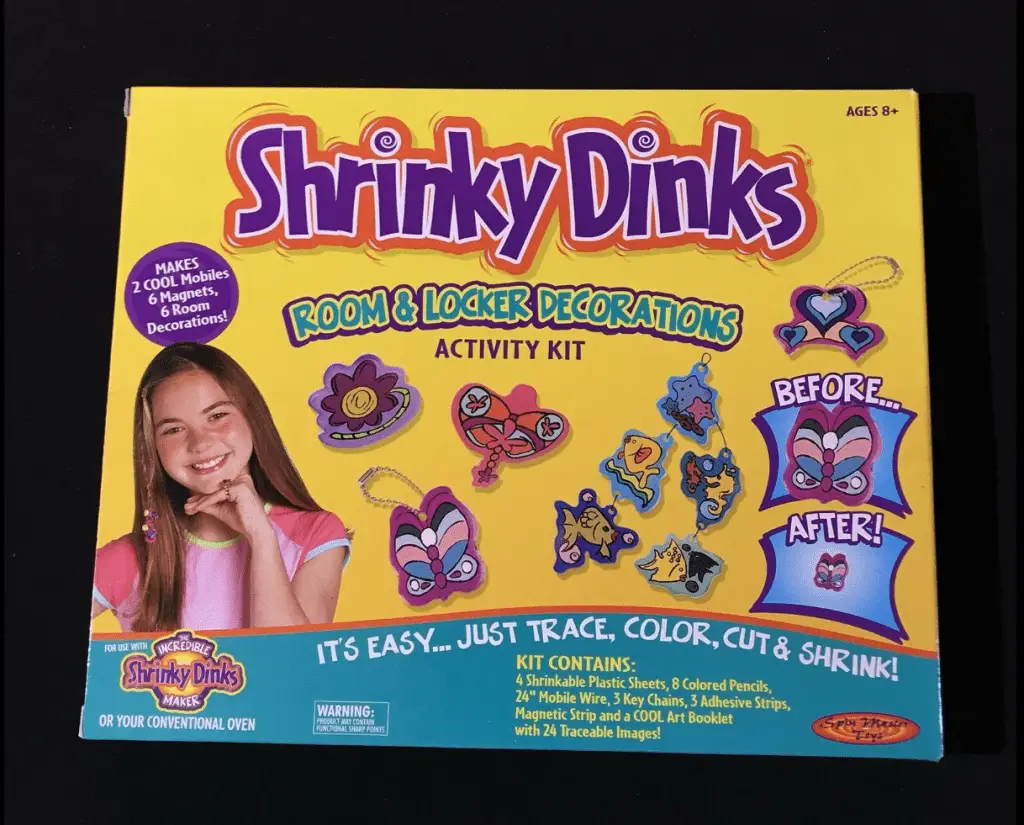
Shrinky Dinks have been given the suitable nickname ‘Shrinkles’. They are a sort of toy, or craft consisting of sheets of the plastic expansion agent, polystyrene. They can be cut with scissors to make different shapes such as animals, flowers, or people. After this, colors or designs are added, (often using a marker), and then you bake the plastic in the oven.
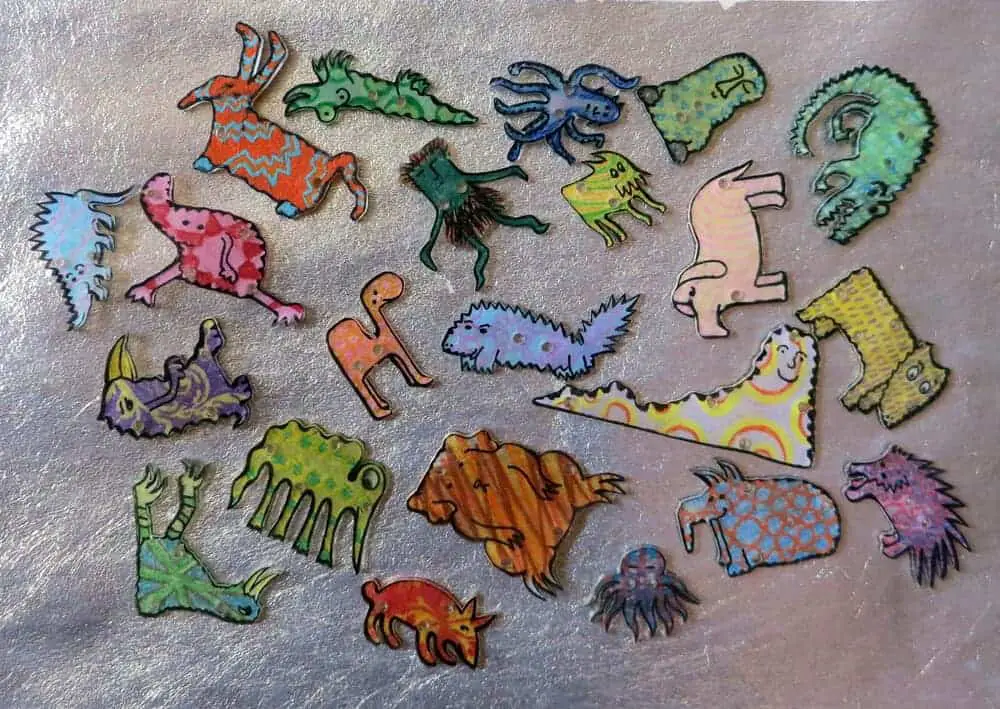
When heated, the plastic shrinks to around one-third of its original size vertically and becomes around nine times thicker horizontally. This results in solid, flat forms that have retained their original shape and color. Most sets come with pre-made outlined images.
Shrinky Dinks were invented in 1971 and reached its peak of popularity in the 1980s. They were invented by two housewives, Betty Morris and Kate Bloomberg from Brookfield, Wisconsin. It was originally intended to merely be a Cub Scout project with their sons, selling their first kits at a local shopping mall.
However, they quickly became extremely popular, and as a result, the demand grew. Soon, Shrinky Dinks were licensed by then-major toy companies, Colorforms, Skyline Toys, and Milton Bradley for manufacturing.
How to Use Sharpies on Shrinky Dinks
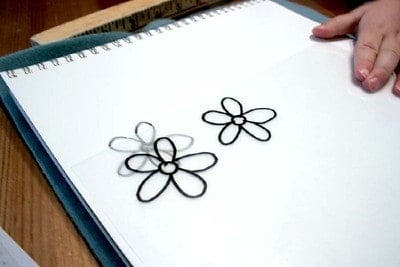
Step 1 – You can either choose a pre-made design and trace the outline with a permanent marker, or create your own. If you are making your own design then bear in mind that when heated the image will shrink, so don’t make it too small.
The best color to use for the outline would be something dark such as black, however, you can use other colors depending on your design.
Step 2 – Next, it’s time to color in the design. At this stage, you should also remember that the colors will deepen after being in the oven so the finished product will be darker.
Step 3 – Using any regular household scissors, cut out the design as neatly and accurately as you can. If there are small, fiddley sections to your design, manicure scissors can be particularly helpful. For abstract edges, you can use scrapbooking scissors.
Step 4 (optional) – If you plan to use the Shrink Dink for jewelry, then at this point you should also add a hole for the chain or ring to go through.
Step 5 – Lay baking paper over a baking tray, and fold up one of the corners to make it easy to remove after heating.
Place the Shrinky Dinks on the baking paper, making sure that there is sufficient room between each design. If the plastic is touching, they will stick together.
Step 6 – Set the oven to around 160 degrees Celsius and bake the Shrinky Dinks for three minutes with the colored side of the design facing upward. The pieces will start to curl, however, you can tell when they’re done when as they stop curling and instead lie flat.
Step 7 – Leave to cool and keep away from children until this point to avoid burns.
Can You Use Any Marker on Shrinky Dinks?
Most types of markers are suitable for Shrinky Dinks. If the marker will adhere to other forms of shiny plastic such as sandwich bags then they should also adhere to Shrinky Dinks.
Although markers are often the favoured pigment, Shrinky Dinks also have a ‘Ruff n’ Ready’ set which is slightly more cloudy and the plastic is more porous. For this, you can also use a pencil or crayon.
Check out my other article that talks about using Gel Pens on Shrinky Dinks. It’s must read if you are planning on using pens and markers on your project.
Can You Use Oil-Based Sharpies on Shrinky Dinks?
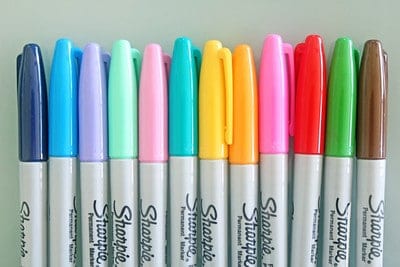
You should always avoid using oil-based markers, crayons, or pencils as they can easily catch fire in the oven. Always check the marker description thoroughly before using it.
This applies to all permanent markers, not just Sharpies. For this reason, you will need to take care when buying and using markers.

Do Water-Based Markers Work on Shrinky Dinks?
The Shrinky Dink company recommends that you use non-water-based markers for best results. The same goes for pencils or crayons, the results will be better with non-water-based.
How Do You Seal Shrinky Dink Sharpie Rings?
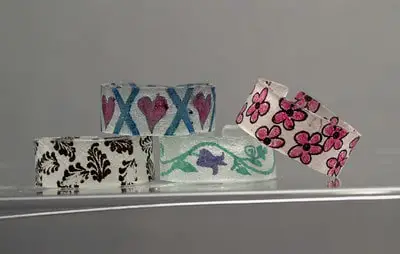
There are a few ways you can seal Shrinky Dinks. Below we have listed the most popular options and how effective they are.
Embossing powder – For this method, you basically cover the finished Shrinky Dink design, marker side up, on a baking tray with the powder. Then you bake it in the oven again until the powder melts. It should come out clear and glossy, however, it is possible that there will be excess goo. You can use a paintbrush to get rid of anything extra.

Acrylic spray – Although some people swear by this, and it is a very quick and easy method of sealing, it has been known to make colours run or lose their intensity. So you should use it with caution and only apply a very thin layer.

Modge Podge – Modge Podge can be used to seal pretty much anything, and it is relatively risk-free. For this, you would bake the Shrinky Dink as normal, leave it to completely cool, and then apply the Modge Podge. The Modge Podge will need at least 24 hours to dry, and should not be exposed to water or sunlight during this time.

Polyurethane foam – Although this is mostly used on furniture, it can also be used for crafts. For the most part, it doesn’t smudge the color, however, it can cause cracking. If you are making Shrinky Dinks for jewelry, meaning it would have a hole in it, then it’s probably not ideal.
Nail polish – This is somewhat of a ‘home remedy’ for sealing, nonetheless, it seems to work pretty well. The only thing you should be aware of here is that over time the seal could turn yellowish.

Final Thoughts
Sharpie is one of the most common pigments for colouring in Shrinky Dinks. Permanent markers are great for adhering to plastic, which means that you’ll be able to get clear designs. The other plus side is that they come in a variety of colours so you have loads of options when it comes to designing.
As for sealing Sharpie onto your Shrink Dinks, there are a few options. However, you probably want to choose an option that won’t cause the marker to run, especially if you’ve used several different colours.
Make sure to follow all my tips and recommended products to ensure your Shrinky Dink project turns out great! Also, don’t forget to check out my other articles for all your painting Q&A’s. Happy painting!
