
Oil paint and airbrushing are both really popular, and you may even want to use them together, or airbrush over an oil painting. Oil paints are solvent-based, so you might be skeptical about using it in a tool that sprays the fumes into the air. While they are thick in consistency, they can be thinned down with mineral spirits and paint thinners.
So, can you use oil paint in an airbrush? Yes! It’s definitely possible to use oil paints in an airbrush safely. Since oil paints are usually thick, you will need to thin them before putting them in the airbrush. You can do this with linseed oil and turpentine.
To use oil paint with an airbrush safely, you will need to use it in a well-ventilated area and wear a mask. This will keep you extra safe from any fumes that might enter your respiratory system. In this article we go over everything you need to know for using oil paints in an airbrush, and much more! Let’s read on!
How to Thin Oil Paint for an Airbrush
While acrylic paints can be thinned with water to use in an airbrush, oil paint can’t be. This is because oil doesn’t mix with water, so it will do nothing to thin the paint. To thin the oil paint, you will need linseed oil and turpentine. It is best to use cold-pressed linseed oil because it works as a drying agent.
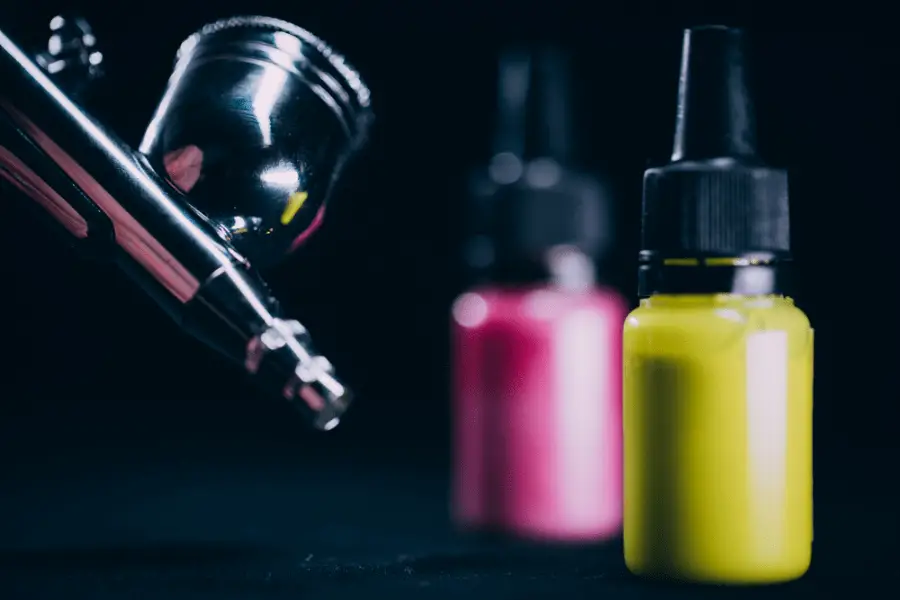
My favorite and top pick is always Arteza Oil Paints. They have so many different colors, and the quality is amazing! I usually use Arteza Paints for all my projects.

The first thing you will want to do is put some paint into a clean container to mix it. It is important to put the paint through a strainer to remove any clumps that are in the paint. This will prevent clogging the airbrush and creating any impurities.
After you strain the paint, you can start thinning it. For every three parts of paint you add, you will add one part of the turpentine. Stir the paint with a stick until the thinner is fully mixed into the paint. Next, add a few drops of the turpentine oil and mix again.
I like to use this Turpentine for my oil paint projects. It works great, and it’s 100% pure. It’s grown in south Georgia, USA, using sustainable forest practices, which is always a plus.
When you have everything mixed together, you can test the paint by running it through a funnel and watching how it runs. If it runs easily through the funnel, the paint is ready. If the paint clogs, you will need to add more turpentine.
If necessary, add one more part thinner and mix completely. Run through the funnel again to see how it flows. Repeat this process as many times as you need to get the perfectly flowing consistency that you need.
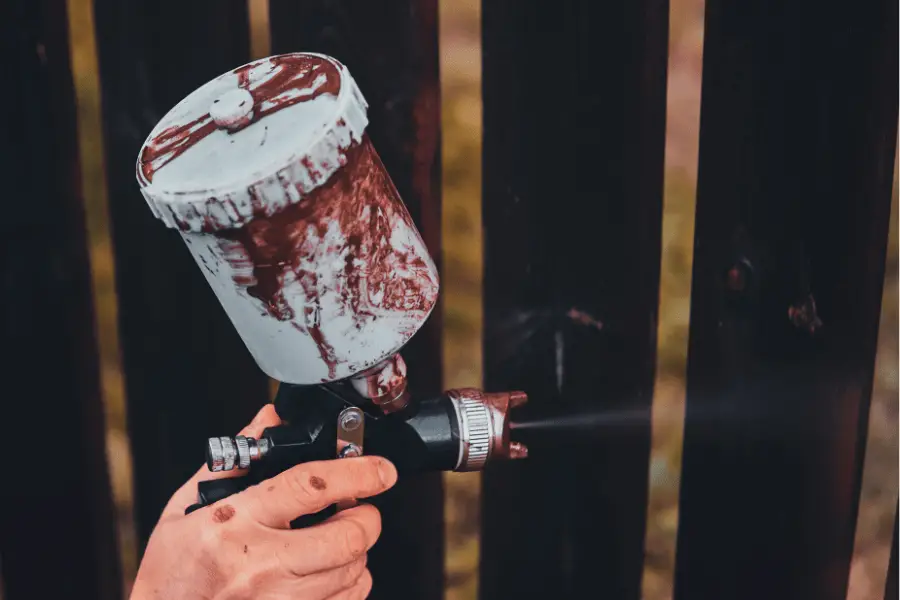
You can then add the thinned paint to the airbrush cup. Use the airbrush as you normally would. Allow each layer to dry properly before adding the next layer. When you are finished, add a varnish and you will be finished.
How Do You Clean Oil Paint from an Airbrush?
You need to properly clean your airbrush after each use to keep it working properly. You will need to clean it each time you change colors as well as when you are completely finished with it. This will extend the life of your airbrush.
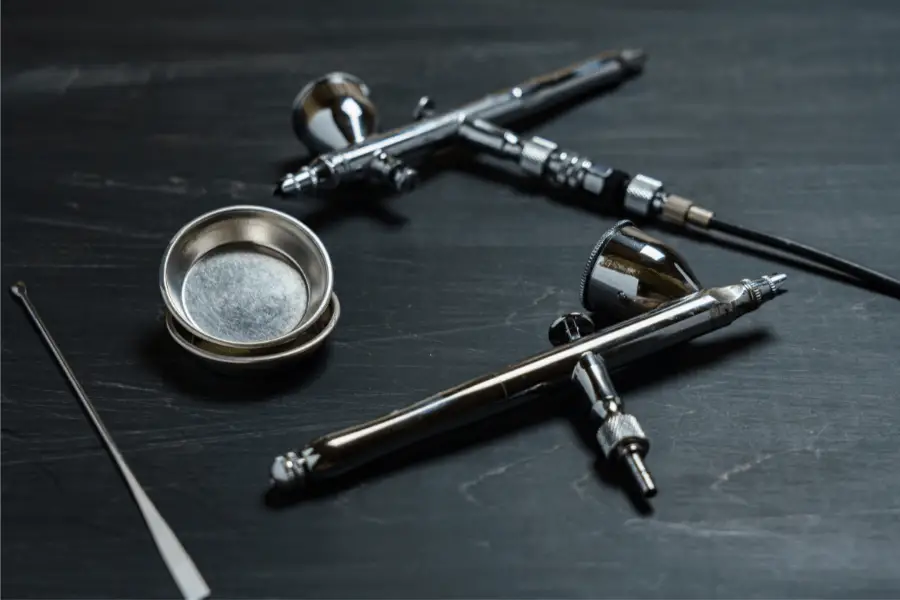
In another one of my articles, I recommend the Top 3 Best Airbrushes for Oil Paint. It’s definitely a must read if you need to know more about airbrushes, and finding the right one for your oil paints. This Master Airbrush was one of my tops picks.

Using the right cleaner is extremely important. You can use the turpentine that you used to thin the paint for the cleaning process. To clean the airbrush, empty the color first. Spray any color left in the airbrush to get it out. Add some paint thinner to the color cup. Spray the turpentine through the airbrush until you don’t see color coming out anymore.
Empty the cup and spray any excess out of the airbrush. If you are done painting, you will then want to remove the needle from the airbrush and clean it out with a cotton swab or clean cloth. Put the needle back on and spray again.
There is another method of cleaning your airbrush called siphoning. This is where you will use a detachable bottle filled with turpentine, a clean cloth or paper towel, and something to spray the excess paint into.
First, detach the color cup from your airbrush. Spray any excess paint from the airbrush. Next, attach the detachable bottle to the airbrush. Spray the turpentine through the airbrush until you don’t see any more color coming out.

Detach the bottle of turpentine and spray the airbrush again to get rid of any liquid that might have been left in the brush. If you are finished painting, you will want to remove the needle and clean it with a clean cloth or cotton swab. Put the needle back in place and spray again to get rid of any excess turpentine from the needle.
When you use an airbrush, you will also want to clean it thoroughly periodically. Clean your airbrush the way you would if you were done using it for the day. Next, you will want to take the airbrush apart. Since each airbrush is different, refer to the manual if you have never taken it apart before.
Put the detached pieces of the airbrush into a bowl and soak them with turpentine for around five minutes. Keep in mind that you will not soak the body of the airbrush, just the components that come in contact with paint.
After five minutes, remove the pieces from the bowl and use cleaning brushes or cotton swaps to wipe them off and ensure there is no leftover paint. Rinse all of the components when you are finished and let them dry. Reassemble your airbrush and put it away.
Can You Airbrush Over Oil Paint?
It is possible to airbrush over oil paint as long as you take the right steps. In order to get any paint to stick to the surface of oil paint, you need to apply a binding primer on top. This can be an acrylic or latex primer as long as it says that it’s used for bonding on the label.
First, you will need to clean the surface that you want to paint over. If it has been sitting for a while, it is likely that you will see a buildup of dust and dirt. Wipe off the surface to get rid of any debris and use soap and water if necessary.
When you have the surface of the oil paint clean, you can apply the binding primer. You will want to brush it on in thin layers, allowing each to properly dry before you add the next one. When your last layer of primer is completely dry, you can start painting.
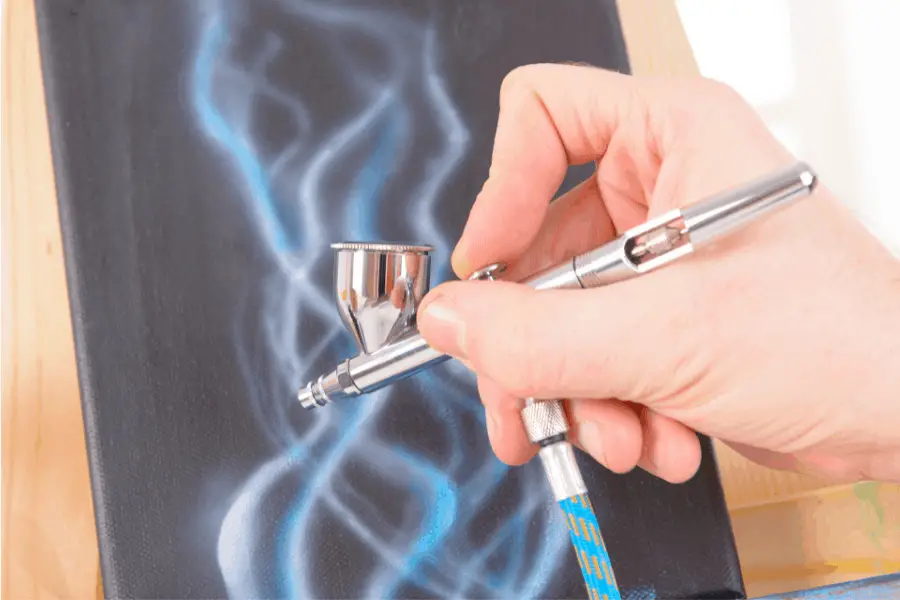
Prepare your airbrush by mixing the paint and thinning it with water if it is acrylic or latex. You can then use the airbrush like you normally would, painting in thin layers and allowing each to dry before you add the next.
You are then going to want to seal the painting to protect it from any potential peeling in the future. Even though you used a binding primer, it is still better to be safe and add a sealant on top in the event that your painting comes in contact with water and the paint starts to peel away from the binder.
I use Grumbacher Oil Paint Varnish for my oil paintings. It works great, and never yellows. I highly recommend this varnish!

Final Thoughts
Oil paint is incredibly durable, so it makes sense to want to use it in an airbrush. It is also understandable that you might be skeptical to using a paint with solvents in an airbrush. However, as long as you take the proper precautions and use the airbrush in a well-ventilated area while wearing a mask, you won’t experience any issues.
It is extra important to make sure you are thoroughly cleaning your airbrush after you use oil paint. Since it isn’t water-based, you won’t be able to easily get it off once it’s dried. Clean your airbrush after every use and between colors.
Make sure to follow all my tips and recommended products to ensure your oil paint airbrush project turns out great! Also, don’t forget to check out my other articles for all your painting Q&A’s. Happy painting!
