
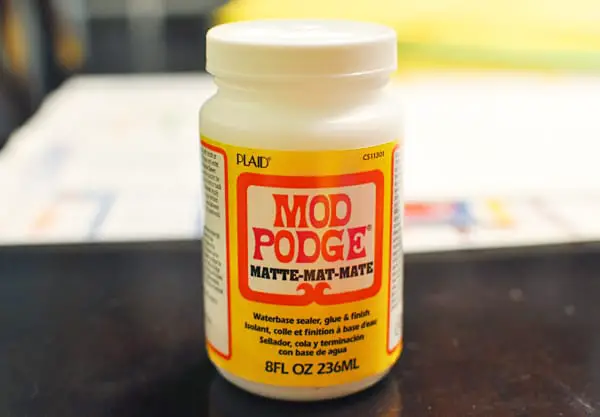
Mod Podge is a fantastic supply to have in your art cabinet. It can work as both a glue and a sealer. You can easily glue pieces of fabric or paper to something like a piece of wood. Using Mod Podge for wood projects can even make your art look professional.
So, can you use Mod Podge to seal wood? Yes you can! Using Mod Podge to seal wood is easy, but there are a few additional steps that need to be taken if you want your project to look neat and professional. While the process is easy, it does take a decent amount of time to complete. If you rush, the wood project can be ruined.
If you are trying to glue something to a piece of wood, or you are trying to seal a painting, there is a specific process that you will want to follow. This will ensure that everything turns out properly and there are no mishaps. In this article we go over what you need to know for using Mod Podge on wood. Let’s read on!
How to Use Mod Podge to Seal Wood
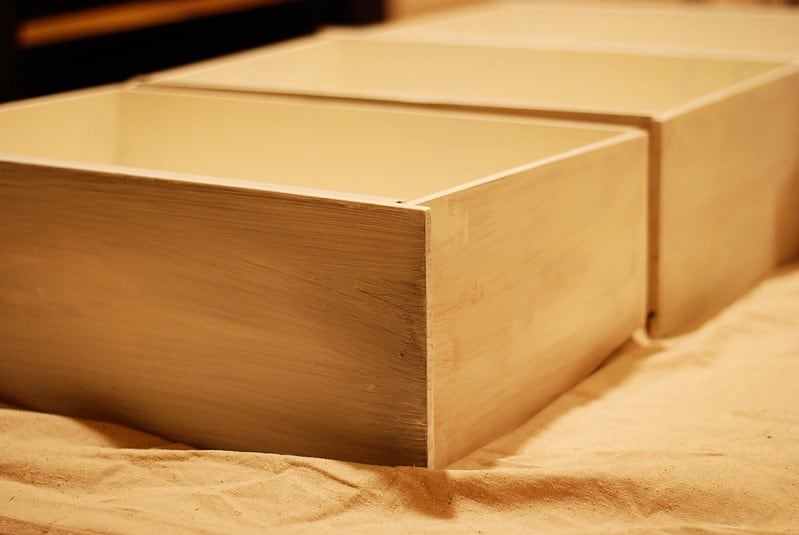
The first thing you need to do is prepare your wood. You will have the best results with a straight wood such as a frame, letter, or box. Rounded shapes can also be used, but it is advised against when you are trying to apply a piece of paper to the wood.
Sand down the wood to remove any rough patches. Most pieces of wood that you get from a craft store will be pre-sanded, but if you choose your own wood it is important to make sure the surface is smooth. Use a medium- or fine-grit sandpaper and sand with the grain.
I like to use this Fine-Grit Sandpaper for my wood projects. Make sure to sand it down gently, and not over do it.
Remove any sanding dust with a tack cloth if you have one. If not, a damp cloth will work just the same. You do not have to do this part if you aren’t sanding the wood first. However, if you bought the wood from a store and notice dust, it wouldn’t hurt.
Next, you will paint the wood if you wish. If you are going to put paper on the entire piece of wood, you can skip painting. If you are putting paper on half, you can paint one side while being sure to leave the other side clean.
The best paint is acrylic or spray paint. If you want the wood to be one whole color, spray paint will be the quickest and easiest option. If you are painting a design on the wood, you will want to stick with acrylic paint.
My favorite and top pick is always Arteza Acrylic Paints. They have so many different colors, and the quality is amazing! I usually use Arteza Paints for all my projects.

If you do paint the wood, you will need to give it plenty of time to dry. The dry time will depend on the paint you use, but most spray paints and acrylic paints will be dry within about twenty minutes. If you aren’t confident that the paint is dry, it won’t hurt to let it dry longer.
When you are positive that the paint is dry, you can apply the Mod Podge. It is best to paint in thin layers to reduce the dry time and prevent bubbling. Allow each layer of Mod Podge to dry for about fifteen minutes before adding the next layer.
If you are choosing to apply paper to the wood, you will need to choose the paper. Scrapbook paper works great for this. You will want to spray both sides of the paper with an acrylic sealer if the paper is very thin or if you printed a design with an ink jet printer.
Fit the piece of paper to the wood and cut the paper to the desired size. When you are ready, pour some Mod Podge into a container or a bowl. Apply a thin coat of Mod Podge to the wood with a wide and flat paintbrush, foam brush, or foam roller.
I like to use this Mod Podge Brush Applicator on my projects. It works great since it’s made by Mod Podge, and doesn’t leave streaks of it. It’s definitely a must have if you’re applying on wood or other surfaces!

Make sure you cover the entire surface with the Mod Podge. If you have a thick piece of paper, it will be beneficial to apply some Mod Podge to the back of the paper as well. You will then place your piece of paper onto the wood surface and smooth it.
Use a small squeegee to get rid of any wrinkles in the paper. Start from the middle of the paper and move the squeegee toward the edges. If any Mod Podge leaks out during this process, wipe it off with a damp paper towel.
Let the paper dry to the wood before adding two coats on top. This should take between fifteen and twenty minutes, but it is very important that you don’t rush. Rushing can cause issues with the curing of the Mod Podge and your project won’t turn out properly.
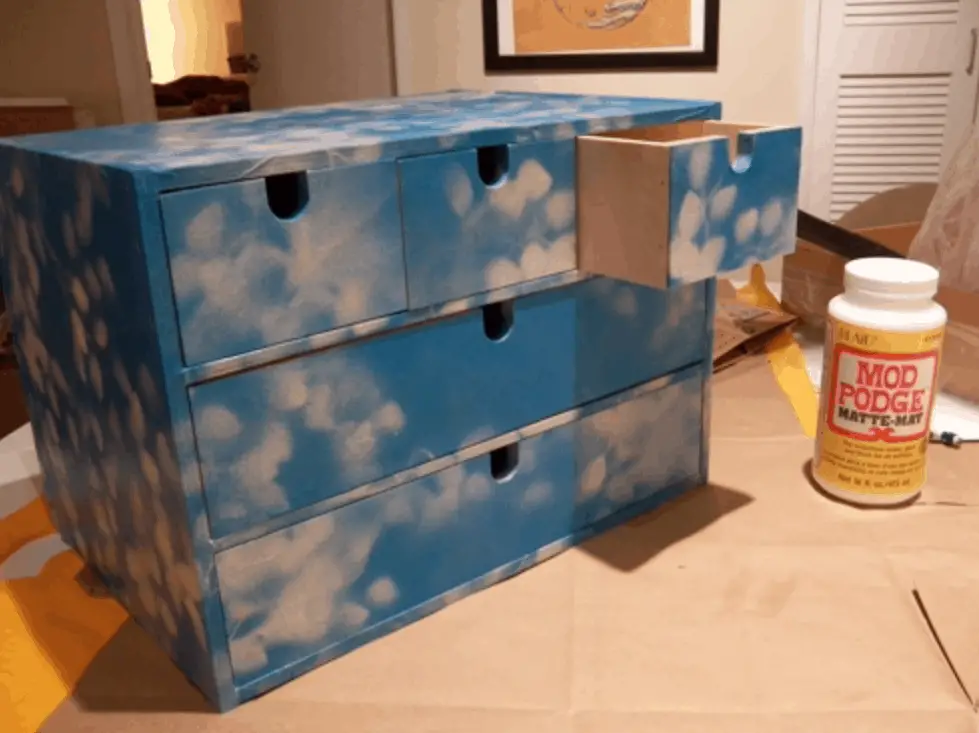
As soon as the last coat of Mod Podge is dry, your project is finished. You can add fake flowers, ribbon, or buttons to finish your piece if desired. If not, you can leave the piece as is and set it up on display.
Does Mod Podge Make Wood Waterproof?

Mod Podge does not make wood waterproof. The make-up has several ingredients and vinyl acetate that can create a water-resistant coating, but not waterproof. You wouldn’t be able to coat a piece of wood with Mod Podge and put it in a lake or set it outside in the rain.
Mod Podge isn’t built to be submerged in water or have excessive exposure to water. If the wood is spritzed with water every now and then, it shouldn’t cause much damage to the Mod Podge coating. If submerged in water or constantly rained on, the coating will start to peel away and off the wood.

The only Mod Podge product that can withstand some water, is the Dishwasher Safe Mod Podge. This is mostly used on ceramics or glass, and it’s safe to place inside a dishwasher.
How Long Does Mod Podge Take to Dry on Wood?
The dry time of Mod Podge depends on the conditions. In most cases, it will be dry between fifteen and twenty minutes. If the room is cold or humid, it can potentially take the Mod Podge longer to dry. In a dry, warm room, it might dry faster.
You shouldn’t purposefully try to speed up the drying process. Don’t place the wood next to a furnace or blow it with a blow dryer. This won’t make the Mod Podge dry any faster, it might end up ruining the project completely. You can easily end up with heat spots and uneven drying, which isn’t worth the risk.
It is extremely important to let each coating of Mod Podge dry before adding the next layer. Do not rush the process, because it can impact how the final product comes out. If you do two coats of Mod Podge, the project should be completed in less than an hour and a half.
Final Thoughts
Mod Podge is a great art supply to have. It is versatile and can be used as both a glue and a sealant. If you want to use Mod Podge to seal a piece of wood, you can. The process is simple, but it is important that you don’t rush the process.
Give each layer of Mod Podge a sufficient amount of time to dry before you add in the next layer. If you add more before the surface is ready, you will experience bubbles and the dry time will be extended. It is best to paint it on in thin layers with plenty of time to dry between.
Make sure to follow all my tips and recommended products to ensure your Mod Podge painted project turns out great! Also, don’t forget to check out my other articles for all your painting Q&A’s. Happy painting!