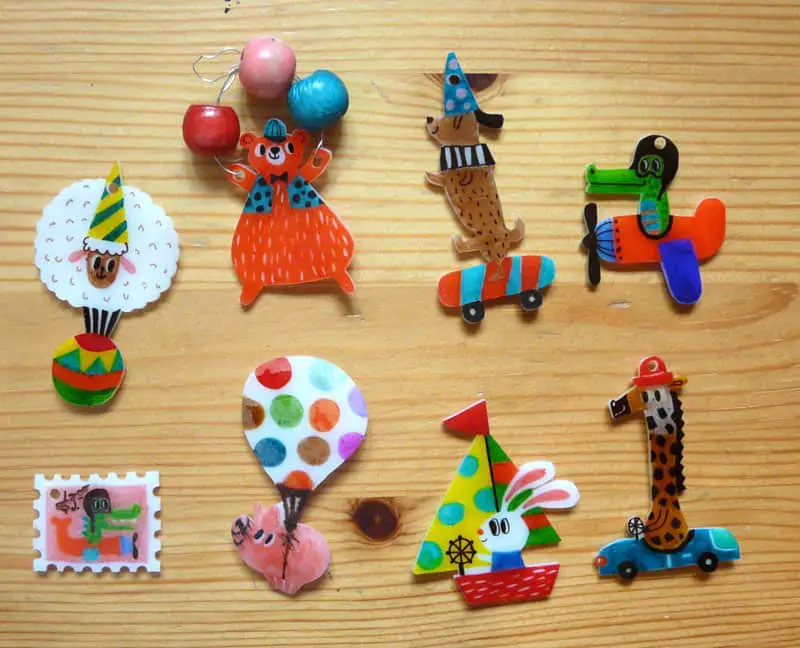
Shrinky Dinks are a super fun craft that you can take on, and there are endless possibilities on how you can decorate them. However, you are probably wondering what the best way to decorate them might be.
So, can you use acrylic paint on Shrinky Dinks? Definitely! Acrylic paint is the perfect option for Shrinky Dinks due to its versatility, and it will leave your Shrinky Dinks with an incredibly bright, and vivid color. You can easily use acrylic paint to paint intricate designs and have them turn out flawlessly when finished. Shrinky Dinks are meant to be a fun thing to do, and acrylic paint makes the process as easy as it is fun.
If you are going to use acrylic paint on your Shrinky Dinks, there are a few things you are going to have to keep in mind. In this article, we will answer some of the most important questions for properly painting your Shrinky Dinks with acrylic paint, so let’s get to it!
What Type of Acrylic Paint Should You Use?
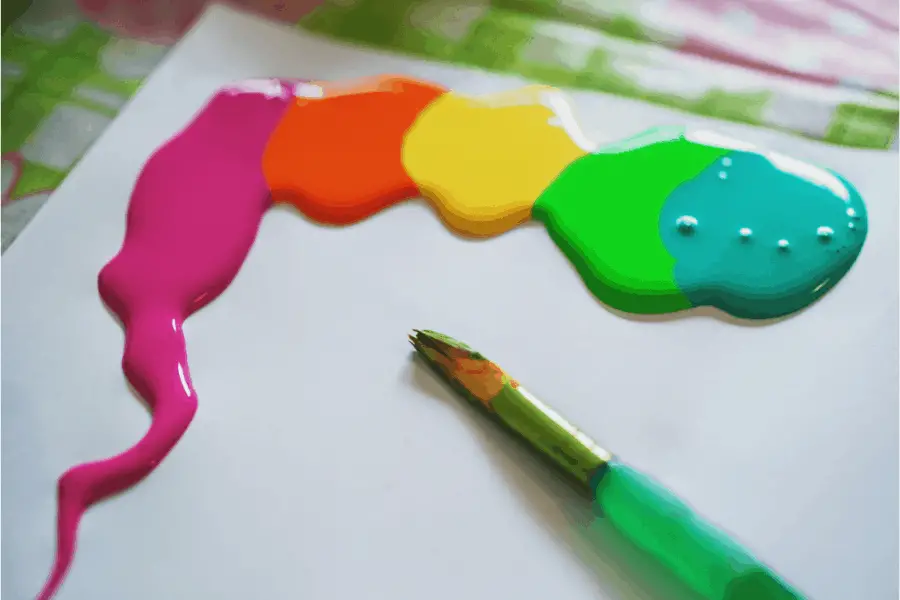
Acrylic paint has so many benefits. For example, it is full of pigment, really easy to clean up with water, and there is a type of acrylic for just about any kind of surface possible. It is recommended to use a glossy acrylic paint instead of one with a matte finish. A matte finish has the tendency to crack or flake.
My favorite and top pick is always Arteza Acrylic Paints. They have so many different colors, and the quality is amazing! I usually use Arteza Paints for all my projects.

It is also important to keep in mind that no matter what type of acrylic paint you use, you should use thin layers and avoid laying on thick layers. One or two coats of the paint should be efficient for what you are trying to achieve.
It’s also highly recommended to use acrylics that are ink-based instead of water-based. Ink-based acrylics contain super fine pigments that will give you a very bold color. Ink-based acrylic paint is the thinnest acrylic paint you can buy, making it extremely suitable for the shrinking process.
Can You Bake Shrinky Dinks Before Painting?
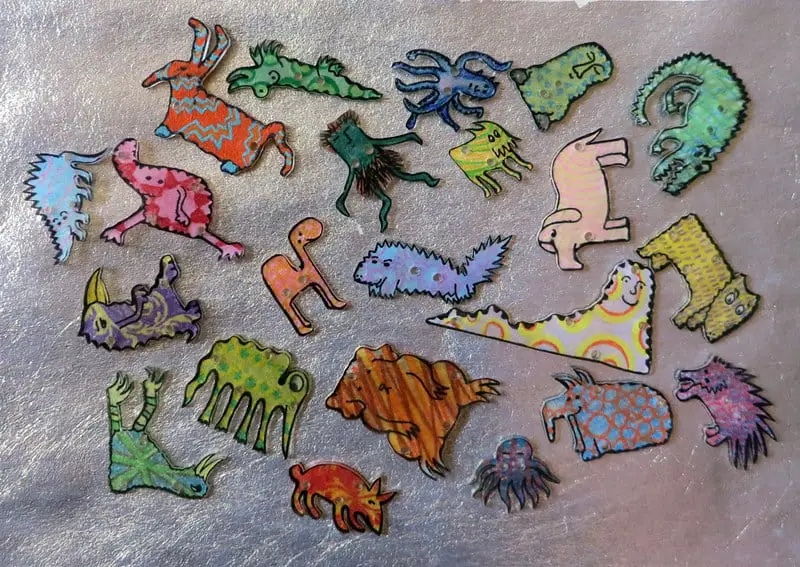
It is not recommended to bake Shrinky Dinks before you paint them. When you are putting the plastic in the oven, it will shrink. Not only will this make it more difficult to paint your design, but it also will impact how the colors show on the Shrinky Dink.
Check out this cool Shrinky Dink Craft Set. I have personally used this set in the past, and not only was the quality great, but it came with 25 sheets!

When you paint the Shrinky Dink before baking it, the colors will show deeper and become more saturated as the plastic shrinks. This will give your Shrinky Dink a much bolder look, so it is recommended to stay a couple of shades lighter than what you are hoping for when it is finished.
How to Bake Shrinky Dinks
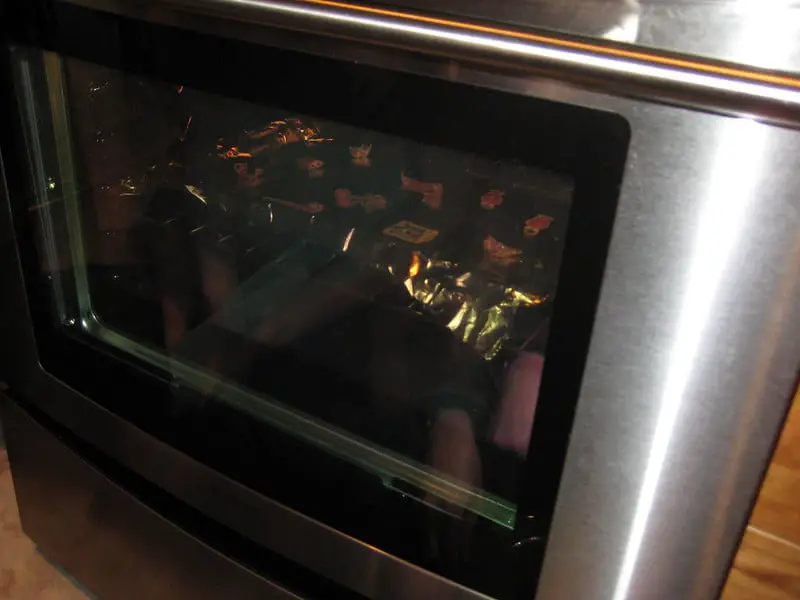
If you want your Shrinky Dink to turn out right, you are going to need to follow the instructions properly. The first thing you need to do is preheat the oven to 325 degrees Fahrenheit, but only let it heat up for about two minutes before putting the Shrinky Dink in. Bake for only two to three minutes.
Your Shrinky Dinks will curl when they are baking, but that is completely normal. After about 30 seconds from the start of the curling they will flatten back out. If they are still curled when you remove them from the oven, you can flatten them out on your own with a small towel.
Can You Use a Hair Dryer to Shrink Shrinky Dinks?
If you are wanting a quick and easy way to shrink your Shrinky Dink without heating up your oven, you will be pleased to know that you can use a regular hair dryer. It is important to be very careful when using a tool like this, and you will need to take extra care of the plastic.
As you are shrinking your Shrinky Dink with the hair dryer, you should use tweezers or toothpicks to keep the plastic in place as best as possible. You do not want the plastic to be blowing around all over the place, or the shrinking won’t work.
What Kind of Markers Can I Use on Shrinky Dinks?
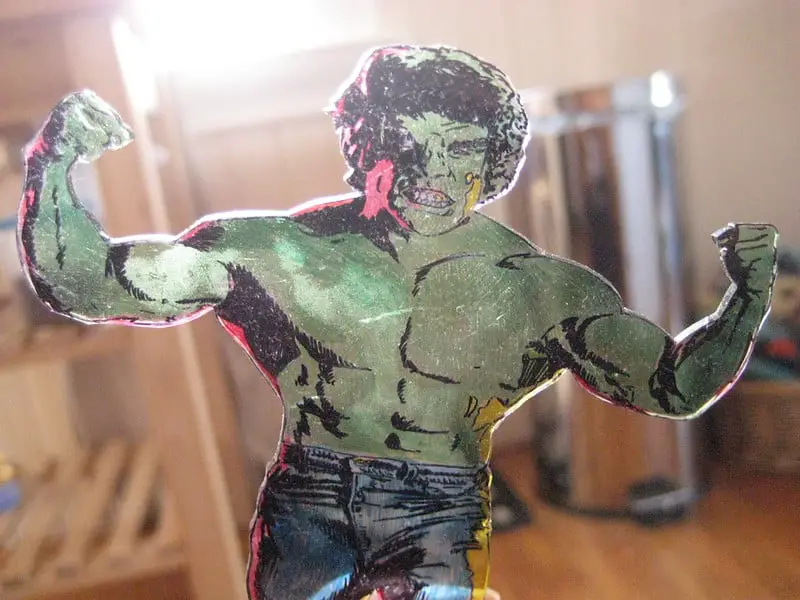
There are a few different types of markers that will work really well on Shrinky Dinks. The best markers will be quick-drying, waterproof, smear-free, and resistant to fading. Here are a few of the best types of markers you can use for your Shrinky Dink crafts.
The overall best marker for a Shrinky Dink project would be a Sharpie marker. There are so many different colored Sharpies, making it easy to make a colorful design that stands out. Sharpies are resistant to fade and water with the ability to dry almost instantly.

Another great option is the Crayola Take Note Marker. The markers are fine tip, allowing you to use great precision on your Shrinky Dink design. There are also a ton of colors that are bright and vivid so you can choose whatever color works best for your design idea.
The next marker option would be Shuttle Art Markers. They have a permanent marker brand that consists of over 50 different fine-point colors. You can easy produce bold strokes with the vibrant color choices. These markers are non-toxic and acid-free, so you can use them with your kids for a mess free project.

One final marker that makes a great option for Shrinky Dinks are the ParKoo Permanent Markers. These markers are alcohol based, so they are built to last. There are 48 color options, and each has a large ink capacity. The ink is non-toxic, low-odor, waterproof, resistant to fade, and smear-proof.
How to Seal Shrinky Dinks
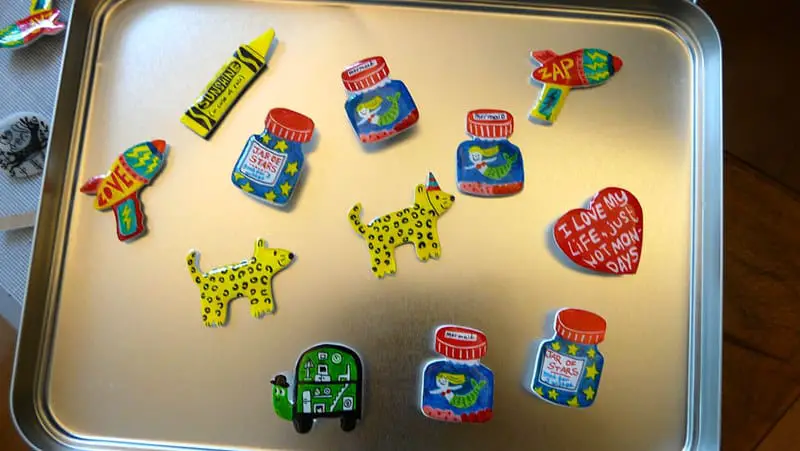
Sealing your Shrinky Dink is an easy process as long as you use the right products. You might be tempted to use a spray acrylic sealer, but this will likely not give you the best results. If you use the spray acrylic sealer on your Shrinky Dink, the ink or paint is likely to run and bleed.
The best option for sealing your Shrinky Dink is by using embossing powder when it is finished. The process is pretty simple. After you shrink your artwork, you will want to put it paint or marker side up on a piece of parchment paper on a cookie sheet.
I recommend using Wow Embossing Powder. It’s a great way to seal your Shrinky Dink project, and it comes in a glossy finish.

Once you have your Shrinky Dink placed on the parchment paper, you will need to cover the entire surface with the embossing powder that you choose. Put the cookie sheet back in the oven at 325 degrees Fahrenheit. Watch it very closely, because you will need to take it out of the over as soon as the powder turns clear.
After you have sealed your work, it will need to cool completely. When it is cool, you will notice that your Shrinky Dink has a thick, glossy finish. Sealing your Shrinky Dink will make your artwork last longer and the colors will stay bold.
Acrylic Paint Pens for Shrinky Dinks
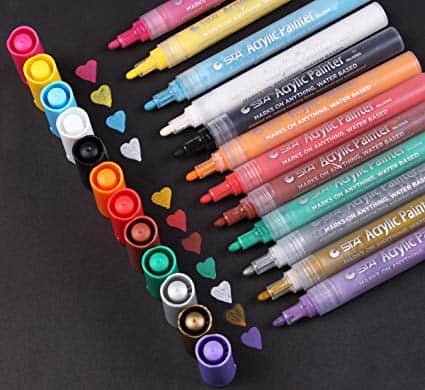
There are so many different acrylic paint pens out there, how can you make sure you choose the right kind? The best types of acrylic paint pens will have pigment-based acrylic that provide a richer color and better coverage. You want to make sure you choose the best tip size and shape for your project.
Acrylic paint pens have several advantages over actual acrylic paint. The first one being that the paint in the pen is already premixed and ready to go. It has the perfect consistency, so you don’t need to worry about adding the right amount of water.
Another advantage of an acrylic paint pen is that it eliminates the mess that you get when you are using regular acrylic paints. You don’t have to worry about accidentally spilling the paint or any paint drying on unwanted surfaces.
I highly recommend using Arteza Acrylic Paint Pens. Arteza is known for their bold and vivid colors, so your project will turn out amazing!

There are a few things you want to keep in mind when you are choosing the acrylic paint pen, but the most important is the size and shape of the tip. There are four popular types of tips: fine and extra-fine, rounded, chiseled, and brush.
Fine and extra-fine are the pointy, sharp tips that make it easy to draw intricate designs. Rounded tips are typically between medium and thick, making them perfect for bold lines, outlining, highlighting, and filling in. Chiseled tips are perfect for word art like calligraphy. Finally, brush tips are similar to a paint brush.
Another great brand of acrylic paint pens is Posca. The quality of these paint pens is top-notch, and you will be obsessed with using them. The pigments are vibrant and dry quickly with a matte finish. These paint pens include mixing balls to enhance the flow of the paint for a smooth application.
Posca acrylic paint pens contain a very high amount of pigments, so these pens provide a very bold, vibrant color. The tip is reversible, so you can easily switch between a 1.8 and a 2.5mm tip for easy outlining and filling in. You can easily get different designs with this pen.
A close runner up to the Posca is the Artistro. These pens have a very fine tip at 0.7mm, making it easy for very precise and detailed design drawing. They are certified non-toxic, and they have zero odor to them.
Can You Use Water-Based Markers on Shrinky Dinks?
When you use water-based markers on Shrinky Dinks, you can only use it on the rough side. If you use the slick side, water-based markers and paint will not adhere very well. You will need to make sure you are using the rough side of the Shrinky Dink, giving the marker something to hold on to.
How to Make Shrinky Dinks
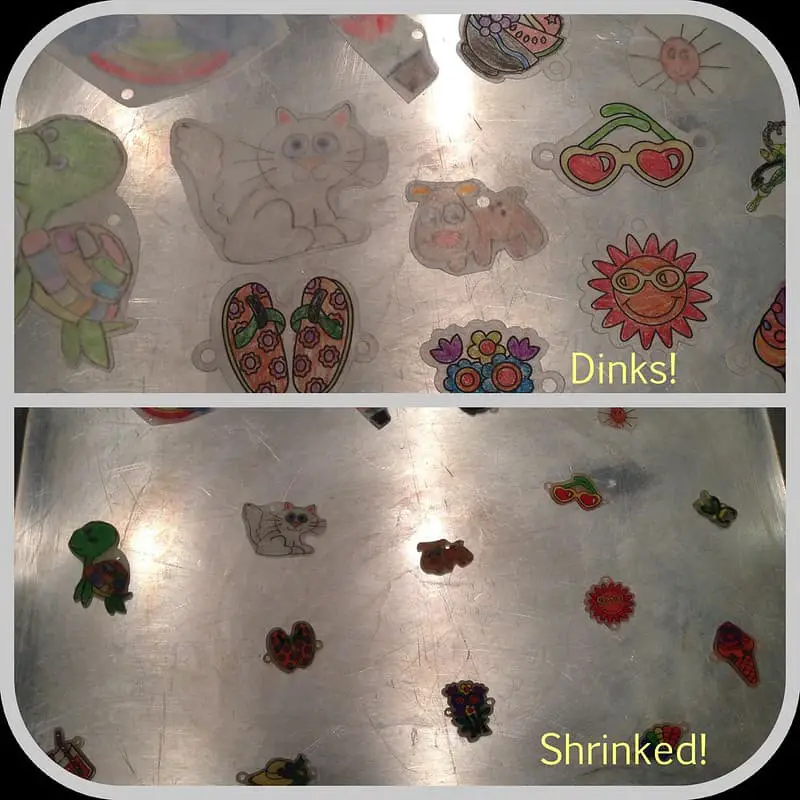
The best thing about Shrinky Dinks is that they are super easy to work with. First, you will want to be creative. Decide what you want your design to be and what shape you want to make it. Trace out your design in pencil, keeping in mind that it will shrink to about 1/3 of the original size.
Once you have the shape of your Shrinky Dink drawn, you will need to cut it out before you start painting. Grab your paint or markers and get to work coloring in your design. It is highly recommended to test out your markers or paint on a scrap piece of Shrinky Dink paper first to ensure your design isn’t messed up from excess build up.
Before you bake, you are going to want to place the Shrinky Dinks on a baking sheet with a aluminum foil covering it. You will want to bake on the baking sheet between two and three minutes. You will know they are ready to be removed when they lay flat and aren’t curling up anymore.
When you take your Shrinky Dinks out of the oven, you will need to seal them to protect them and make them last longer. When your sealing is complete, let the plastic cool down completely before removing from the baking sheet.
Final Thoughts
Shrinky Dinks are an incredibly easy and fun craft to do. They are great crafts for kids and adults, so the whole family will have a blast making them together.
If you want to use acrylic paint for a Shrinky Dink project, you definitely can. It is a great option for a Shrinky Dink, though it is recommended to use an ink-based acrylic instead of a water-based acrylic. An ink-based acrylic will stick to the plastic much better than a water-based acrylic.
Acrylic paint pens are also a fantastic option for a mess-free and simple decorating tool for Shrinky Dinks. You get all of the benefits of using acrylic paint without any of the mess or cleanup of using regular paints for the project. This makes it extra kid friendly.
Make sure to follow all my tips and recommended products to ensure your Shrinky Dink project come out amazing. Also, don’t forget to check out my other articles for all you painting Q&A’s. Happy painting!

