
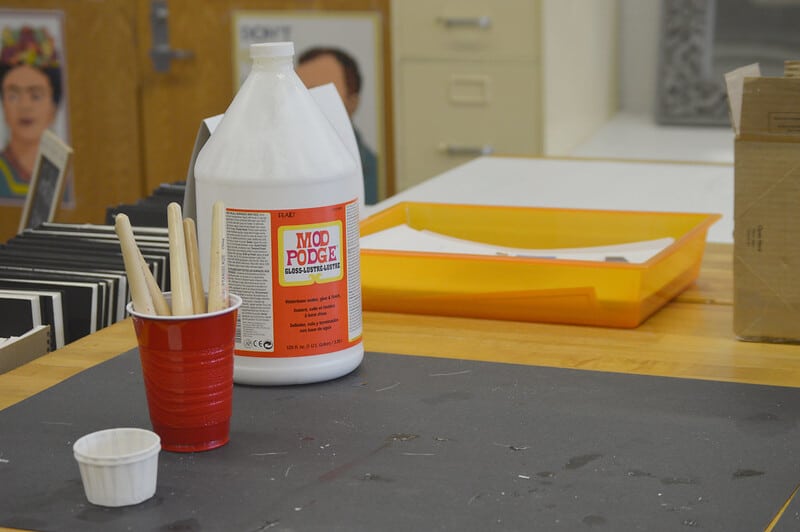
Mod Podge is a super handy product to have in your art box. It is used for many things like priming a surface, decoupage, and even sealing paint. Mod Podge can be used on tons of surfaces such as canvas, wood, plastic and more!
So, can you use Mod Podge on metal? Yes! You can use Mod Podge to do a variety of projects on metal. Mod Podge will adhere to the metal, aluminum or tin, and it can also be used to seal your project.
Mod Podge is a great tool to have in your art box, and works great on all types of metal. In this article we go over everything you need to know for using Mod Podge on metal. Let’s read on!
How To Use Mod Podge on Metal
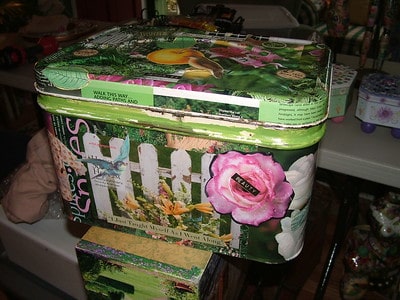
If you found an old metal box, a metal can or even a metal sheet, you can up-cycle it into a wonderful new project. The first thing you will want to do is make sure that there is no rust or anything dangerous on the metal.
You can also choose to sand down any imperfections on the metal with a fine-grit sandpaper sheet. This will help make your surface nice and smooth, so it’ll be easier to apply the Mod Podge. Depending on what your project is, you can apply a primer or better yet, you can use Mod Podge to prime the metal surface.
One your surface area is primed, you can either paint it or decoupage it with Mod Podge. If you are painting, I recommend using Arteza Acrylic Paints. They have so many different colors, and the quality is amazing! I usually use Arteza Paints for all my projects.

Mod Podge is great because it can be used to transfer photos, decoupage and prime/seal artwork. If you are transferring photos onto a metal surface you will need the Mod Podge Photo Transfer Kit. This has everything you need for your project.
To seal with regular Mod Podge, you have the option of a matte or satin finish. There are also other finishes like extreme glitter and a waterproof formula.

You can apply the Mod Podge to seal your paint or photo transfer, and if done correctly it should dry clear. If it dries yellow or white, you may have added too much of the formula. Let the project dry for at least 24 hours before you move it, and your project should be good to go!
If you need help you can read my other article, Why Did my Mod Podge Dry White? This should help you fix and learn all about applying Mod Podge correctly.
Can You Modge Podge Stainless Steel?
Yes, just like regular metal you can use Mod Podge on stainless steel. You can prime it with a regular gesso primer, or you can even use Mod Podge.
Simply paint the area and let it dry before applying Mod Podge to seal the paint. It’s the same steps and process that we mentioned above.
Remember to sand down your surface if you need too with a fine grit sandpaper, to avoid any bumps in the paint or sealing process.
Can I Use Mod Podge on Tin?
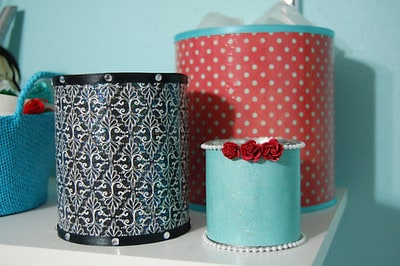
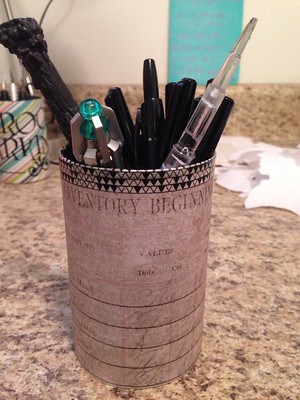
Mod Podge is great to use on all surfaces including tin. This lets you create fun and one of a kind tin cans, tin boxes and other décor made out of tin. People love to paint tin cans and then seal them with Mod Podge.
You can use the Extreme Glitter Mod Podge to create a fun and sparkly tin can for kids, or even adults. They’re super cute and work as a pencil holder, a small flower vase and much more.
Can You Decoupage on Tin Cans?
Yes, Mod Podge has a specific kit that comes with everything you need to decoupage. You can transfer pretty much anything onto a tin can with Mod Podge.

First, you need to prepare the surface area by cleaning it thoroughly with a damp cloth. This will ensure no debris or dust gets accidentally stuck on your project. If you want, you can even apply a base coat of acrylic paint to give it a nice colorful base, especially if the area is unfinished.
You’ll then apply your Mod Podge to the area with a Mod Podge Applicator Brush. Make sure to use the correct type of Mod Podge for your surface. For example, if you are applying Mod Podge to fabric, you will need the Fabric Mod Podge.
If you are applying it to wood or plastic, you can use the Satin Mod Podge formula. You can apply tissue paper, cardboard aper, card stock and regular paper to your surface. Simply cut out the pieces and shapes you’d like to apply and start pasting them onto the surface with Mod Podge.
It’s important to apply a thin to medium layer of Mod Podge, or your paper will wrinkle. If you apply too much, it can damage the items you are applying and ruin your project.
A very important step when you decoupage with Mod Podge is to smooth out your project. Mod Podge created a specific tool to help you smooth out your surface. This Decoupage Brush is crucial to flattening and making your paper stick to the surface.

To seal your project, you can apply one or two layers of Mod Podge for protection. You can use a regular Mod Podge formula of this step.
Mod Podge Photo Transfer on Metal
Another great thing you can use Mod Podge for is transferring photos onto surfaces. This also requires their special Photo Transfer Kit which includes everything you need to properly transfer your pictures on surfaces.

To transfer photos onto a surface, you first need to start by photocopying the picture you intend to use. This is very important because you don’t want to use the actual photograph, but simply a copy of it.
You will then apply the Mod Podge Photo Transfer medium to the image side of the picture. Some people like to mirror the image, so you can print the image backwards, or you can have it be mirrored on your surface.
Next, place the image face down, and squeegee it onto the surface so it sticks. Let it dry for about 24 hours before you remove any leftover paper. To get the extra paper off, simply rub it off with a moist sponge in circular motion.
There you have it, your photo has been transferred to your metal surface and is good to go!
Best Mod Podge for Metal

There are a few different types of Mod Podge formulas to choose from. The best one for metal is going to be the regular satin formula.
If you want to seal your metal and have a matte look, then I recommend the Mod Podge Matte Formula. Below are some other types of Mod Podge that will make your project stand out, and super unique!
Mod Podge Waterproof Dishwasher Safe

Waterproof Mod Podge works great for painted ceramic like mugs, plates, and anything you plan on washing in the dishwasher or with water.

The Mod Podge Glitter formula is designed to give your painted project sparkly and cool finish. A popular activity is to Mod Podge the glitter on shoes, such as Crocs or canvas shoes. You can add a thin layer for some simple shine, or a few layers for a super sparkly look!

As mentioned above, you can use the matte formula to prime your metal, or to seal the paint to give it a nice matte look.
Mod Podge Photo Transfer Formula

If you are transferring photos onto metal, like tin cans or metal boxes, the photo transfer formula is a must.

The outdoor formula is designed to be used with outdoor items. You may need to paint backyard decor, a lawn metal decoration or even a mailbox. This is the right Mod Podge if you will be keeping your painted metal outside.

The spray option is great if you want to spray on the varnish, as opposed to brushing it on. It can be easier to just spray it on, especially if it’s a smaller metal object.
Final Thoughts
Mod Podge makes a great addition to any art project because it can be used in a variety of ways. You can use your Mod Podge to prime metal, to seal it, transfer photos, and even decoupage tin cans!
Always remember to apply just enough to avoid wrinkling or damaging your surface, and let the formula dry for at least 24 hours before you handle your project.
Make sure to follow all my tips and recommended products to ensure your Mod Podge painted project turns out great! Also, don’t forget to check out my other articles for all your painting Q&A’s. Happy painting!