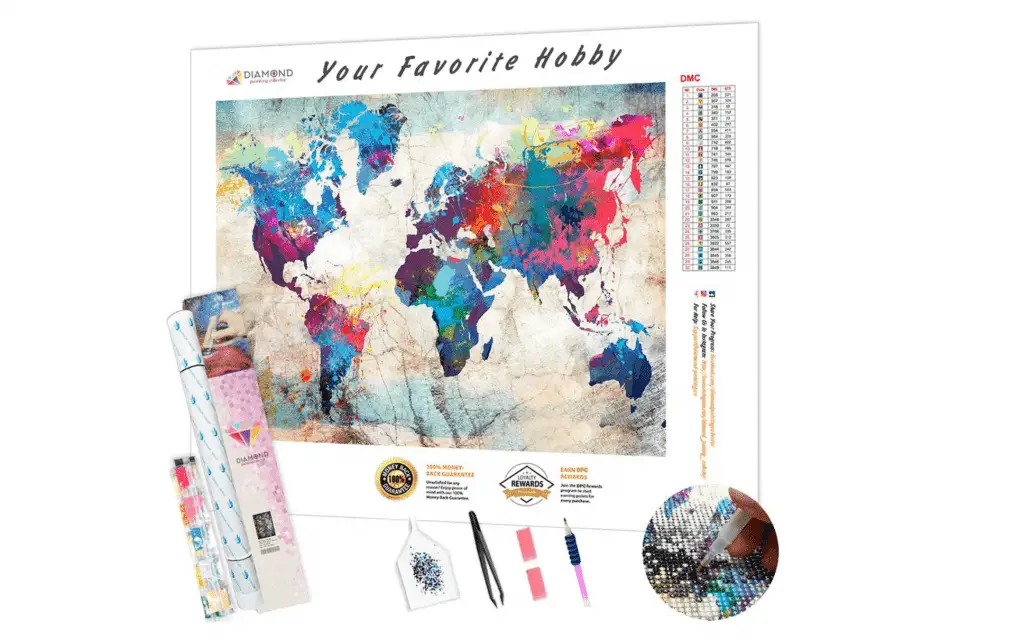
Diamond painting is one of the latest additions to the craft world. It has a growing fan base mixed with people who are already hooked, and people who are about to be. It basically follows the same concept as cross stitching or painting by numbers, except with diamond gems made from resin. The paintings are created by placing the gems onto a sticky canvas.
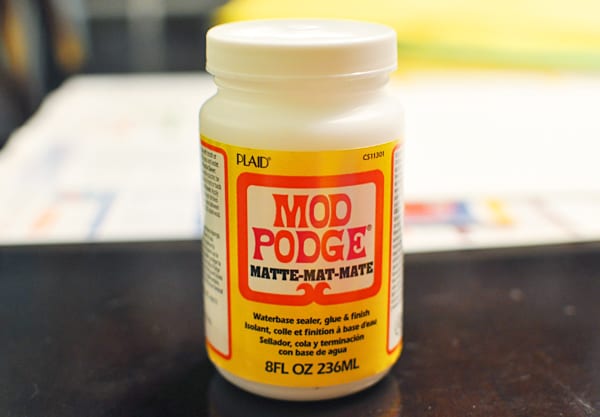
So, can you use Mod Podge on a diamond paining? Yes! Mod Podge can absolutely be used to seal diamond paintings. In fact, it’s a helpful aid as it leaves a nice glossy finish and cements the gems into place to prevent them from falling off. This is a crucial step if you plan on hanging your finished painting up. Using Mod Podge on your diamond painting will significantly increase the longevity of your project.
Mod Podge is simple and easy to apply and can come in spray form or liquid form, but best of all, it’s non-toxic. But even so, if you’re a beginner it is still important to learn the right technique to avoid messing up your creation. This article will give you all the advice you need about applying Mod Podge to your diamond painting, so let’s read on!
How Do You Mod Podge a Diamond Painting?
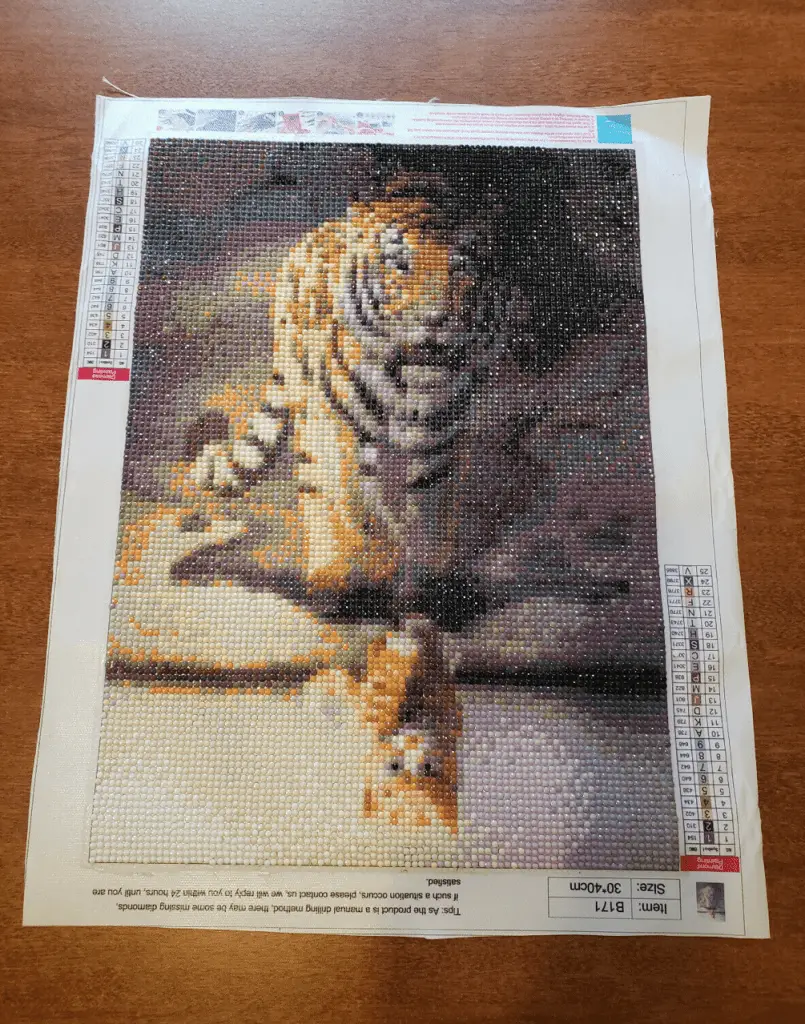
Mod Podge can be applied to a finished diamond painting to add gloss, shine, and protection. The first thing you need to do is make sure that all of your diamond gems are fitted correctly, without any risk of them falling off. A simple technique for this is by applying weight over the painting using a rolling pin. As well as locking the gems in, it also ensures that the canvas is completely flat.
Tip – to avoid any damage to the canvas, place a cloth or an old t-shirt between the painting and the rolling pin.
Now you can start applying your first layer on Mod Podge. Do this using a paintbrush, any type is fine but generally something soft, and spread a thin layer over the canvas. Mod Podge sells its own brushes to give you the right size and control.
I highly recommend using the Mod Podge Brush Applicator. It’ll go perfect with your Mod Podge, and will apply on smoothly. It’s always great to use the same brand for certain things, to ensure your artwork is preserved properly.

At first, the Mod Podge may appear white like PVA glue, but it will become transparent as it begins to dry. Apply the sealant evenly and be careful to not spill any over the sides of your painting. The glue will naturally make its way around all of the gems and hold them in place. The canvas should be left overnight to dry without being touched.
At this stage, diamond paintings are generally finished off with an aerosol sealing spray to leave a diamond-like appearance. But these sprays do not work like glue, and can not be replaced with Mod Podge. Its main uses are for providing waterproofing, preventing the canvas from yellowing over time, and creating a sparkle.
How Do You Glue Diamond Art?
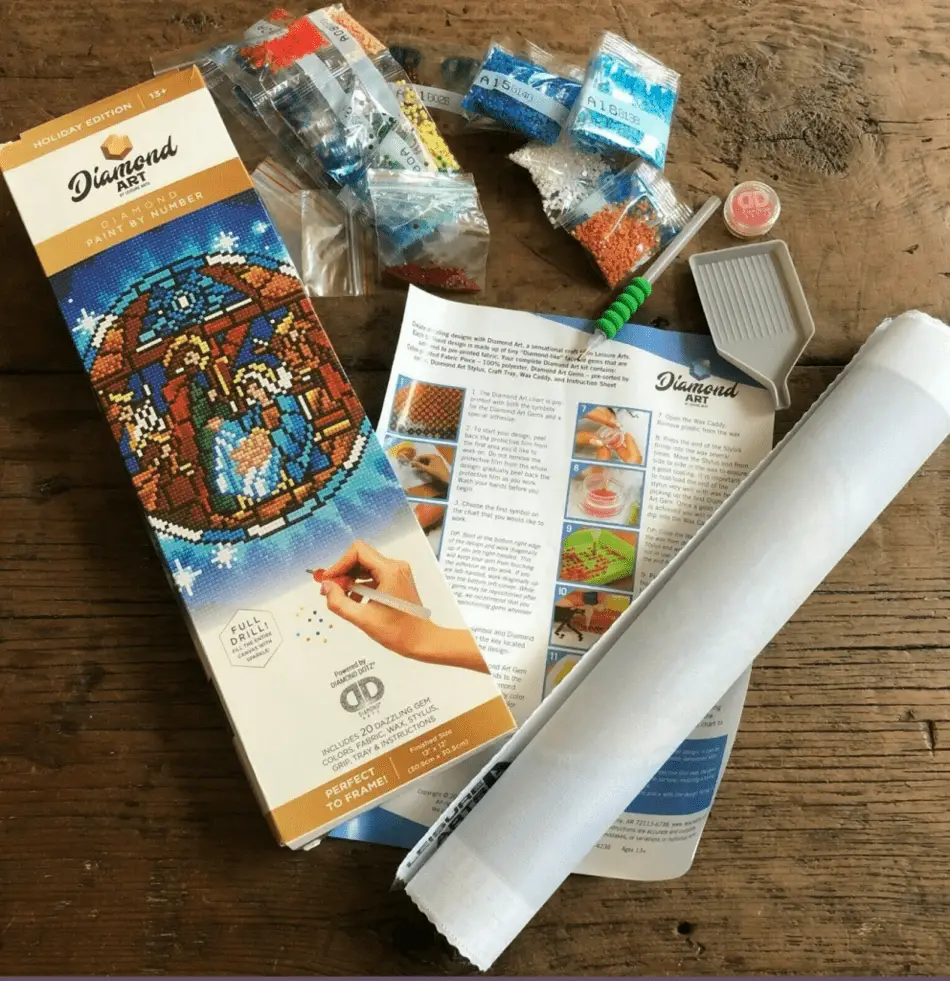
There are two main methods you can use to glue diamond art; double-sided tape and canvas glue. Both are good options but each comes with different factors to consider.
First, let’s talk about double-sided tape. Double-sided tape is the gluing method that manufacturers include in the diamond painting kits. So it’s safe to say this option is frequently used and fairly simple to fix.
Cut the tape to the correct size to match the size of the gem and carefully place it on the chosen patch of the artwork. Depending on the pattern, the tape can also be cut into strips of shapes to make the process less fiddly – which means that this method is ideal for covering large blank patches or even the entire canvas. However, when applying the tape take care not to overlap gems, or leave spaces between layers.

Some things to consider with double-sided tape are; transparency, thickness, and backing. The tape can come in different colours, thicknesses, and widths. Basically, you’re looking for something clear and thin to minimize visibility. Also, having backing on one or both sides of the tape will make it easier to apply and stop your fingers from sticking to it.
The second option is canvas glue. Some diamond paints do not utilize double-sided tape, which is where canvas glue comes in. The canvas is made by pouring a special glue on top, which is slightly different from other types of glue you may have used before.
This type of fluid adhesive is more useful for smaller blank patches, for example, with stubborn gems that just won’t stick properly. It just makes for an easier choice to pop on some glue rather than cut out a shape on tape. Despite this, canvas glue can still be spread on larger surface areas (or the entire canvas) and makes for a feasible method.
Some things to consider with canvas glue are; transparency, repositioning ability, and how easy it is to apply. Again, you’re looking for a glue that dries clear and can be spread thin, but you’ll also want something that dries a bit more slowly so that you have time to make adjustments if need be.

If you don’t want to use any of the options above, you can use Mod Podge. Mod Podge can be used as glue on may surfaces, including fabric. I recommend trying on a small practice area to see if your diamond stones will adhere, before applying it to the entire canvas.
What I like about Mod Podge is that it dries clear. Useless something went wrong, such as applying too many layers or it got tampered with, it will dry and stay clear. This is great because we don’t want white or bubbles showing on the diamond art paintings.
Why Did My Mod Podge Dry White?
The plain and simple answer is that you applied the Mod Podge layers too thick. Mod Podge does require two to three layers, but doing fewer, thicker layers is not a shortcut. It will only lead to clumping, clouding, or a white finish. For best results, make sure each layer is nice and thin and given enough time to dry between each coat.
Another reason Mod Podge dries white could be due to moisture. If the sealant isn’t given enough time to dry before being exposed to damp areas, or put outside, it won’t dry properly. If this is the case, you can try leaving the project in a hot room to see if it will fix itself.
For more information, check out my other article, Why Did My Mod Podge Dry White? It will answer any questions you may have, as well as offer solutions to fixing the project.
What Is the Difference Between Diamond Dotz and Diamond Painting?
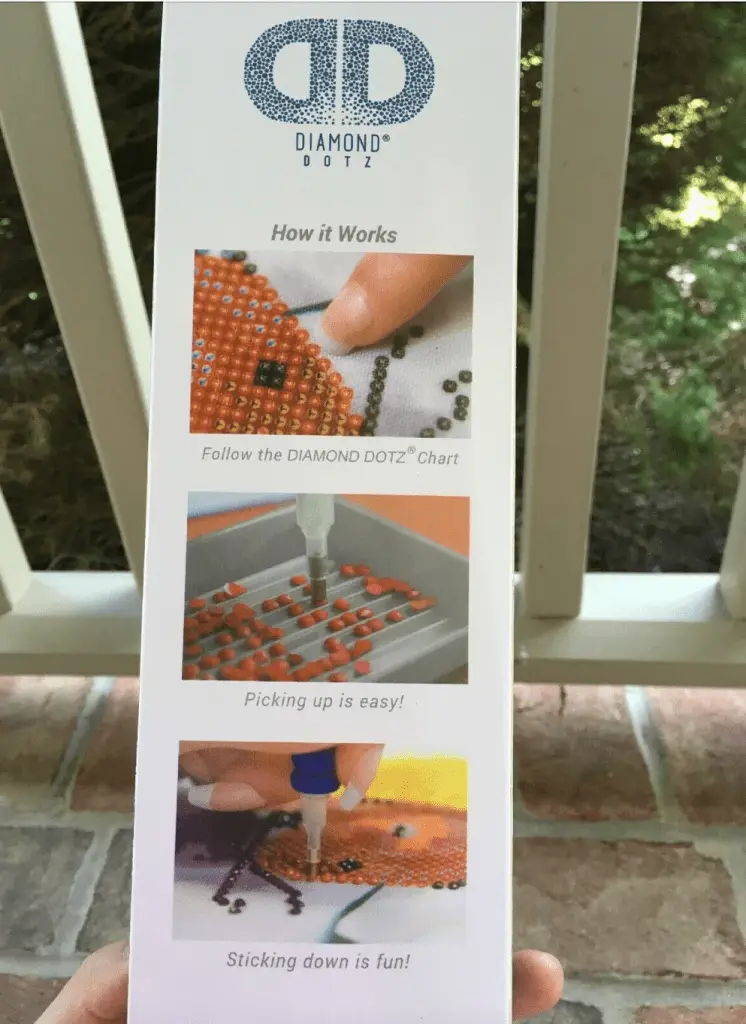
Diamond Dotz and diamond painting are more or less the same things. They both boil down to a craft involving fixing ‘diamond’ gems onto a sticky surface to make a picture or design. Diamond Dotz itself is a company that sells gems for diamond painting, whereas diamond painting is the craft. Both arts have a mixture of gems including 5D and 3D, and require the same techniques and skills.
Is Mod Podge a Waterproof Sealant?
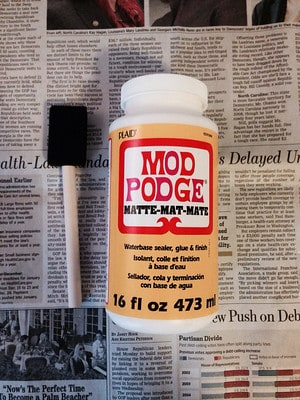
In short, no, Mod Podge is not waterproof. It is resilient enough to take a few drops of water but if you want to make your project truly waterproof, then you will need to add an additional sealer.
The only “waterproof” Mod Podge solution out there is the Dishwasher Safe Mod Podge. This is mostly used in ceramics crafts that were painted, sealed, and will be going in the dishwasher. For example, a painted mug, plate or even bowl, were sealed with the Dishwasher Mod Podge, and will withstand the water from the dishwasher.

Final Thoughts
Mod Podge is a useful tool when it comes to diamond painting as it glues the gems in place and increases the overall lifespan of your project. The most common way of applying Mod Podge is in liquid form and brushing it on like paint, however, it can also be applied like a spray. This method is less common in diamond craft as it doesn’t glue the gems on in the same way.
Diamond art can be done in two ways, either with double-sided taped or with canvas glue. The standard method is tape, however, the glue is generally an easier option for making small adjustments like filling in singular blank patches. Whichever option people use generally comes down to personal preference or brand.
Make sure to follow all my tips and recommended products to ensure your diamond art project turns out great! Also, don’t forget to check out my other articles for all your painting Q&A’s. Happy painting!

