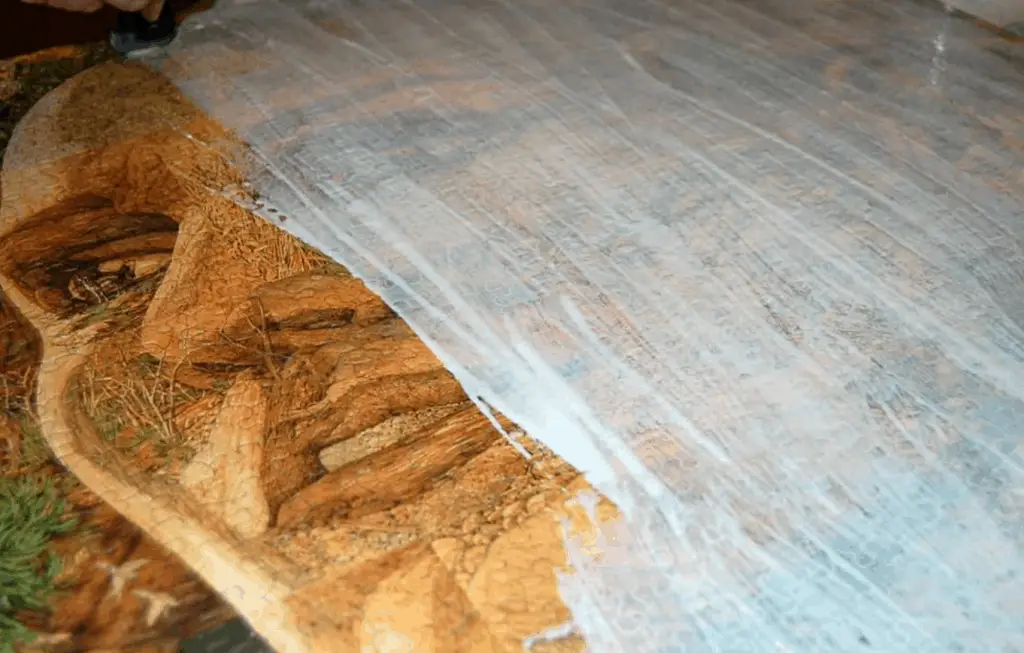
Mod Podge is a fantastic product because it can be used for so many different purposes. One of the main purposes it serves, is a sealant to protect paintings and photos. It is a popular choice because it dries clear and protects the surface.
So, can you Mod Podge over photos? Yes! If you want to use Mod Podge on the surface of a picture, you can. It is highly recommended that you test it out on a sample picture so you can get a feel of how much Mod Podge to use. This will prevent you from accidentally ruining any sentimental photos.
The process of using Mod Podge over a picture is pretty easy as long as you know what you are doing. You will need to be extremely careful and avoid using too much product. This can damage your picture and potentially ruin it if it’s old.
How to Use Mod Podge Over Glossy Photos
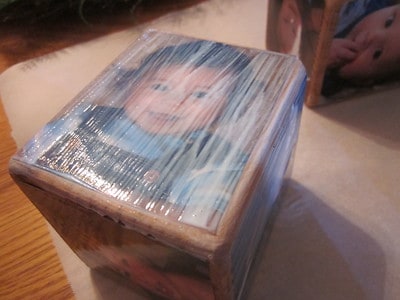
It is possible to use Mod Podge on glossy photos if you are careful. First, it is essential to make sure that the picture is completely dry before you try to Mod Podge it. If the photo is still the slightest bit wet, the colors can run and completely ruin your picture.
The first picture you apply Mod Podge to should be a test picture. This will give you an idea of how the product reacts with the picture and whether the colors will run or not. After you complete the test photo following the steps and nothing goes wrong, you can continue with your other pictures.

Prepare a space to work with your pictures. You want a clean area with plenty of ventilation. You will want to try to wipe off the surface of the picture with a lint-free cloth to remove any dust or other debris that might be on the surface. Debris can get stuck in the Mod Podge and make your picture look lumpy.
The best paintbrush to use is a foam brush or a flat, wide brush. Brush the Mod Podge in a thin layer on the surface of the photo. Work from left to right or top to bottom to avoid missing any spots or going over any spot more than once.
I highly recommend using the Mod Podge Brush Applicator. It’s specifically designed to work with Mod Podge, and does an amazing job!

If you want extra stability, you can also apply some Mod Podge to the back of the picture. For the best protection, you should add two layers of product keeping them both as thin as possible. If you add too much, the Mod Podge can dry cloudy. It is also important to let the first layer dry completely before adding the next layer. This will take about 30 minutes.
When you have applied both layers of Mod Podge to your photo, leave it to completely cure. This can take anywhere from just a few hours to several days. When it is completely cured, you can do whatever you wish with the picture.
How to Use Mod Podge to Transfer Photos
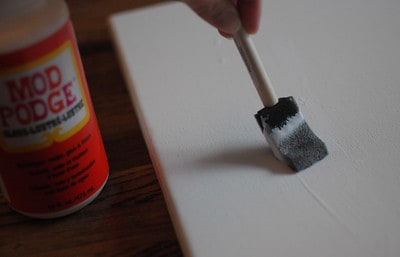
Many people don’t realize that Mod Podge also makes a transfer medium product. This product makes it simple to transfer photos to just about any surface you could want. The transfer medium isn’t just a regular Mod Podge formula in a different bottle, it is designed specifically for transferring photos and will leave you with a white background.
First, you will want to prepare the surface. If you want your picture to have a border when it is transferred, paint the surface the color you want for the border. You can apply two layers of the base border coat for the cleanest, sharpest look.
I like to use this Mod Podge Photo Transfer Kit. It has everything you need to get started.

One important thing you need to remember about photo transferring is that you will never use the actual picture. You need to use a copy of the original that was made on a dry toner copier. The image also needs to be a mirror image when you copy it, so it turns out facing the right way after the transfer. This is most important if your image has words or numbers.
After you have your picture copied, trim it down to fit the surface you want to transfer it onto. Apply the Mod Podge Transfer Medium onto your image. The product has a thicker consistency than regular Mod Podge, so remember that when you are applying.
Cover the picture completely and evenly with the transfer medium. You can do this with a brush, but you might have an easier time spreading the product with a flexible squeegee. When you have the picture completely covered, pick it up with just the tips of your fingers, or your fingernails, to avoid touching the surface.
Flip the picture over onto your prepared surface. Smooth the photo starting in the middle and moving toward the outside. When the picture is perfectly placed on the surface, let it sit for a full 24 hours to let the product work.
After 24 hours, take a cellulose sponge and get it wet. Dampen the backside of the picture with the sponge and let the moisture soak in for a minute. You can then start to roll and peel away the paper, and you will be left with your transferred image!
Can You Mod Podge Pictures Onto Wood?
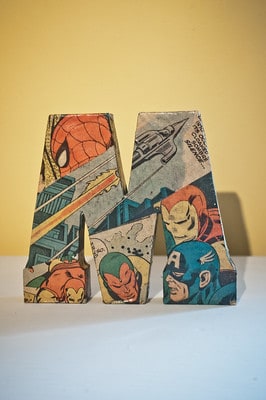
You can use Mod Podge to transfer pictures onto wood or just decoupage them onto wood. If you are just decoupaging the pictures on the wood, start by applying a thick coat of Mod Podge to the surface of the wood. Before it dries, place your desired picture onto the surface with the image facing you.
Smooth the photo, starting in the middle, to remove any wrinkles or air bubbles. Repeat this with as many pictures as you would like to add to the wood. When you are finished adding pictures, apply two coats of Mod Podge on top of the pictures. Give the first layer plenty of time to dry before you add the second.
Does Mod Podge Dry Clear on Photos?
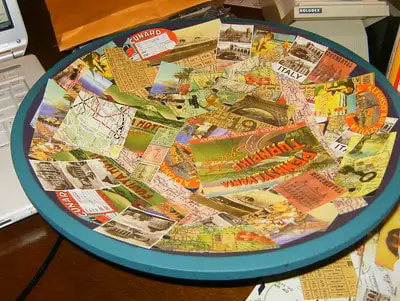
Mod Podge should dry clear on photos. If the product isn’t drying clear, there might be a couple reasons. First, there is a potential that the Mod Podge was applied too thick and isn’t drying properly. There is also the possibility that you added your second layer before giving the first layer enough time to dry.
If you apply the Mod Podge to the photo properly, the product should have no problem drying clear and still allowing you to see the picture beneath.
Can You Spray Clear Coat Over Mod Podge?

While you can use a spray clear coat over Mod Podge, it isn’t necessary. Mod Podge itself is a clear coat and a sealant, so it doesn’t need any additional protection. Spraying a clear coat over Mod Podge is basically wasting product, so you should avoid it.
Final Thoughts
Mod Podge is a great product for many different projects. One thing that Mod Podge is perfect for is being applied to photos and pictures. It can add stability to your pictures and protect them from years to come.
You can also use Mod Podge to adhere pictures to surfaces such as wood with ease. There is also a photo transfer Mod Podge that makes it incredibly simple to transfer a picture onto just about any surface you can think of.
Make sure to follow all my tips and recommended products to ensure your Mod Podge project turns out great! Also, don’t forget to check out my other articles for all your painting Q&A’s. Happy painting!

