
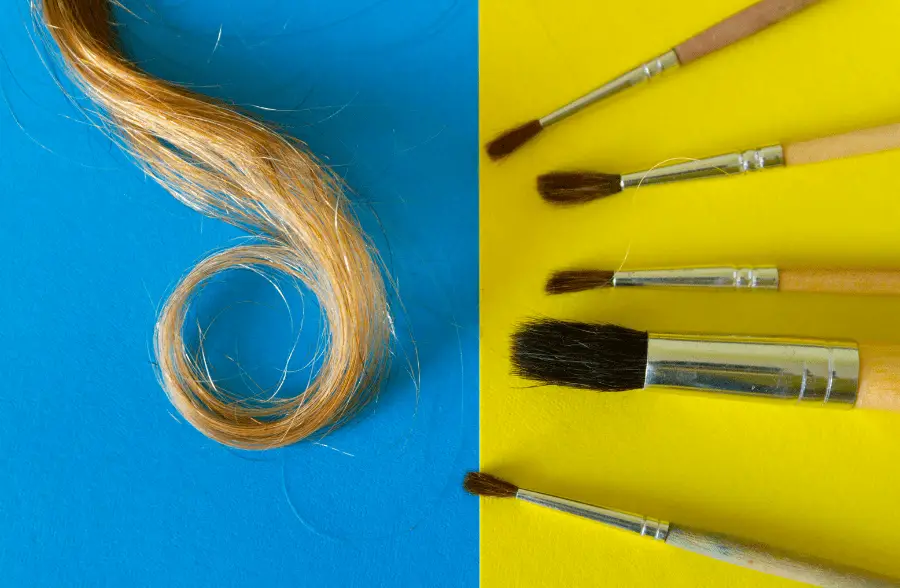
Coloring your hair is a great way to show your individuality, but the process can be long and expensive. If you are looking for a quick, easy, and inexpensive way to add some fun colors to your hair, you will be happy to learn that there is a solution.
So, can you dye your hair with watercolor paint? Yes! Using watercolor paints is a great way to quickly color your hair a different color. The process is way quicker than going to a salon. All you need to do is prepare some water with the watercolor paint mixed in and soak your hair.
The process is easy, but it will only work if you have a light hair color. If your hair is brown or black, the color isn’t going to take. If you have blonde or even light red hair, you will have much more success with this process. In this article we go over everything you need to know to successfully dry your hair with watercolors. Let’s read on!
Can You Watercolor Wet Hair?
You shouldn’t try to add watercolor to your hair when it is wet. Just like with regular hair color, the watercolor paints will take better to your hair if it is dry. There are two different ways you can watercolor your hair.
To start either process, you will want to make sure your hair is clean and dry. It might also be beneficial to straighten your hair before you start. This will ensure that you don’t miss any parts of your hair because curls are getting in the way.
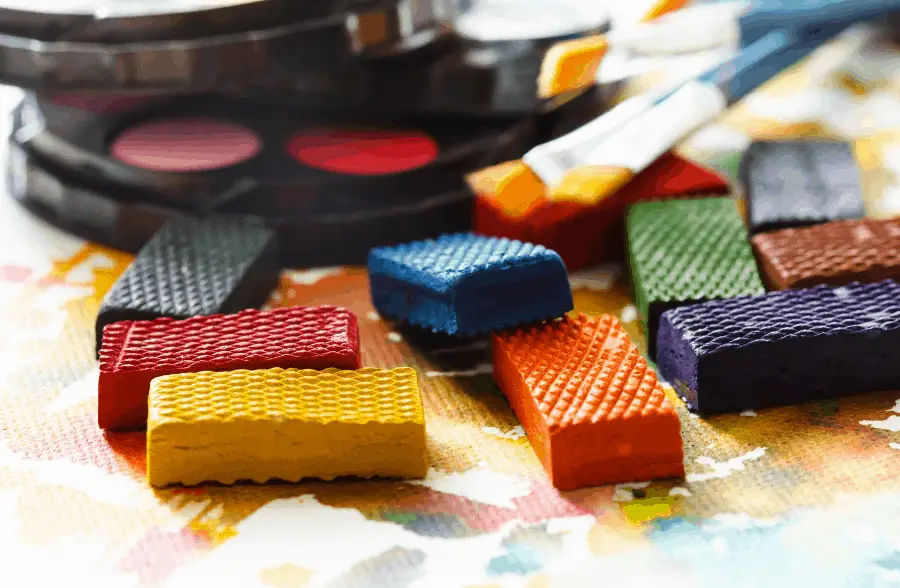
My favorite and top pick is always Arteza Watercolor Paints. They have so many different colors, and the quality is amazing! I highly recommend this tube set, because it’s so rich in pigment, which is great for hair dying.

For the first process, grab your watercolor paints, a cup of warm water, and a paintbrush. You might find that you have the best results with a makeup brush, but a regular paintbrush will work just fine. If you want to have small streaks of color, use a small brush.
Wet down your brush and the paint you want to use. Starting at the top of the strand of hair, work your way to the bottom of your hair. Repeat the process as many times as you want across your head until you have reached your desired look. Spray with hairspray, blow dry, and you’re done. This is extremely temporary.
For the second process, you will need a large bucket of hot water and the watercolor paint of your choice. Grab a spoon or a metal whisk to mix the color completely into the water. This will make sure that the color comes out evenly and not splotchy.
If you want a darker hue than what you currently have, you can add more paint to the mixture. Mix again until you have the color you want. As soon as you have your mixture, you are ready to dip your dry hair into the bucket.
Let your hair soak for about ten minutes to soak up as much color as possible. This won’t be the best option if you just want some streaks in your hair, but it will be the best for dying tips or your whole head the same color.
After about ten minutes have passed, remove your hair from the bucket of water. Squeeze out as much of the excess water as possible to check the color of your hair. If you aren’t at the color you want yet, place your hair back in the bucket for some extra time.
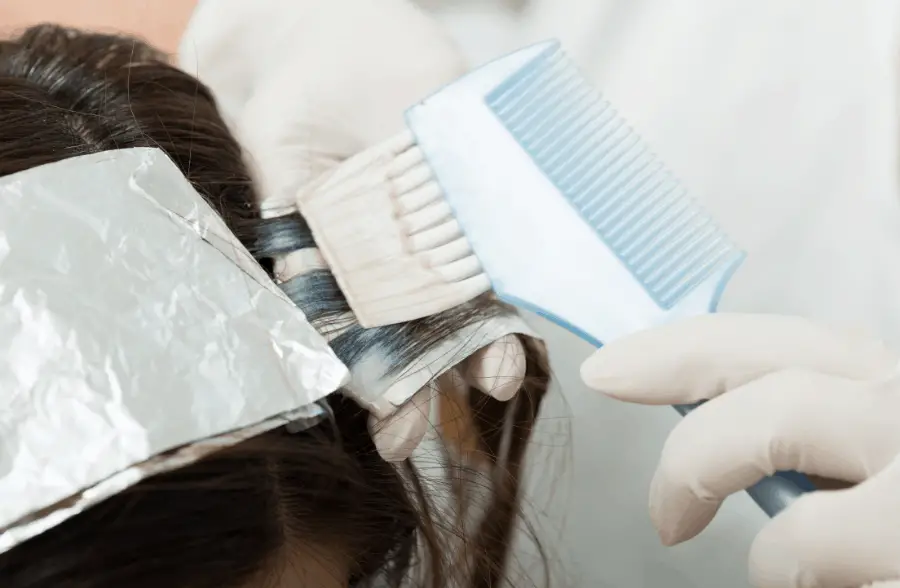
When you finally have the right color, you will be ready to wash your hair. It is highly recommended to use a moisture shampoo and conditioner that doesn’t contain any sulfate. This will help protect the color and provide necessary nourishment.
Even though my hair isn’t dyed with watercolors, I use Kenra Color Maintenance Shampoo. It really locks in the color and keep it from fading.

To finish this process, you need to let your hair air dry. Towel dry your hair slightly after you wash it, then leave the air to do the rest of the work. This won’t compromise the color, so it will stay brighter for longer. This is also a temporary color to your hair, but it will be fun!
How Long Do You Let Hair Sit in Watercolor?

The length of time that you let your hair sit in the watercolor mixture will depend on what you want the color to look like when it is finished. It is recommended to start out soaking your hair for about ten minutes.
When this time has passed, you will want to check your hair to see if you are satisfied with the color or if it needs to be darker. If you want the color to be darker, you can put your hair back in the mixture. Start with an extra five minutes, then check your hair again.
If you still haven’t reached your desired color after fifteen minutes, it might be helpful to mix in some more color to your mixture. After the color is properly mixed and distributed, you can add your hair back to the bucket again.
This time, you should soak your hair for another five minutes. This should hopefully get you the color you are hoping for. However, if you still haven’t reached the right color, you can continue to soak your hair until you do. Watercolor paints are not likely to damage your hair during the soaking process.
Final Thoughts
If you want a fun, temporary way to add different colors to your hair, you might want to check out dying your hair with watercolor paints. The process is simple, unlikely to damage your hair, and doesn’t take much time.
This process will work great on light colored hair, but you won’t notice much of a difference on darker hair. The amount of time you let your hair sit will depend on how your hair is taking in the color. If you reach your desired color after ten minutes, you will be done. If not, you can soak your hair longer until you do.
Dying your hair with watercolor is extremely temporary and will likely wash out within a few washes, if not the first wash. This is a great option for sleepovers and parties to enable creativity in children while knowing it isn’t permanent.
Make sure to follow all my tips and recommended products to ensure your hair turns out amazing. Also, don’t forget to check out my other articles for all your painting Q&A’s. Happy painting!
