
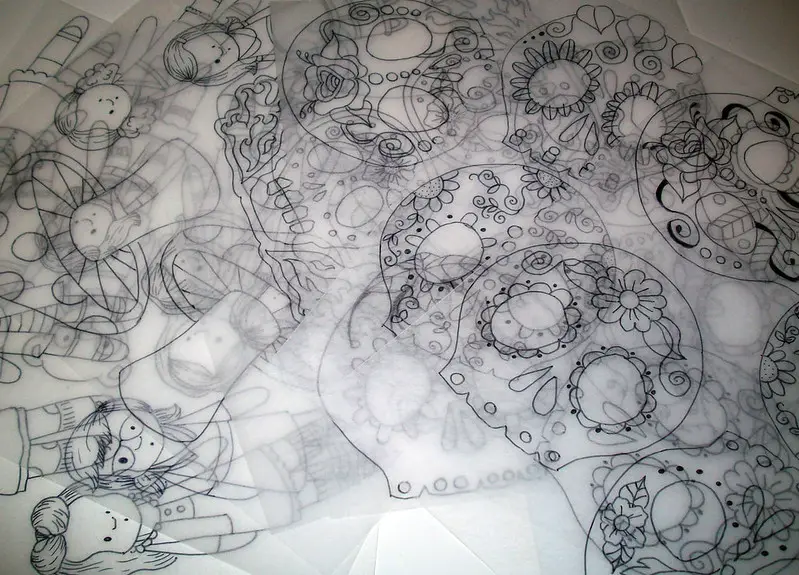
Have you ever had your shrink plastic crack or flake when you’re trying to cut it? It can be extremely frustrating, especially if you put a lot of time into designing your plastic charms. You’ll want to know how to avoid ruining your Shrinkles again.
You should always use very sharp scissors when cutting your polystyrene sheets. If they’re dull, they can easily tear the plastic instead of cutting it. You can use a sharp exacto knife or smaller scissors to cut along detailed designs well.
There are more tips to learn when it comes to cutting shrink plastic. You’ll want to use a very sharp-bladed tool to get the best results, or you risk ruining the cutouts. Let’s keep reading!
How To Cut Shrinky Dinks With Scissors
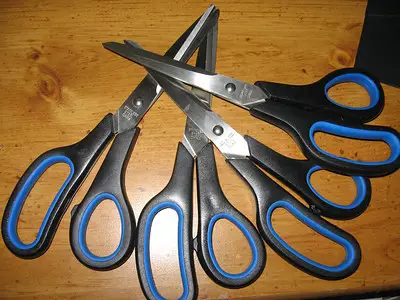
First, make sure that you have highly sharp craft scissors. Dull ones can rip, crack, and destroy the smaller details on your plastic designs. Once you have your scissors, place the plastic sheet as far as you can in the scissors, then cut slowly without closing the scissors the whole way.
You shouldn’t need to close the scissors completely to cut through the plastic. Plus, only partially shutting them gives you more control over your cuts. Smaller scissors are also better for getting into grooves on designs without cracking the plastic.
It’s good to leave an even border around the edges of your designs instead of cutting right against them. That way, you’re much less likely to accidentally snip through your drawings. Many people also feel that their charms look nicer with a bit of a border on them.

Overall, cutting out Shrinky Dinks is easy! You may want to make a few practice designs first to get a feel for using the scissors. Suppose your practice cutouts don’t go well. In that case, you can always try practicing more or switch to another pair of, hopefully, sharper craft scissors.
How Do You Cut Shrinky Dinks Without Cracking Them?
Cracked plastic is a common problem that crafters face when cutting their designs. You’ll want to first check that you’re using sharp scissors— the sharper, the better! You’ll get better edges that way. Its dull blades that ruin the thin plastic since they tear through it more than cut it.
Another option is to use an exacto knife. They’re perfect for cutting through plastic because you can easily replace the blades as they dull. Here’s how to do this method:
- Design your Shrinky Dinks as usual.
- Set the plastic sheet on a silicone cutting mat.
- Use the exacto knife to carefully carve out your designs.
- Change out the blade if it feels like it’s pulling or could tear the plastic.
- Bake the cutouts as usual.
In short, there are a few ways you can cut polystyrene without cracking your drawings. You’ll get great results if you use a very sharp blade. Dull edges on blades won’t cut through the plastic sheets well, leaving you with frayed, cracked edges along your designs.
Can You Use Exacto Knife on Shrinky Dinks?

As mentioned above, you can easily use an exacto knife when trimming Shrinky Dinks. Being able to replace the blades when they grow dull is highly beneficial. However, the best way to use the knives in this project is to combine them with high-quality craft scissors.
You can use the scissors to cut out larger chunks of the plastic sheets, then use the exacto knife to trim off the excess material around your designs. You’ll get a much cleaner cut that way, almost as clean as using a Cricut!
The blades you get with exacto knives are very thin, making them perfect for cutting out the tiniest details. For this project, many crafters like using exacto knives more than their scissors because they can get smoother cuts.
You can usually tell when to change the blade because it starts to feel different as you cut. The edges might look chipped or dull as well. Most knives come with multiple blades, making swapping out more convenient. You won’t need to worry about cracking the plastic sheets that way.
Can You Cut Chrinky Dinks With a Cricut?
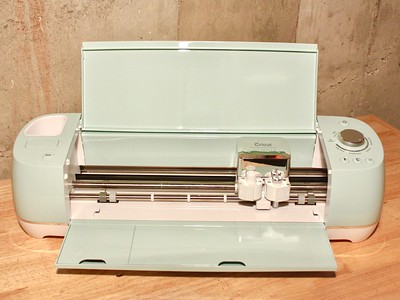
You can also use a Cricut for shrink-plastic projects. However, you’ll need to ensure that you get shrink paper that works in an inkjet; if you don’t, it could melt in the machine, making a huge mess. Luckily, the Shrinky Dink company does make official inkjet-safe sheets that work well in Cricuts.
First, print your designs on your plastic sheets using the Cricut machine. There should be an option to “Print Then Cut” on most modern models. Since they’ll shrink quite a bit, making your images about three times larger than you want them to be after they bake is good.

Some machines can’t read the clear shrink paper very well, so you’ll want to lightly sand the sheets with fine sandpaper beforehand. You’ll also need to wait about an hour for the fresh ink to dry. If you don’t wait, it could smear during the cutting process.
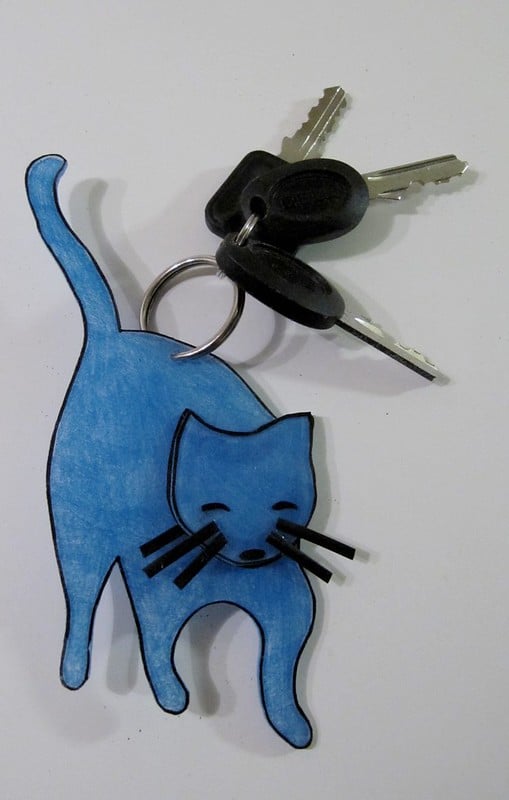
Lastly, use the machine to cut the designs. You want to ensure it’s set to a cut pressure of 350 and uses a fine point blade. Since you printed them with the Cricut, it should “know” where to cut them. Once the Cricut’s done, you can use a hole punch to make charms or put your cutouts in the oven.
Final Thoughts
In conclusion, you can easily cut your plastic designs out without cracking the sheets. All you need to do is check that you’re using the sharpest pair of scissors. You may want a new set if they seem dull before cutting the designs out. Smaller scissors are also better at getting in all the grooves and small gaps on your drawings.
You can also use plenty of other tools to finish this project. Some crafters use exacto knives or even Cricuts to make their plastic creations. Each method offers its own benefits, so you’ll want to use the one that works best for you!
Make sure to follow all my tips and recommended products to ensure your project turns out great! Also, don’t forget to check out my other articles for all your painting Q&A’s. Happy painting!