
Do you have some ink pads at home and wonder what else you can use them for? Using stamps on Shrinky Dinks would be fun, but you’ll want to know if it works first. Otherwise, you could end up with a mess in your oven.
So, can you use ink pads on Shrinky Dinks? Ink pads work well on shrink-plastic as long as you use permanent ink. It should dry fast and not bleed when heated. However, you’ll want to make sure you use a big enough stamp since the small ones shrink too much to see what they are.
If you want to try stamping Shrinky Dinks, all the steps are in the post below. Let’s keep reading!
How To Use Ink Pads on Shrink Dinks
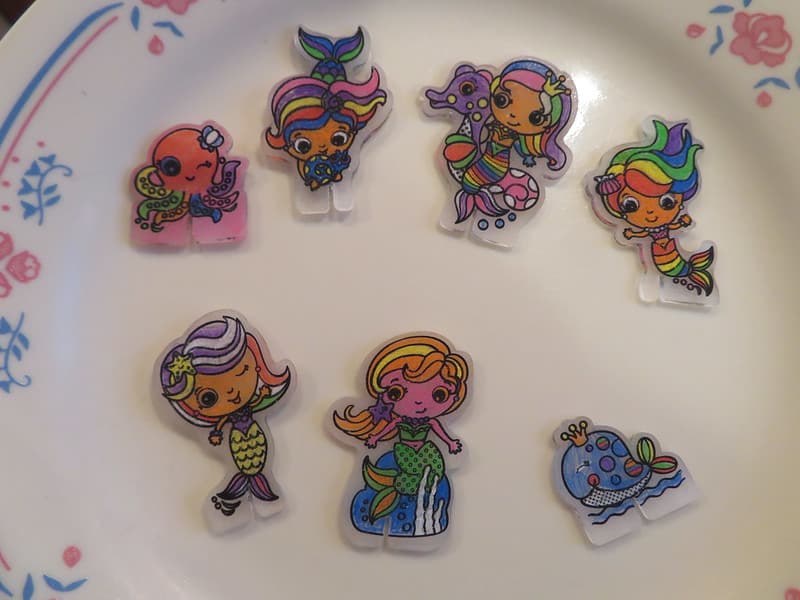
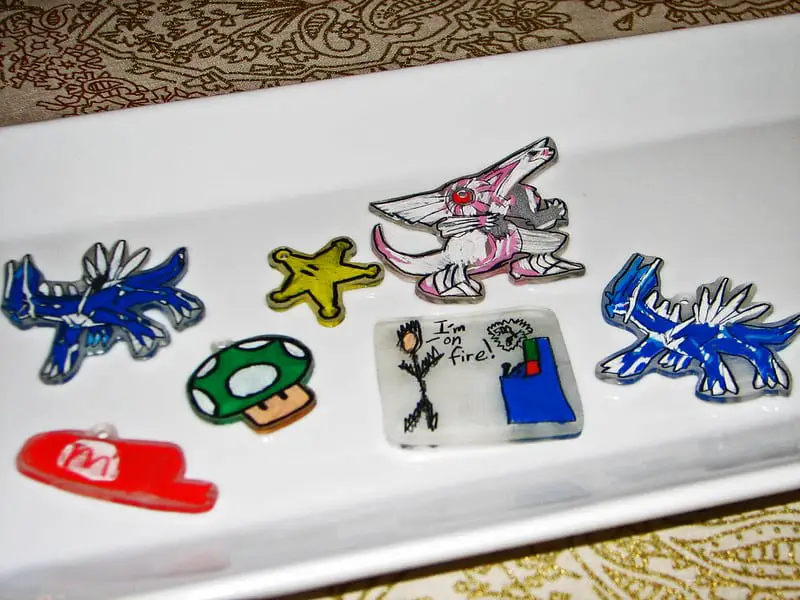
Using ink pads on shrink-plastic is easy and fun! Plus, there are a lot of creative ways to use the ink. For example, you can easily capture a child’s hand or footprint with an ink pad and make it into the perfect keepsake keychain.
You can also use any of your favorite stamps on the plastic! Here’s how you can use your ink pads to make shrinkles:
- First, preheat your oven to 325° F. Check the shrink-plastic packaging to ensure it doesn’t use a different temperature.
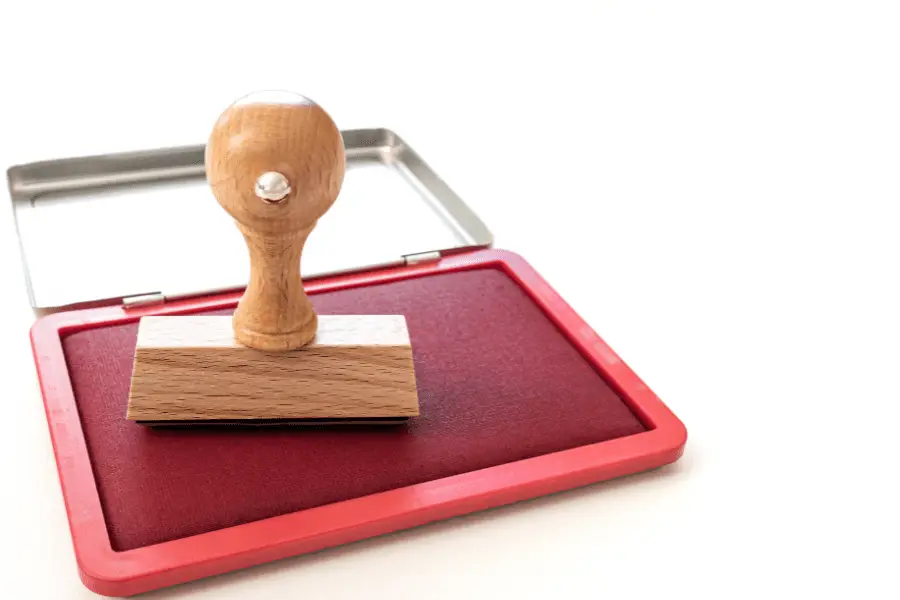
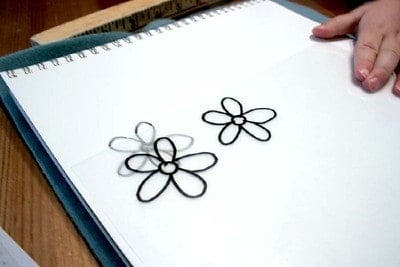
- Press your stamp into the ink pad and roll it slightly. You want the entire stamp to have an even coating of ink.
- Push the stamp onto the smooth side of your shrink-plastic sheets.
- Sprinkle the ink with embossing powder to help it dry.
- Give the ink a few minutes to set so you don’t smudge the design.
- Carefully cut out the design using sharp craft scissors. Don’t forget to add a small hole if you want to turn your Shrinky Dinks into charms or jewelry.
- Arrange the plastic cutouts on a baking sheet.
- Lay a piece of parchment on top of the plastic cutouts.
- Bake for one to three minutes; you should see the designs start curling. You can remove the shrinkles 30 seconds after they flatten out.
- If they weren’t completely flat, press the Shrinky Dinks on the parchment paper with a spatula or spoon.
- Allow the plastic to cool for a few minutes.
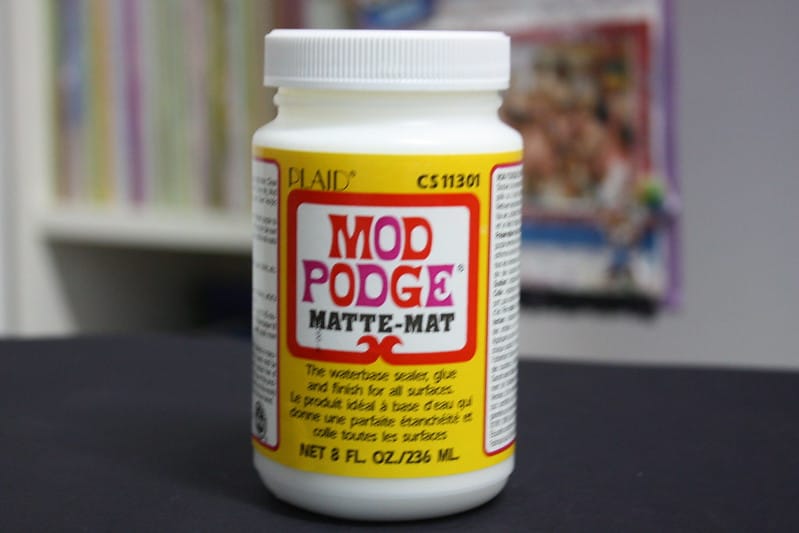
- Apply a clear sealant, like Mod Podge (optional).
- Your stamped plastic charms are ready to display!
You can follow the standard instructions when using ink pads on Shrinky Dinks, for the most part. Adding parchment paper helps prevent the shrinkles from curling too much and keeps the ink intact. Overall, it’s an easy, fun project that you will surely enjoy.
What Ink Can I Use on Shrink Plastic?
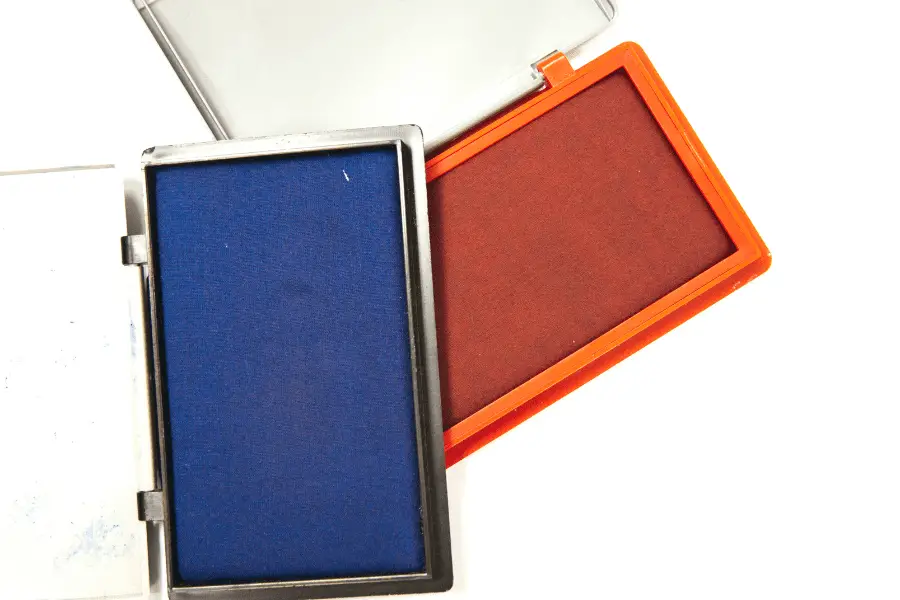
You’ll want to use permanent inks on shrink plastic to get the best results. This type of ink dries fast, making it suitable for use on plastic. However, not every ink you use will dry well, so you may have to experiment until you find one that works the best.
Most stamp inks work best on the smoother side of the shrink-plastic sheets, much like Sharpies and other markers. The grittier side can be more porous, causing the ink to run slightly.
Rubber stamps also work excellently on these smooth sheets. It’s easier to push the seal into the plastic and get a clear, solid line.
So, most permanent inks will work wonderfully on Shrinky Dink plastics. That said, most people need to experiment with a few ink pads and stamps until they find a set that works the best for them. You will still want to ensure you don’t use washable inks, as they’ll come off almost immediately.
What Is a Substitute for Shrinky Dink Paper?
You don’t need to use official Shrink Dink paper to make your own at home. Instead, you can find any flat plastic with a number six on the bottom. This material is polystyrene, which is what shrink-plastic consists of.
You can find this type of plastic in disposable cups, takeout containers, and more. So, you’ll want to check any plastic item before tossing it out. You can always clean them and repurpose them into Shrinky Dinks!
Check out this pre-made Shrinky Dink kit that comes with over 25 pieces!
The best part is you can make them using the exact instructions you use to make official Shrinky Dinks. It’s simple, fun, and a great way to reuse some plastic you have at home.
How Do You Seal Ink on Shrinky Dinks?
There are two ways that you can seal ink on shrink plastic. First, you might use an embossing powder to help the design dry. Some types of permanent inks won’t dry as well without them.
Then, after baking your plastic cutouts, you can seal the ink using Mod Podge. This decoupage medium dries clear and comes in tons of different finishes. It creates a strong, nice-looking seal that protects the ink on your designs.
That way, the ink shouldn’t fade or scratch off the plastic. Suppose you plan on using the designs as wearable charms or jewelry. In that case, you’ll want to seal them, so the ink doesn’t flake off if you accidentally bump the plastic into something.
In short, you can seal your Shrinky Dinks as usual when they have ink on them and get outstanding results. Many artists like the Mod Podge Gloss formula because it adds a layer of shine to their designs.
Can You Use Highlighters on Shrinky Dinks?
Highlighters aren’t the best choice for use on shrink plastic. The pigment doesn’t stick well and can bleed when heated, depending on what ink the highlighters use. You’ll get better results using Sharpies or other ink or alcohol-based markers with the neon colors you want.
The pigment will also turn out much brighter and more vibrant and won’t fade nearly as fast as the color from a high lighter would.
Of course, you can always experiment with your highlighters and see how they do. You’ll want to use a test plastic cutout, so you won’t be too disappointed if it doesn’t turn out how you imagine.
Final Thoughts
To summarize, you can use ink pads on shrink plastic and get outstanding results! You’ll want to ensure you give the ink additional time to set before you cut out the designs and bake them. That way, the ink doesn’t smudge. Adding a reliable seal will also help.
There are tons of ways to use stamps in your creations too. You’ll just need to ensure that the ones you use are big enough since your designs will shrink significantly in the oven.
Make sure to follow all my tips and recommended products to ensure your Shrinky Dink project turns out great! Also, don’t forget to check out my other articles for all your painting Q&A’s. Happy painting!