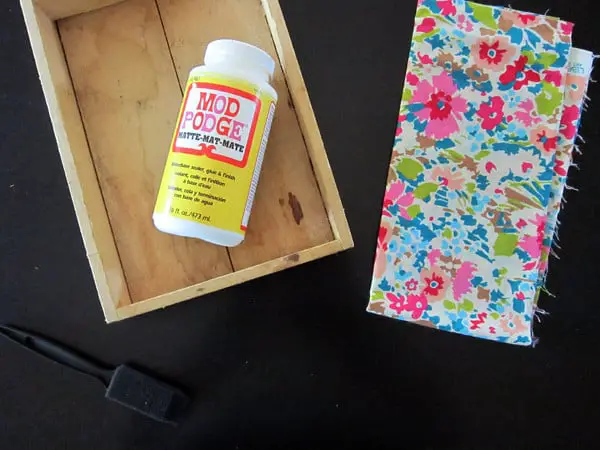
Is your Mod Podge still sticky after waiting for it to cure? There are plenty of reasons why this can happen. If you want to get the best final results with your projects, you’ll want to know what you can do. Leaving your art sticky will cause trouble!
So, why is your Mod Podge still sticky? Different Mod Podge formulas can take longer to dry than others. Glossier Mod Podge tends to stay sticky for longer. You’ll need to give it more curing time and work in thin layers.
Knowing how to fix tacky Mod Podge will help you add a stronger seal to your work! Sticky Mod Podge is messy and can easily ruin a project, so you won’t want to leave it that way. If you’re ready to fix sticky Mod Podge, make sure to keep reading!
How To Fix Sticky Mod Podge
There are a few different methods that you can use to fix sticky Mod Podge. First, make sure that you’ve waited the correct amount of time for it to cure. The curing time varies between formulas, so you should check the bottle for instructions.
If the Mod Podge remains sticky after the full curing time passes, you’ll want to take some additional steps. For tacky Mod Podge, you can use an acrylic sealer outside the project. Simply spray the outer surface with the can of acrylic sealer.
Then, you’ll need to wait about 20 minutes for the sealer to dry. When it finishes, you can apply another coat. This process works best with tacky Mod Podge that doesn’t seem to dry, no matter how long you wait. The acrylic sealer should dry and not be sticky.

You can also gently treat the Mod Podge with a hairdryer. Doing so can speed up the curing time. You’ll need to make sure the hot air dries the project evenly. Keeping the hairdryer moving at high heat is the best way to accomplish this.
Will Mod Podge Dry Sticky?
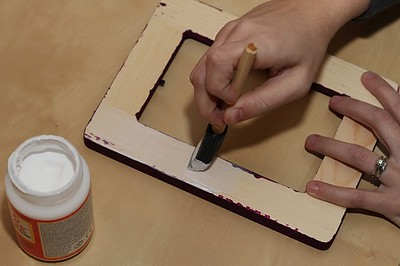
Mod Podge shouldn’t dry sticky. Once it cures, the material forms a hard, clear, plastic-like substance. If it’s still gummy, then it’s still drying. Or, it might’ve not cured correctly.
To ensure that your Mod Podge cures correctly, you’ll want to apply the material very slowly to your project. Only apply one thin coat at a time, then give it ample time to set. After that, you can add another layer.
You need to make sure the last coat dried thoroughly before adding another to it. If you don’t, the Mod Podge can remain sticky for weeks! It also can bubble and deform, ruining all of your hard work.
Overall, while Mod Podge can stay sticky, it shouldn’t. If it does, it means that something went wrong with the curing process. You’ll want to change how you apply the material in the future to get better results.
How Long Does Mod Podge Take To Cure?
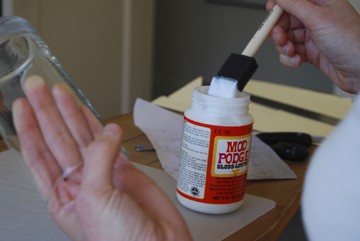
The curing time for Mod Podge depends on the formula that you use. You may have to wait multiple days for the liquid to cure completely.
However, for most types of Mod Podge, you can expect it to cure within 24 hours. If you apply additional coats, you’ll need to wait at least 72 hours. The more time you can give the material to cure, the better it will turn out.

It can be challenging to wait that long, but handling the project before then can easily deform it. If you need it to cure faster, you can expose the Mod Podge to heat. However, you’ll want to be very careful when you do this.
Why Is My Mod Podge Not Drying?
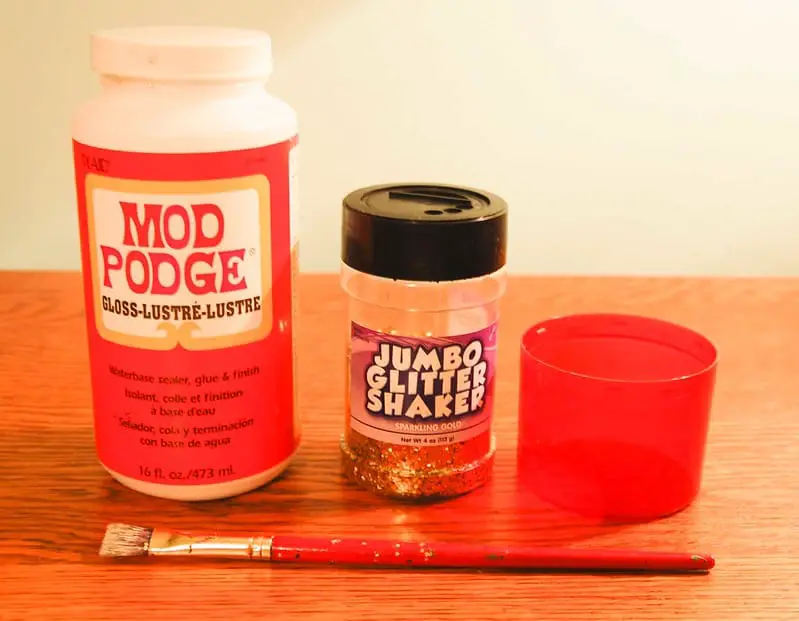
If your Mod Podge isn’t drying, that means that you’ve used too much of it. A little Mod Podge goes a long way, so you’ll want to use less of it next time. If there seem to be white patches in the Mod Podge, this would also be why.
It could also mean that you applied the next layer before waiting for the one under it to dry completely. Working with Mod Podge requires a lot of patience, so make sure to slow down! Using very thin layers of the material also helps.
Finally, suppose you live in a very humid climate. In that case, the moisture in the air can slow down the curing time for Mod Podge drastically. You’ll likely need to use heat, or it will never dry the entire way through!
The one Mod Podge formula that does dry pretty quickly is the Mod Podge Spray. When I seal a painting with the spray, it’s usually dry in about 4-6 hours.

How Do You Fix Mod Podge Mistakes?
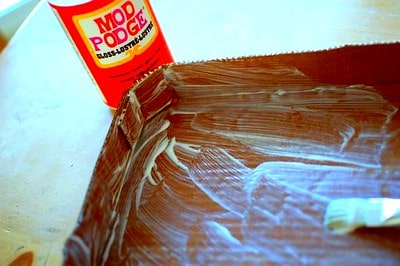
If you made a mistake with your Mod Podge, it is possible to remove it! Start by heating some water- you want it to be as hot as possible.
Then, use a sponge to put the hot water on the Mod Podge, taking care not to burn yourself. Let the hot water sit. After a few minutes, the Mod Podge should reactivate, making it easier to remove.
The Mod Podge should become easy to peel off your project, but you’ll still want to take care not to damage it! If it’s not loosening, you can try adding more hot water.
Finally, you can also try using sandpaper to scratch off the Mod Podge. However, it won’t look as smooth when you get it off.
Does Rubbing Alcohol Remove Mod Podge?

If you need to remove the Mod Podge completely, your best bet would be rubbing alcohol. Apply the liquid to a cotton ball or rag, then gently wipe the Mod Podge off.
This method is excellent for removing unwanted Mod Podge spills, although it can damage your art, depending on the medium.
Overall, you’ll want to be careful when applying Mod Podge. While you can remove it, it’s not easy to do without damaging the art underneath!
How To Apply Mod Podge
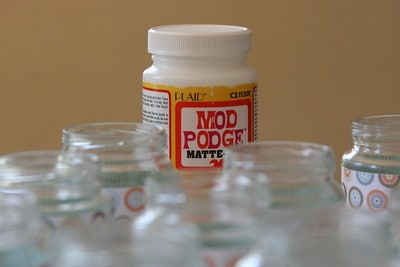
You should apply Mod Podge in very light layers. That way, it can cure without issue. Start by pouring a small amount out into a plastic cup. Then, use a soft bristle brush to add a thin coat to your project using horizontal strokes.
I highly recommend using the Mod Podge Brush Applicator. It’s made by and designed for Mod Podge, which ensures your layers will apply on smoothly.

Allow the first coat of Mod Podge about 20 minutes to dry before adding another coat. The second coat you should apply in vertical strokes. That way, you get a smoother surface!
There are varying instructions between different Mod Podge formulas. Varying Mod Podge options can take different amounts of time to cure, so you’ll want to make sure you know how long to wait.
If you work slowly, you should get a very smooth surface! However, most of the problems with Mod Podge staying sticky come from rushing the process. Overall, it’s best to remain patient.
Final Thoughts
To summarize, the glossier versions of Mod Podge tend to take longer to cure. You should always apply sealant slowly to your projects, giving it plenty of time to dry between layers. If your Mod Podge stays sticky for an unreasonable amount of time, you can still fix it.
Overall, taking your time with Mod Podge is the best way to ensure it dries correctly. Applying too much and not letting the coats dry can cause bubbling, tackiness, and smearing. You should work slowly with this material for the best results.
Make sure to follow all my tips and recommended products to ensure your Mod Podge project turns out great! Also, don’t forget to check out my other articles for all your painting Q&A’s. Happy painting!

