

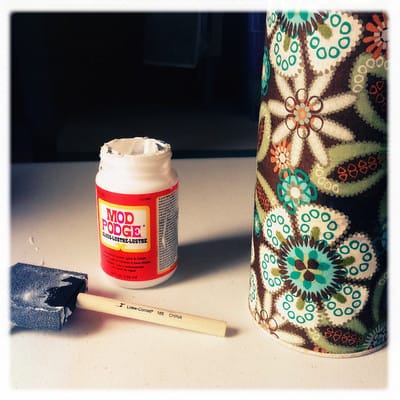
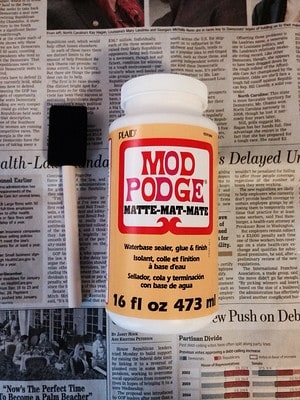
Mod Podge is a highly preferred product because it can be used on so many different surfaces. One common question is whether you can use Mod Podge on leather material. Since it works as a sealant and a decoupage, it seems like a great option for any leather project you might have.
So, can you use Mod Podge on leather? Yes you can, but it won’t give you the best results. This is due to the results not being consistent, which can be frustrating. However, if you are applying Mod Podge on a small area, you should be fine. To seal leather, I always recommend a leather finisher or an acrylic leather finish.
When you apply Mod Podge to leather, you need to do it carefully. If you apply too much, it will wrinkle and peel. If you apply too little, the leather won’t be protected. You will need to apply in thin layers while making sure you are covering the entire surface. Keep reading to find out more about how to use Mod Podge with leather.
How to Use Mod Podge on Leather
Using Mod Podge on leather is an easy process, but you need to be careful when you apply it because adding too much can ruin your product. If you are using the Mod Podge to glue pictures to leather, you will start out by cleaning the surface to remove any dust or debris.
Apply a thin layer of Mod Podge to the back of the picture you are gluing and to the surface of the leather. This will ensure that you are getting full coverage without having too much product. Let the Mod Podge dry for about fifteen minutes before you use more as a topcoat.

You are also going to need to apply the Mod Podge in thin layers when you are using it as a topcoat to keep your picture protected. Wait about fifteen minutes between each coat of Mod Podge to ensure it dries completely before adding the next coat. It is best to apply a minimum of two coats, but you can add more if you feel like you need more protection.
If you are using the Mod Podge as a sealant on top of a painting on leather, you will also need to start with a clean surface before you start painting. You will have the best luck with acrylic paint because it can stick to so many different surfaces. Before adding Mod Podge as a topcoat, the acrylic paint will need to be completely cured.
For the best results, you should wait about 24 hours for the acrylic paint to dry before applying the Mod Podge. It is also important to apply in thin layers to prevent too much Mod Podge build up. Wait fifteen minutes between each layer of Mod Podge and let each layer dry for 15 minutes in between.
My favorite and top pick is always Arteza Acrylic Paints. They have so many different colors, and the quality is amazing! I usually use Arteza Paints for all my projects.

How Do You Fix Cloudy Mod Podge?
One of the most common reasons your Mod Podge looks cloudy is because it isn’t fully dry yet. Your final coat of Mod Podge could take some time to dry, especially if you added too much product or left it to dry in a room with high humidity.
If you let the Mod Podge dry in a room that is too humid, you will have issues with it drying. To fix this, you are going to want to try moving your work into a drier room to finish drying. This should help the Mod Podge dry better and clear up. If not, you might have to consider removing as much of the product as you can and replacing it.
If the room is not humid, chances are you just haven’t given the Mod Podge enough time to dry. You can try leaving the project overnight and checking on it in the morning. It should clean up, but if not, you will want to consider removing it and trying again.
If you are applying the Mod Podge over paint and it looks cloudy, there is a high chance that the paint wasn’t completely dry. If the paint wasn’t dry, the pigments can rub off into the Mod Podge and make it appear cloudy. To prevent this, you need to make sure you give the paint plenty of time to cure before you try to apply the Mod Podge.
How Do You Remove Mod Podge from Leather?
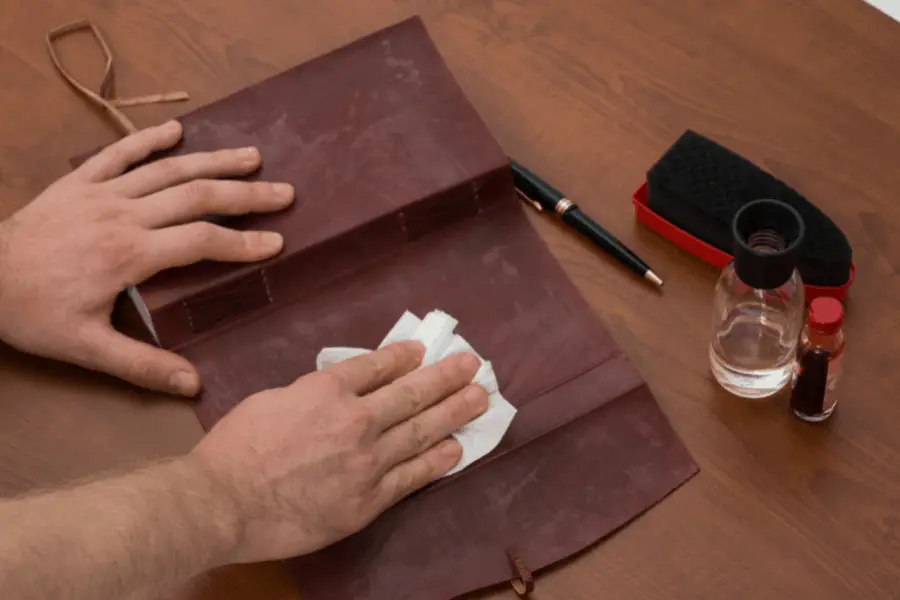
Removing Mod Podge from leather requires you to be careful or you risk ruining the leather. You will start by very carefully scraping off as much of the Mod Podge as you can from the surface of the leather. After you do this, mix together a mild dish soap and some warm water.
As you mix, you will want to almost whisk it to create a large number of foamy bubbles in the solution. Using a sponge, very gently take some of those bubbles and apply them to the surface of the leather. You want to avoid getting any water on the leather because it can cause damage.
Next, you are going to wipe the surface of the leather clean with a clean, dry cloth. You can repeat this process as many times as necessary to remove all of the Mod Podge. After the leather is dry, follow with a saddle soap or leather cleaner to condition it and maintain the quality.
Can You Use Mod Podge on Faux Leather?
Faux leather is usually made out of some type of vinyl. Mod Podge will stick well to vinyl, so you shouldn’t have any issues with using the product on this surface. While it should be fine, it is recommended to test it out on a small corner of the faux leather before you make any commitments.
You can try out the Mod Podge on the back of your faux leather or just a small section of the corner so it can be removed easily. Testing it out on the surface before applying it completely is a great way to avoid accidentally ruining your faux leather.
Testing out the Mod Podge can also give you an idea of how much Mod Podge you should use on the surface. You can see how it dries and determine whether you need to use more or less when you complete your actual project.

Final Thoughts
Mod Podge is an extremely popular product because it can be used on so many surfaces for so many different purposes. If you are working on a leather project, you can use Mod Podge as a decoupage or as a sealant. When you apply the product, it is important to make sure you are applying thin, even layers.
When you apply layers of Mod Podge that are too thick, it will take forever to dry and can become wrinkly or bubbly. Thick layers can also cause your Mod Podge to look cloudy. Applying in thin layers will ensure that your project turns out exactly how you are expecting.
If you need to remove Mod Podge from the leather surface, you might be nervous to do so. Since leather is such a touchy material, you need to make sure you clean the Mod Podge off properly to avoid damage. It is best to make soapy water and only use the suds to clean off the Mod Podge.
Make sure to follow all my tips and recommended products to ensure your Mod Podge painted project turns out great! Also, don’t forget to check out my other articles for all your painting Q&A’s. Happy painting!